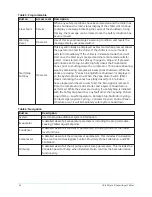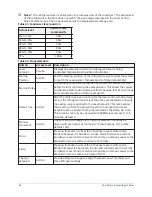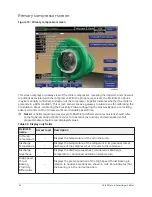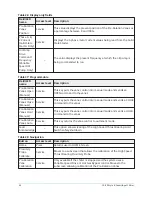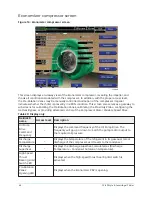
Table 19: Display only fields
Field/LED name
Description
Head Pressure Setpoint
Displays the active Head Pressure Setpoint to which the head
pressure is being controlled.
Control Valve Command
Displays the position command being sent to the Control Valve.
Displayed over the range of 0.0% to 100%. The actual value of the
output signal for a given error depends on whether the PID OUTPUT
Setpoint is set to direct or reverse. If set to direct, the 0.0% output
will be at minimum; the 100% output will be at maximum. If set to
reverse, the 0.0% output will be at maximum; the 100% output will
be at minimum.
Control Valve Control Mode Displays whether the Control Valve is in automatic or manual
control.
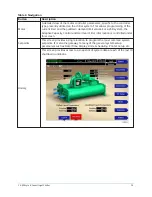
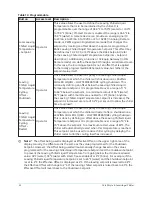
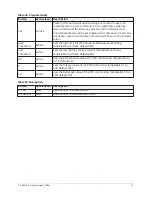
Table 20: Programmable
Button
Description
Head Pressure Setpoint
(15.0 to 60 PSID; default 23.0 PSID) Sets the pressure differential to
which the Control Valve will control the Head Pressure.
Minimum Position
(0 to 100%; default 0%) Sets the minimum position that the valve can
drive to while the chiller is running.
Shutdown Position
(0 to 100%; default 0%) Sets the position that the valve will drive to
while the chiller is off.
Control Valve Output
Settings – Type
(0-10v or 4 to 20mA; default 0-10v) Sets the output signal to the
Control Valve to be in the form of either 0 to 10VDC or 4 to 20mA.
Control Valve Output
Settings – Direction
(Direct or Reverse) Allows the output signal to the Control Valve to
be set to direct or reverse acting. When set to direct, the voltage or
current signal to the Control Valve is at minimum for a 0% command
and at maximum for a 100% command. When set to reverse, the
voltage or current signal to the Control Valve is at maximum for a
0% command and at minimum for a 100% command.
Control Valve Output
Settings – Set
(0.0% to 100%; default 0.0%) Allows the Control Valve to be manually
set to a position between 0.0% and 100%.
Control Valve Output
Settings – Auto
Places the Control Valve in automatic control.
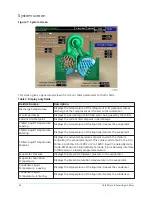
Change Setpoints
Use to enter the Head Pressure Control PID variables below.
Pressing this key places a green box around the first changeable
setpoint. Use the up/down, left/right arrows to place the selection
box around the desired setpoint. With the setpoint selected, press
the ENTER key. A dialog box appears with the range of settings.
Using the NUMERIC keys, enter desired value. Then, press the
ENTER key.
37
YK-EP Style B Centrifugal Chiller
Summary of Contents for YK-EP
Page 2: ...2 YK EP Style B Centrifugal Chiller...
Page 6: ...6 YK EP Style B Centrifugal Chiller...
Page 227: ...Figure 72 Sample printout of Status 227 YK EP Style B Centrifugal Chiller...
Page 228: ...Figure 73 Sample printout of Status cont YK EP Style B Centrifugal Chiller 228...
Page 229: ...Figure 74 Sample printout of Setpoints 229 YK EP Style B Centrifugal Chiller...
Page 230: ...Figure 75 Sample printout of Setpoints cont YK EP Style B Centrifugal Chiller 230...
Page 231: ...Figure 76 Sample printout of Schedule 231 YK EP Style B Centrifugal Chiller...
Page 232: ...Figure 77 Sample printout of a Sales order YK EP Style B Centrifugal Chiller 232...
Page 233: ...Figure 78 Sample printout of a Sales order cont 233 YK EP Style B Centrifugal Chiller...
Page 234: ...Figure 79 Sample printout of History YK EP Style B Centrifugal Chiller 234...
Page 235: ...Figure 80 Sample printout of History cont 235 YK EP Style B Centrifugal Chiller...
Page 236: ...Figure 81 Sample printout of a security log report YK EP Style B Centrifugal Chiller 236...


