Assembling adjustable end fittings
1. Ensure that both matching parts are free of burrs, nicks, scratches, or any foreign particles.
2. If the O-ring is not pre-installed, install the O-ring on port end of fitting. Take care not to nick
the O-ring.
3. Lubricate the O-ring with a light coat of synthetic poly olestor (POE) oil or POE grease.
4. Back off the locknut as far as possible.
5. Make sure that the back-up washer is not loose and is pushed up as far as possible. This
ensures that the O-ring is completely at the back of the land so that it remains in the land
area when the fitting is turned out at Step 7.
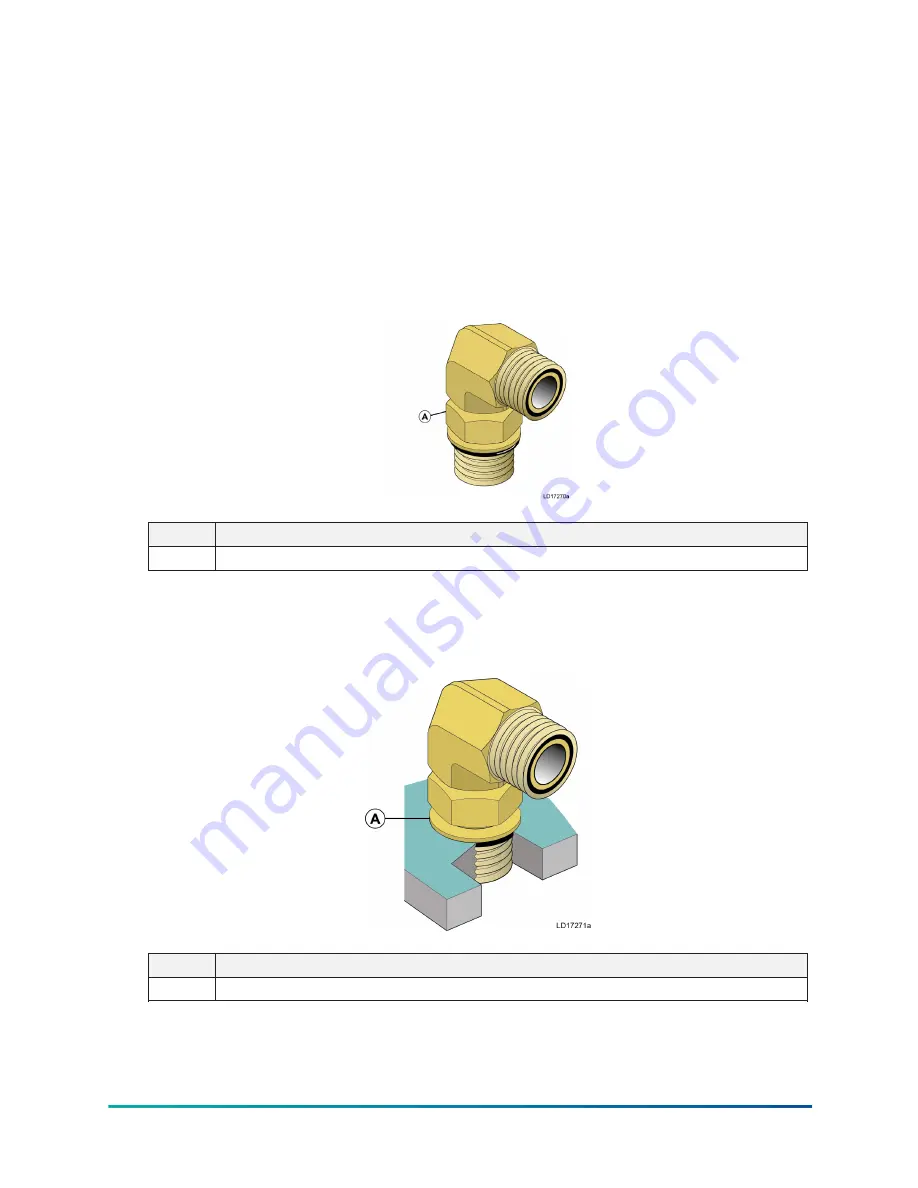
Figure 40: Back off locknut
Callout Description
A
Locknut completely backed-off
6. Screw the fitting into the port until the back-up washer contacts the face of the port. Light
wrenching may be necessary.
Figure 41: Screw the fitting into the port
Callout Description
A
Backed-up washer contacts face
7. To align the tube end of the fitting to accept incoming tube or hose assembly, unscrew by
the required amount, but not more than one full turn. More than one turn makes the locknut
push the O-ring into the machine threads beyond the fitting land area during Step 8.
43
YVAM Air-Cooled Centrifugal Liquid Chiller


