release PTT, and observe the reading. Rotate RIT knob until the reading is the same
as the reading taken while PTT is pressed. This is the zero position of RIT.
Now, let us calibrate BFO.
Connect the frequency counter to TP2. Set MOD to LSB first. Observe the reading. It
is around 8.998500MHz. If it is to far from this frequency, trim L3 to calibrate. Set MOD
to USB, the reading is around 9.000600MHz, i.e. 2.1 kHz apart from LSB. If it is far
from this frequency, trim VC1 to calibrate. Now go back to LSB and observe the
reading. If the reading is affected by USB calibration, trim L3 again. BFO calibration is
completed.
Please refer to the manual for button function.
1. MCU Setting-up
You can find the setup button behind the DDS to Main Board ribbon.
Backup the setup data of the factory on a piece of paper, in case you need go back to
the factory setup.
Connect the frequency counter to TP1.
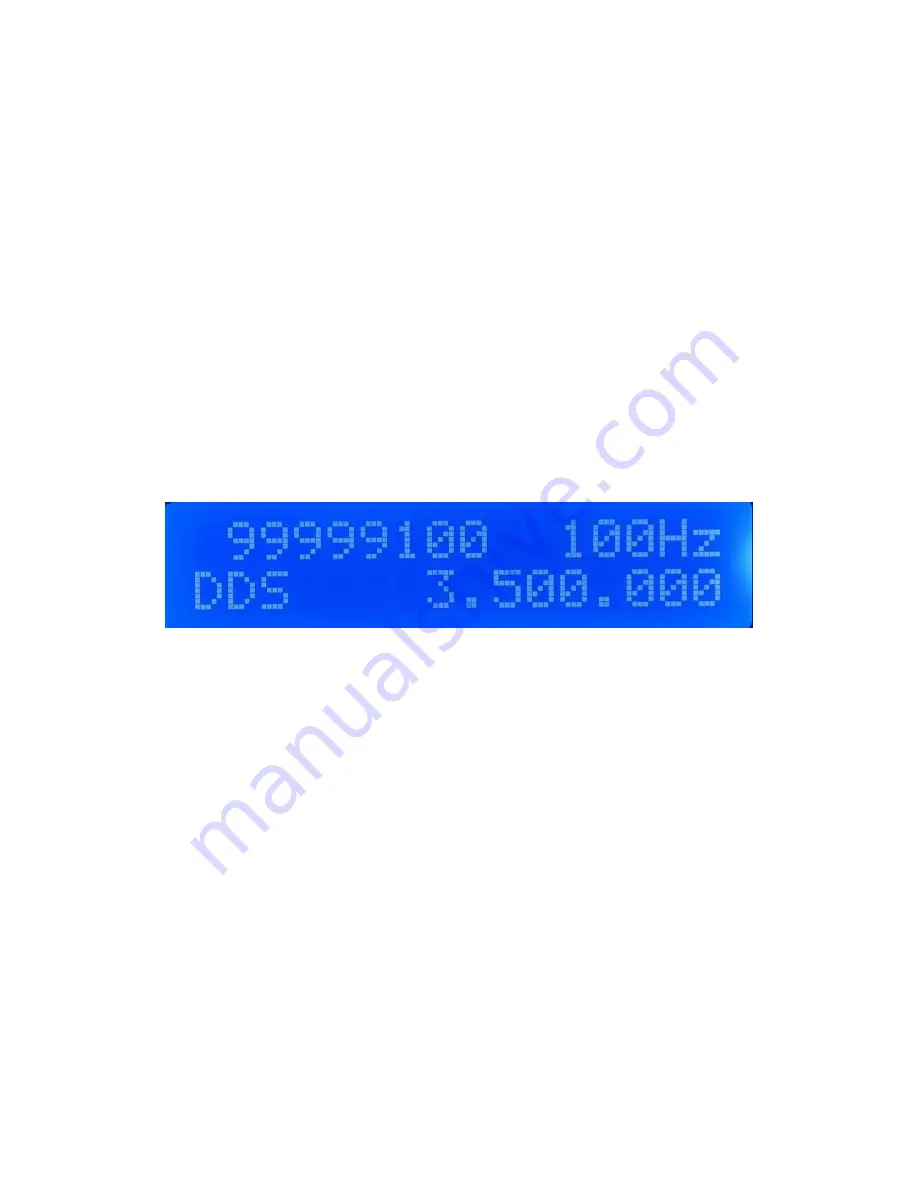
Press SETUP button, DDS clock information is displayed:
“99999100” indicates the DDS clock frequency (This value can be different since the
tolerance of every 100MHz clock crystal differs slightly). “2.500.000” indicates DDS is
working at the lowest band now. (Kits with 10 meter band display 3.000.000. Earlier
kits display 3.500.000.) Now, the frequency counter will display “IF + displayed
frequency”, i.e., if 2.500.000 is displayed, the frequency counter displays 11.500.000
MHz. If the measured frequency is not 11.500.000, please rotate TUNE knob while
observing the frequency counter, until the requirement is reached. Use 10Hz step for
more précised calibration. Press MEM to memorize your new setting.
DDS clock has been calibrated without the warming-up step before shipping. If you do
not have a frequency counter, please ignore this step and go to the next step directly.
However, there would be a frequency tolerance of around 50Hz.
Please refer to the manual for button function and step selection.
Press SETUP again, IF interface is displayed. The first line default value is “0”
Select 100Hz step. Rotate TUNE knob counter-clockwise. Set IF to “-1500” (9.000000
– 8.998500 = 1500Hz)
Press MEM button to save the value.


