background image

[III + IV]

Turbo Mode

18

17

1

. You can turn this function on or off by pressing Buttons 

[II+III] 

f

o

r

 a


½

second.  Passive Icon will be highlighted in the LCD. When set to passive

arming, your security system will arm automatically 30 seconds after all the car

doors are closed.  Passive locking means the door will lock when the system is

passively armed. In the default factory setting, the system is armed and locked

actively, which means the system will only arm/lock when the remote-pager is

utilized.

2

. If you select both Auto Arming and Passive Arming, Auto Arming takes

priority  over Passive Arming. 

3

.

  Under the Manual mode, the Passive arming will lock the doors upon

reservation. Under the Turbo mode, the Passive arming will lock the  doors

upon closing the doors after the ignition has been turned off.

You may reserve the remote starting time by 1) setting up the starting time and

2) turning on Timer icon. 

Procedure

1. Time icon should be turned off.

2. Set up the starting time. Make sure the current time is correct.

3. Turn on Time icon.

[II + III]

Passive Arming/Active Arming

You can turn this feature on and off by pressing Buttons 

[III+IV] 

for a 

½

second.  Under this mode, engine continues running or 2 minutes after key has

been taken out from the ignition. This mode is useful with Turbo vehicles that

need to be cooled down after long drive. 

The icon located on the left of Auto is On when pressed 

III & IV 

buttons 

simultaneously for 2 sec and converted to Recording & Play mode of Voice

Module. And it can be recorded & played when pressed 

II 

and 

III  

for 0.5 sec.

But, in case of not pressing within 60 sec, the Recording & Play mode is off  

automatically.

Turbo

[(III+IV)-]

Recording & Play on Voice Module (Optional)

Passive

[II + IV]

Timer(24 Hours) Reservation

Beep sound for confirmation.
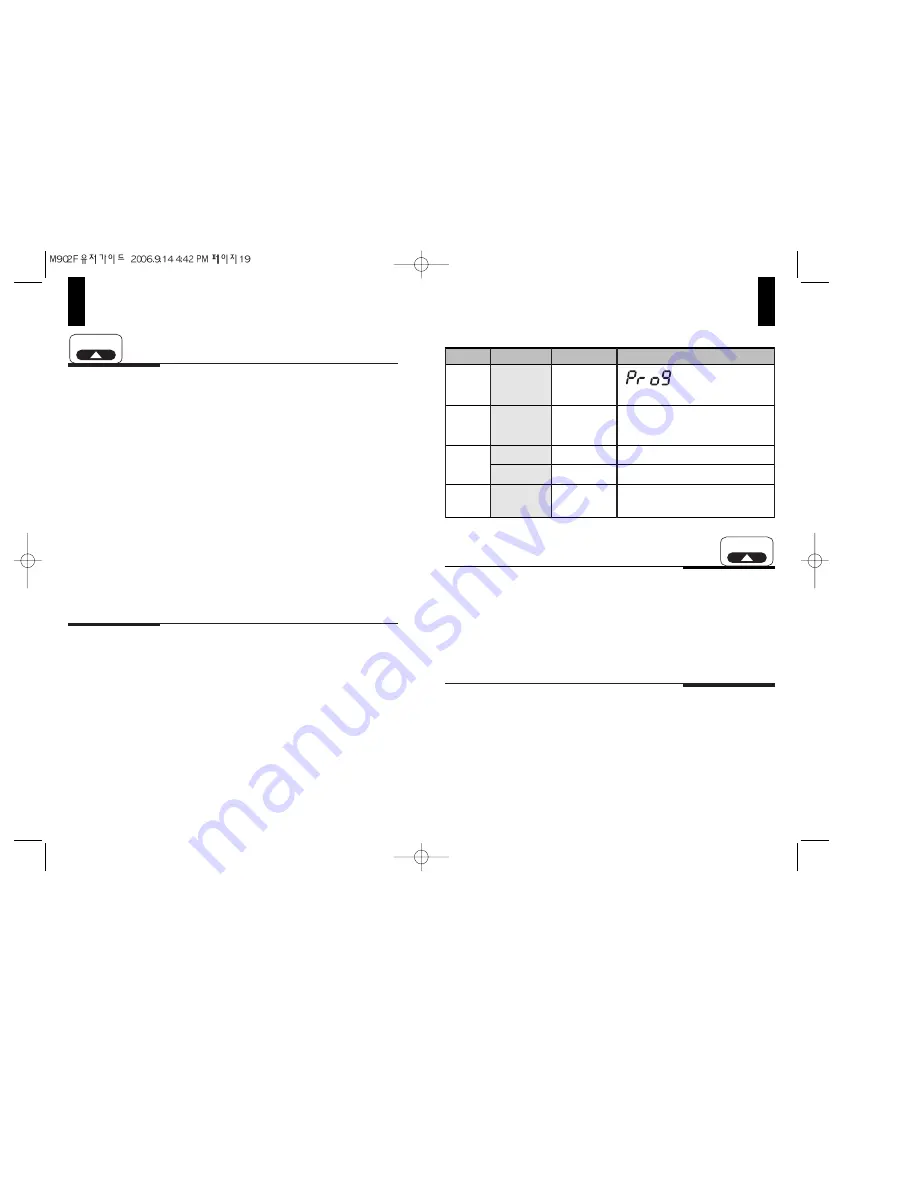
STEP 1

(II

+

III) 

-

2 sec

Button

PressedFor   

Function

Time setting is on. 

The numbers flash. Beep sound.

STEP 2

II )

(II

+

III) 

-

1/2 sec

Change time.

Change minutes.

Set up completed.  Beep sound.

STEP 3

STEP 4

I  )

II )

1/2 sec

1/2 sec

2 sec

All manuals and user guides at all-guides.com

Summary of Contents for Magicar M902F

Page 1: ...Two Way FM Remote User s Guide M902F www magicar com USER S GUIDE RF2WN By Youngshin Electronics Co Ltd All manuals and user guides at all guides com a l l g u i d e s c o m ...

Page 2: ...e c t r o n i c sC o L t d a r ec o n s t a n t l yp e r f o r m i n gr e s e a r c h a n dd e v e l o p m e n ti no r d e rt om a k ey o u rv e h i c l em o r es a f ea n dc o m f o r t a b l e S e c u r i t ya n dc o m f o r t t h a t sw h a tY o u n g s h i nE l e c t r o n i c sC o L t d i sa l la b o u t When you insert a battery in the remote the LCD will show each icon one by one with music...

Page 3: ... ra c t u a t o r s 5 T h i sp r o d u c ti si n t e n d e do n l yf o rA u t oS e c u r i t y A n yo t h e ru s ei sn o ta l l o w e d We are not responsible for any injuries or damages resulting from your failure to comply with the above requirements 1 D e s c r i p t i o n o f R e m o t e A p p e a r a n c e 2 M a g i c a rc o l o rL C D 3 L C D I c o n s 4 R e m o t e P a g e r B u t t o n F u...

Page 4: ...l l e ru n i t I n d i c a t e si fV i b r a t o ri so no ro f f I n d i c a t e si fR P Si so no ro f f D i s p l a y sr e m a i n i n gb a t t e r yl i f e I n d i c a t e si f R e c o r d i n g P l a yo nV o i c eM o d u o l e O p t i o n a l a r eo no ro f f I n d i c a t e si ft h eA u t oL o c k U n l o c km o d ei so no ro f f I c o nf l a s h e sf o rl o n g e rr a n g e I n d i c a t e si...

Page 5: ...A u t oi c o nw i l lb et u r n e do n L o n g e r r a n g e A u t o A r m i n g O n A u t o i c o n F l a s h e s A u t oA r m i n gt u r n e dO f f AUX 1 R e c o r d i n g P l a y o n V o i c e M o d u l e O p t i o n a l AUX 2 Q u e r y F u n c t i o n Button P r e s s e d F o r Function Remote Pager Button Functions 9 1 0 1 1 1 2 1 3 1 4 1 5 1 6 1 7 1 8 1 9 2 0 II III IV I II I III I IV II III...

Page 6: ... u c a n u n l o c k a n d d i s a r m t h e v e h i c l e b y p r e s s i n gB u t t o n I f o ra s e c o n d T h es i r e nc h i r p sa n dt h ep a r k i n gl i g h t sf l a s h t w i c et oc o n f i r mt h eu n l o c ka n dd i s a r m I fy o uh e a rf o u r c h i r p sa n d4f l a s ho ft h e p a r k i n gl i g h t s t h a tm e a n st h ea l a r mw e n to f fw h i l et h ev e h i c l ew a sa r m...

Page 7: ... t h e R e s e r v a t i o n M o d e a s p e r t h e a b o v ep r o c e d u r e I nt h i sc a s e p l e a s es e ti tf o l l o w i n gt h eM a n u a lR e s e r v a t i o n s h o w st h er e m a i n d e ro ft h ee n g i n er u n n i n gt i m e M a n u a l R e s e r v a t i o n I f y o u p r e s s B u t t o n II f o r 2 s e c o n d s b e f o r e r e m o v i n g t h e k e y f r o m t h e i g n i t i ...

Page 8: ...r o r N u m b e r o ft i m e sp a r k i n gl i g h t sf l a s h P r e s sB u t t o n III f o r2s e c o n d si no r d e rt ou n l o c ka n dr e l e a s ey o u rt r u n kd o o r T h ei n s t a l l a t i o no ft h i sm o d ei sa v a i l a b l eo n l yi fy o u rv e h i c l eh a sat r u n ka c t u a t o r N o t et h a tt h et r u n kr e l e a s ef u n c t i o nw i l ln o to n l yr e l e a s et h et r u...

Page 9: ...s o r T h ed u a ls t a g es h o c ks e n s o rw i l la c t i v a t ei n3 0s e c o n d sa f t e rt h e M a g i c a r a l a r m m o d e i s a r m e d W h e n t h e d u a l s h o c k s e n s o r i s e n g a g e d t h e r e m o t e p a g e rs e c u r i t ya l e r t sw i l lb et r i g g e r e db yt h ef o l l o w i n g Light impact to your vehicle will activate the first stage shock sensor and the car...

Page 10: ...u r n i n go nT i m e ri c o n Procedure 1 T i m ei c o ns h o u l db et u r n e do f f 2 S e tu pt h es t a r t i n gt i m e M a k es u r et h ec u r r e n tt i m ei sc o r r e c t 3 T u r no nT i m ei c o n II III Passive Arming Active Arming Y o u c a n t u r n t h i s f e a t u r e o n a n d o f f b y p r e s s i n g B u t t o n s III IV f o ra s e c o n d U n d e r t h i s m o d e e n g i n e...

Page 11: ... n c t i o n sw i l lb ea v a i l e dw h i l et h ev e h i c l ei sa r m e d R P S Remote Paging System Keyless Entry with R P S sensor R P Si saf e a t u r et h a ta l l o w sa ni n d i v i d u a lt op a g et h eo w n e ro fav e h i c l e b ys i m p l yt a p p i n gt h eR P Ss e n s o ro nt h ef r o n tw i n d s h i e l do ft h ec a r T h i sv i b r a t i o ni sd e t e c t e da n dy o u rr e m o ...

Page 12: ...g r e e nL E Dw i l lf l a s ho n c e I ts h o u l db el e s st h a n1 5s e c o n d sb e t w e e nt h ek n o c k s Step 2 T h er e dL E Dw i l lf l a s hr a p i d l y Step 3 E n t e rt h ep a s sw o r d s T oe n t e rt h ef i r s tn u m b e r k n o c kt h es a m e n u m b e ro ft i m e s T h ei n t e r v a lb e t w e e nt h ek n o c k ss h o u l db el e s s t h a n1 5s e c o n d s T h e n w a i tt...

Page 13: ...sl e f tg a s w i l lb er e f r i g e r a t e da tw i n t e r s oy o uh a v et os h u to f fg a sv a l v es w i t c hl i k ea b o v e1 2 3 D r i v i n gi ns h o r td i s t a n c ea f t e rr e m o t e s t a r tf o rag a sp o w e r e dv e h i c e l A f t e rt h er e m o t e s t a r t i fy o ud r i v et h ev e h i c l ef o rl e s st h a n4m i n u t e sa n d2 0 s e c o n d s t h e e n g i n ew i l lc ...

Page 14: ...d i n go ny o u rn e e d Wa r n i ng P l e a s eb ec a r e f u ln o tt ot u r nt h ev o l u m eb e y o n di t sl i m i t T h e v o l u m e c a n b e d a m a g e d 2 Adjusting the volume of the siren T h ev o l u m eo ft h es i r e nc a nb er e d u c e db yc u t t i n go f ft h ej u m pw i r ea t t a c h e d t ot h es i r e n 3 Adjusting the volume of the R P S Sensor Adjustable by Magicar Users Al...

Reviews: