3
4.2 Outdoor Thermo Sensor
Batteries compartment (D4) of thermo sensor is locating behind the back cover,
unscrews the batteries cover to open.
Insert 2 x AAA batteries observing polarity * “+” and “–“ marks+
5. Installation
5.1 Main Unit
The main unit can be placed onto any flat surface (C2), or wall mounted by the
hanging hole (C1) at the back of the unit.
5.2 Outdoor Sensor
The remote sensor should be securely mounted onto a horizontal surface.
Note:
Transmissions between receiver and transmitter can reach up to 30m in
open area. Open Area: there are no interfering obstacles such as buildings, trees,
vehicles, high voltage lines, etc.
6. Temperature & Humidity
6.1 RF Transmission Procedure:
The outdoor sensor will automatically transmit temperature and humidity signal to
the main unit after batteries inserted.
If main unit failed to receive transmission from outdoor thermo sensor in first 3
minutes after the batteries inserted (“
- - . –
”display on the LCD), hold “SEARCH”
button (B1) for 3 seconds to receive transmission manually. RF icon “
”
flashes on
the LCD
6.2 Temperature& Humidity
After start-up, the unit would display indoor Temperature, Indoor humidity and Past
24 Hours Indoor Maximum and Minimum Temperature and Humidity Record.
Press “IN/OUT” button (B1) to view the outdoor Channel’s data, including outdoor
temperature, outdoor humidity and past 24 Hours outdoor Max. & Min Temperature
and Humidity Record.
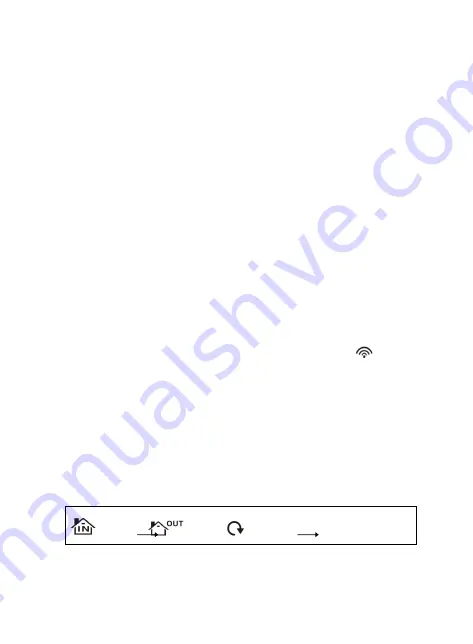
Press “IN/OUT” button (B1) select to view indoor/outdoor Channel’s data, the
sequence is shown as follow:
PRESS “In/Out” button
Display the Indoor & Outdoor channels alternatively
Hold “SEARCH” button (B1) for 3 seconds to clear the record on outdoor channel
manually, and receive the transmission from outdoor automatically again.
6.3 Celsius / Fahrenheit
Press “°C /°F” button (B4) to select Indoor/Outdoor Temperature in Celsius mode or


