Using Your DW Sonde with a 6500 Process Monitor
Appendix G
YSI Incorporated Drinking Water Monitoring Systems Operations Manual
G-5
Because it is usually more convenient to calibrate the pH, ORP, conductivity, and turbidity sensors near a
sink in a laboratory environment, YSI recommends that the second method be used if at all possible.
However, if the 6500 is your only interface device, the setup and calibration routines can be carried out
using the 6500 software as described in Sections 3.2 and 4.2 of the 6500 Process Monitor manual.
If you choose to use the computer or 650 interface for the calibration protocol and then later interface the
calibrated sonde to the 6500, follow the instructions in Sections 2.5 and 2.6 of the manual supplied with
your 6920DW or 600DW-B Drinking Water Sonde.
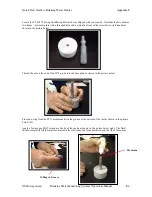
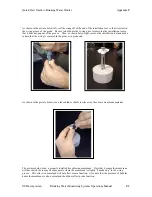
Activate Your Free Chlorine Sensor.
After calibration of all other sensors is complete, install a
membrane on the free chlorine sensor and activate it according to the detailed instructions found in
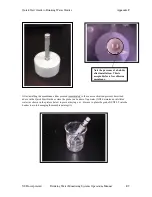
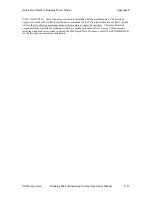
Sections 2.3 and 2.6.1 of the DW sonde manual. Then store the activated probe in tap water (NOT
deionized or distilled water) until it can be installed in the sonde bulkhead. After installation of the free
chlorine probe in the sonde, proceed to the next step.
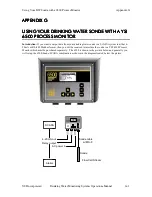
Attach the DW Sonde to the 6500
. Interface of the DW sonde to the 6500 Process Monitor will require a
YSI field cable with a model number 609X, where the X defines the cable length. This cable must be
purchased separately. Attach the silver threaded end of the cable to the sonde by engaging the keys in the
mating connectors and then turning the nut clockwise until fully engaged. Then attach the other end of the
cable (MS-8 connector) to the corresponding connector on the bottom of the 6500. To make the
connection, place the cable MS-8 connector over that of the 6500 and rotate the field cable connector until
engagement occurs. Then rotate the field cable connector approximately 1-quarter turn until it is fully
engaged as evidenced by a “click”.
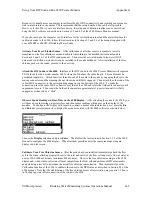
Observe Sonde Readings in Real-Time on the 6500 Display.
After attaching the sonde to the 6500, you
will hear a beep indicating proper interface and then sensor readings will appear on the display of the
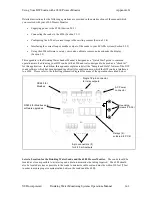
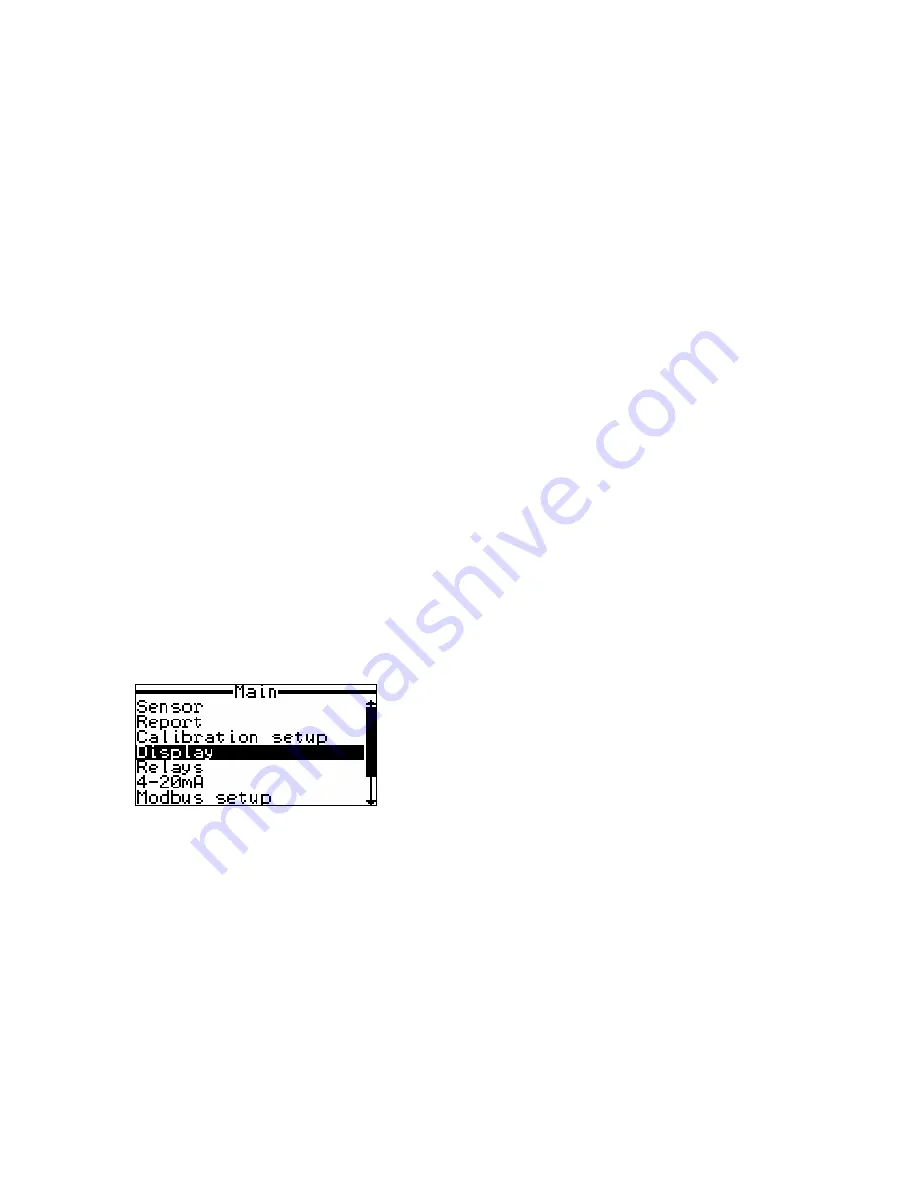
monitor. To configure the display with regard to contrast, number of parameter lines, etc., press the
Esc
and
Enter
keys simultaneously to display the menu associated with the 6500 software as shown below.
Choose the
Display
selection and press
Enter
. Then follow the instructions in Section 3.3.2 of the 6500
manual to configure the 6500 display. When finished, press
Esc
until the sensor readings are again
displayed on the screen.
Calibrate Your Free Chlorine Sensor.
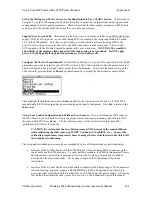
After the probe has been installed, immediately attach the flow
cell to the sonde, attach appropriate hoses to the inlet and outlet of the flow cell and start a flow of water at
a rate of 500-1000 mL/minute (minimum 500 mL/min). Observe the free chlorine readings on the 6500
display and, when stable, collect an effluent sample from the flow cell and perform a DPD colorimetric
analysis using a test kit to determine the actual free chlorine concentration. Then immediately use the
Calibration function of the 6500 to calibrate the sensor to the DPD value as described in Section 4.2 of the
6500 manual. Note that the stabilization of the free chlorine sensor after activation may require 1-2 hours
in flowing tap water after connection of the sonde to the 6500.

