69
6.23 pH/ORP Sensor Calibration
ALWAYS ensure that the temperature sensor is completely submerged during all
calibrations. Failure to submerge the sensor can result in false calibrations. And, ALWAYS allow
time for the temperature of the standard and the sensor to equilibrate.
pH
Since most environmental waters have a pH between 7 and 10. YSI recommends using
a 2-point calibration,
unless you anticipate measuring pH levels below 7. Ensure that the sensor is activated and the sonde is reporting all
necessary values under the ‘Sensor’ and ‘Report’ menus.
pH sensor response time is a crucial indicator of how well the sensor is currently functioning. Observe the sensor
response time by:
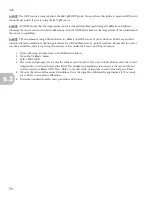
1. In the ‘Main’ menu, press 1 (Run).
2. Press 1 (Discrete Run).
3. Observe the pH values as you rinse with water and pre-rinse with pH 7 buffer, then fill cal cup with
recommended amount of pH 7 buffer. Response times should be nearly instantaneous as new substances are
introduced.
Slow response times of pH may indicate the need to service the sensor (see Section 2.10.2 in 6-Series
User Manual).
Once you have observed sensor response time, continue to calibrate the pH/ORP sensor.
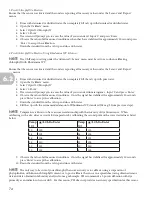
1. Return to the ‘Main’ menu.
2. Open the ‘Calibrate’ menu.
3. Select ‘ISE1 pH.’
4. Select ‘2-Point.’
5. The screen will prompt you to enter the value of your buffer, this will vary with temperature. Check the
buffer bottle in order to input the correct value adjusted for temperature. The number in parentheses is the
value of the last solution used to calibrate pH. Press ‘Enter’ to use this value, or input the correct value and
press ‘Enter.’
6. Observe the value of all measured conditions. Once the signal has stabilized for approximately 30 seconds,
press ‘Enter’ to accept the calibration.
7. Drain the buffer from the cal cup.
8. Rinse with water and pre-rinse with pH 10 buffer, then fill cal cup with recommended amount of pH 10
buffer. Response times should be nearly instantaneous as new substances are introduced.
9. The screen will prompt you to enter the value of your buffer, this will vary with temperature. Check the
buffer bottle in order to input the correct value adjusted for temperature. The number in parentheses is the
value of the last solution used to calibrate pH. Press ‘Enter’ to use this value, or input the correct value and
press ‘Enter.’
10. Observe the value of all measured conditions. Once the signal has stabilized for approximately 30 seconds,
press ‘Enter’ to accept the calibration.
11. Drain the buffer from the cal cup and rinse the sensors with water.
12. Return to the ‘Main’ menu.
13. Open the ‘Advanced’ menu.
14. ‘pH mV buffer 7’ should read 0 ±50 mV.
15. ‘pH mV buffer 10’ should read -168 to 180 mV from 7 buffer mV reading. (e.g. If pH 7 buffer reading was
-25, acceptable pH 10 buffer range will be from -193 to -205 mV.)
16. If the pH/ORP is not in the acceptable range, refer to the 6-Series User Manual section 6.3 ‘Troubleshooting.’
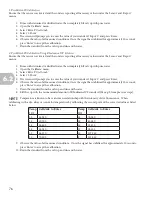
17. If you choose to perform a 3-point calibration with pH 4 buffer, the ‘pH mV buffer 4’ should read +168 to
180 mV from 7 buffer mV reading.
If a 3-point calibration is performed on pH it’s recommended that pH buffer 7 be calibrated first then
followed by buffers 4 and 10.
NOTE
NOTE
NOTE
6.2


