81
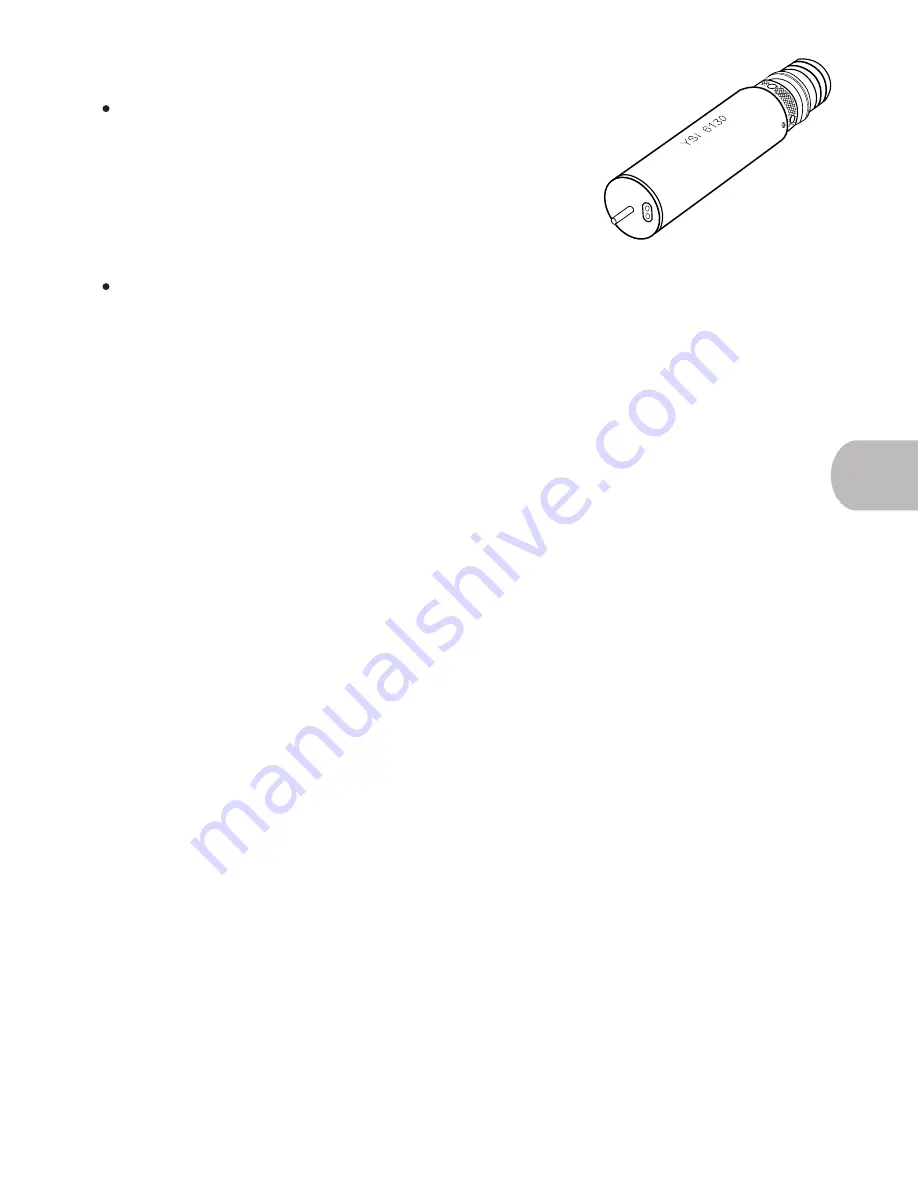
6.28 Optic Rhodamine WT Calibration
ALWAYS ensure that the temperature sensor is completely submerged during all
calibrations. Failure to submerge the sensor can result in false calibrations. And, ALWAYS
allow time for the temperature of the standard and the sensor to equilibrate.
For additional information on the Rhodamine WT sensor, please refer to the
6-Series User Manual, section 5.15, Principles of Operation-Rhodamine.
Preparation of Dye Standard for Rhodamine Sensor Calibration
The Rhodamine WT standard will decompose quickly after preparation. Store in a glass container and keep
out of direct light. Calibrate the Rhodamine WT sensor no more than 5 days after preparation.
YSI uses Rhodamine WT from the below-noted supplier. The solution is approximately 20% Rhodamine WT.
KEY ACID RHODAMINE WT LIQUID (Part #70301027)
Keystone Aniline Corporation
2501 W. Fulton Street
Chicago, IL 60612
1. Weigh exactly 0.500 g of the 20% Rhodamine concentrate.
2. Quantitatively transfer the viscous liquid to a 1000 mL volumetric flask and fill the flask to the top
graduation with pure water.
3. Mix well. This solution contains 100 mg of Rhodamine WT per 1000 mL of water (100 mg/L).
4. Transfer exactly 1.0 mL of the solution prepared in the above step (100 mg/L) to a 1000 mL volumetric flask
and then fill to the top graduation with pure water.
5. Mix well to obtain a solution that is 100 µg/L (0.10 mg/L) in water (1000:1 dilution of original concentrate).
6. Store and refrigerate the original concentrate in a darkened glass bottle to retard decomposition.
7. Also store the dilute standard in a refrigerated environment.
If you wish to calibrate using this solution, please continue reading.
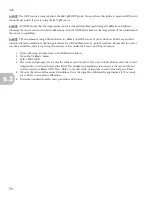
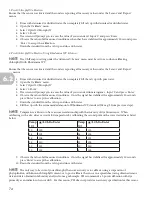
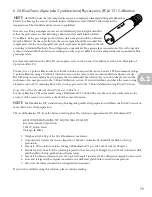
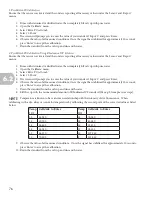
1-Point Rhodamine Calibration
Ensure that the sensor is activated and the sonde is reporting all necessary values under the ‘Sensor’ and ‘Report’
menus.
1. Rinse with deionized or distilled water, then completely fill the cal cup with pure water.
2. Open the ‘Calibrate’ menu.
3. Select ‘Rhodamine.’
4. Select ‘1-Point.’
5. The screen will prompt you to enter the value of your standard. Input ‘0’ and press ‘Enter.’
6. Observe the value of all measured conditions. Once the signal has stabilized for approximately 30 seconds,
press ‘Enter’ to accept the calibration.
7. Drain the standard from the cal cup and rinse with water.
NOTE
NOTE
6.2


