96
7.33 Control Plane (Fin) Replacement
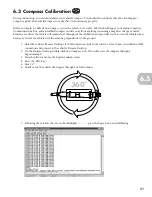
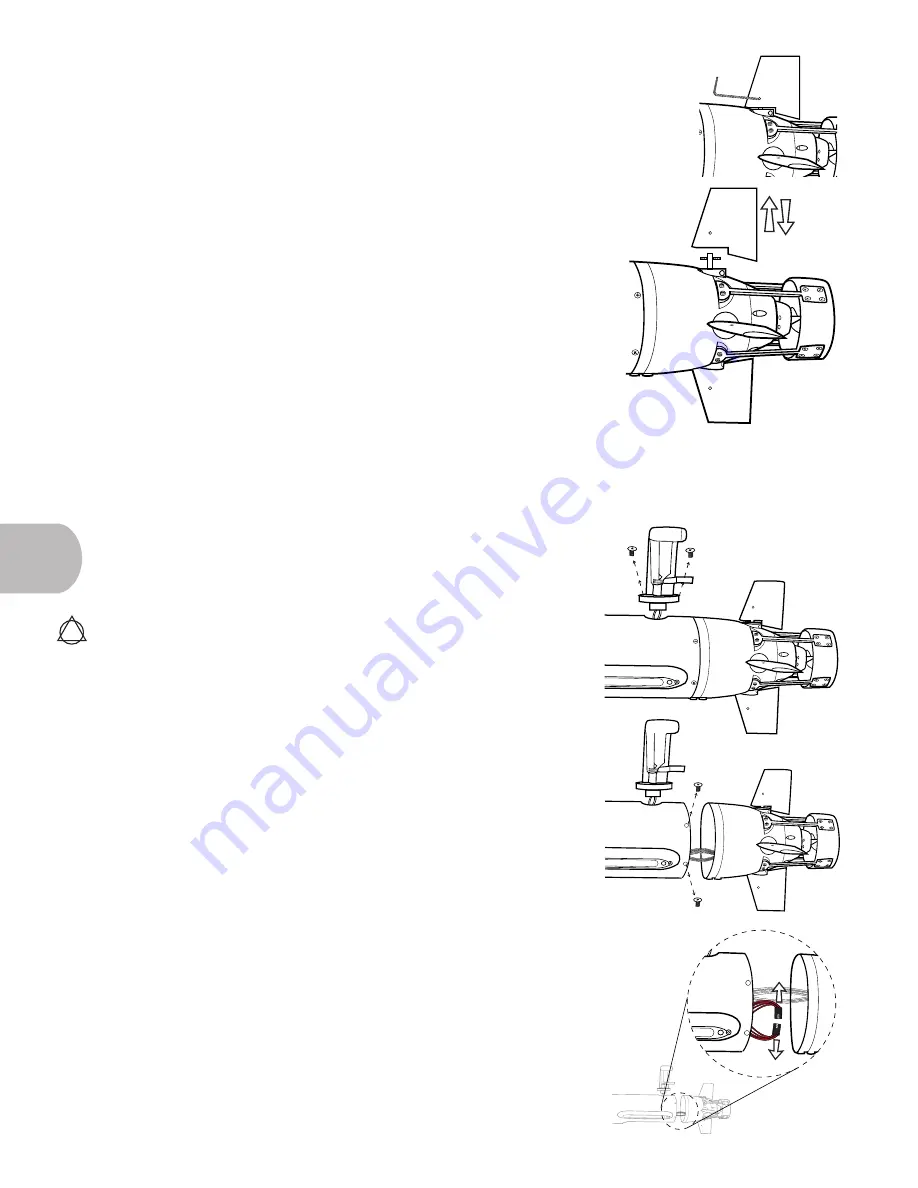
If a control plane has been damaged in such a way that requires replacement (e.g. permanent
damage to shaft or mounting unit), you can replace the control plane without accessing the
vehicle’s interior.
1. Leave the vehicle on, but ensure you have exited the UVC to prevent any accidental
operation of the control planes or propeller.
2. Using the included Allen wrench, remove the 1/16" setscrew from the side
of the control plane.
3. Pull the damaged control plane off of the shaft.
4. Press the new control plane onto the shaft.
5. Insert the setscrew into the hold on the side of the control plane.
7.34 Battery De-Shunt for Shipping
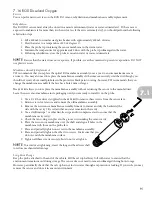
When you ship the EcoMapper, you must always run the batteries down to
40% or lower and disconnect the battery. Peform the following instructions to
meet these two criteria required by Federal shipping regulations.
Ensure the vehicle is powered off, has a solid platform, and is well-secured
before you perform this procedure. Work on a flat surface in order to have a flat
section on which to sit the disconnected tail section.
1.
This step is performed to alleviate suction before you remove the vehicle's
tail.
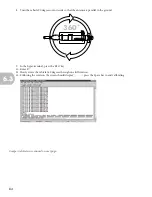
Remove the antenna by removing the Phillips screws from around
its base and gently pulling up. Be careful to not damage the o-rings
or pull loose any internal connections. The antenna's wiring can stay
connected.
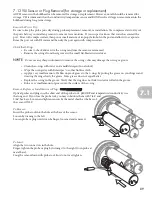
2. Remove the screws from the vehicle's tail section. Then, with someone
holding the vehicle's hull, slowly, gently rock and pull back on the
tail section until it is free. Carefully set the tail section aside without
disconnecting the wiring.
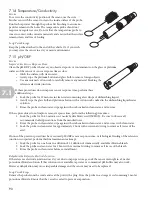
3. Locate the red battery wires. The red wires will have loopback
connectors that can be unclipped and removed in order to break the
circuit from the batteries. Disconnect this loopback connector.
4. Carefully reattach the tail and antenna sections prio to loading the
vehicle into its crate. Take time to inspect and service the o-rings if
necessary.
7.3
!


