6
SETTING
SETTING
SETTING
SETTING THE
THE
THE
THE TEMPERATURE
TEMPERATURE
TEMPERATURE
TEMPERATURE ALARM
ALARM
ALARM
ALARM
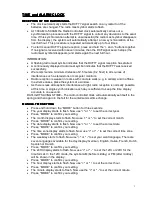
•
Press the “CHANNEL” button to select the desired sensor channel (CH1, CH2, CH3).
•
Press and hold down the “-” button for three seconds until, in the selected outdoor
temperature display, “OF” is shown and flashes. ,Press “+" or "–“ to turn ON or OFF
the temperature alarm. Press “MODE” to set the temperature. From -50°C to +70°C
use “+ " or "-“ for setting the wanted limit and press “MODE” to exit the setting.
INFORMATION:
•
You can set up a temperature alarm for every channel.
•
If you set the maximum to a temperature, which is lower than the minimum, then you
will not be able to complete the setting process.
•
The minimum must always be at least 1° C off the maximum value (-50° and +70°).
•
When the temperature alarm sounds, the appropriate channel and the upper or lower
limit symbol is shown.
RADIO
RADIO
RADIO
RADIO FREQUENCY
FREQUENCY
FREQUENCY
FREQUENCY CONNECTION
CONNECTION
CONNECTION
CONNECTION TO
TO
TO
TO OUTDOOR
OUTDOOR
OUTDOOR
OUTDOOR SENSOR
SENSOR
SENSOR
SENSOR
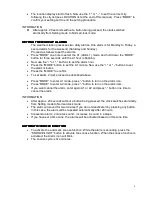
•
Press the “CHANNEL” button to select a channel (1, 2, 3 or "scan"). This gives you the
option of reading three outdoor sensors with one weather station.
•
Press and hold down the “CHANNEL” button for three seconds to search for outdoor
sensors. You can break off this operation by briefly pressing the “CHANNEL” button.
WEATHER
WEATHER
WEATHER
WEATHER
BAROMETRIC
BAROMETRIC
BAROMETRIC
BAROMETRIC AIR
AIR
AIR
AIR PRESSURE
PRESSURE
PRESSURE
PRESSURE DISPLAY
DISPLAY
DISPLAY
DISPLAY ----
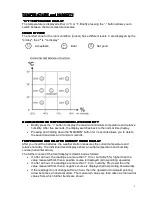
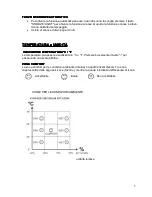
The course of the barometric air pressure within the last twelve hours is displayed on this
display in the form of a bar chart. In addition, you have the option of displaying the exact
barometric air pressure value, for example, 3 hours previously, in the normal barometric air
pressure display. To do this, proceed as follows:
•
Press the “HISTORY” button briefly to display the barometric air pressure value of the
last 12 hours. For example, pressing the button seven times displays the barometric
air pressure value seven hours ago. In the small box you would then see "-7"
•
The maximum height for setting the Barometric Air Pressure is 2000 meters and the
lowest level is minus 200 meters.
•
You have the option of displaying the air pressure in hPa or inHg and also to adjust the
local altitude and the current weather. To enter this setting, press and hold the
“HISTORY” button. By pressing short "HISTORY" you will get from setting to setting.
The setting sequence is: Local Altitude in meter ---> change the forecast icon ---> air
pressure unit.
WEATHER
WEATHER
WEATHER
WEATHER FORECAST
FORECAST
FORECAST
FORECAST
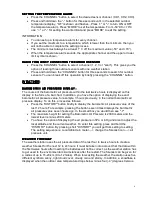
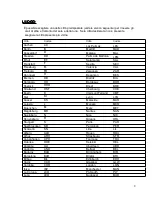
The weather station uses the air pressure data of the last four to twelve hours to create a
weather forecast for the next 12 to 24 hours. It must be taken into account that the data within
the first twelve hours after inserting the batteries will not be correct, as the weather station has
to get used to the environmental circumstances after the restart. The forecast can be given for
a radius of up to 15-20 km (9 to 12 miles). When forecasting the weather, the station uses five
different symbols: sunny, light cloud cover, cloudy, rain and stormy. In addition, a snowflake is
displayed when the outdoor area temperature drops below minus four (-4°) degrees Celsius.
Summary of Contents for TPW399
Page 46: ...10 ...


