39
Figure 3-26
Laser Path Diagram
After being emitted from the laser generator, laser successively passes through reflector #1, #2 and #3, and
finally emitted to working table after be focused by the focus. Transmission of the laser is actually a course of
multiple reflection and focusing. During this course, in case of loosen reflector, laser route deviation will be
caused make the laser fail in finally output through the jet cup.
The step of adjusting the laser light path is as follows:
First set the power of debugging light path to 5% of the laser tube power, paste heat-sensitive paper on the
dimmer board of the first reflector, press the “Burst” button, and adjust the laser to the center of the first
reflector by adjusting the laser tube support.
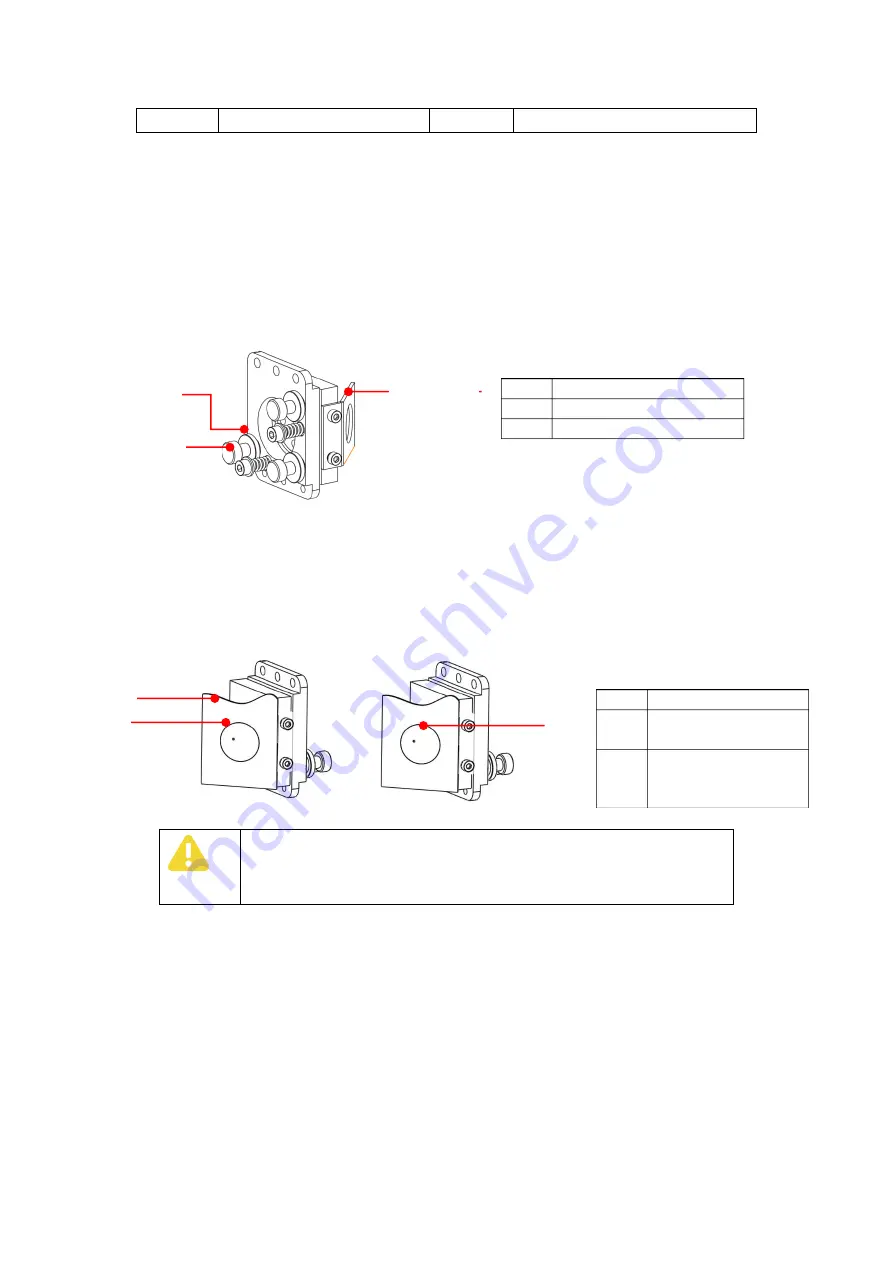
Figure 3-27
Reflector Holder
Firstly adjust reflector #1. Move crossbeam to the closest point to lens #1, and then move to the
furthest point.Adjust the angle of the lens by adjusting three screws in the back of the lens, and adjust the laser to
the center of the second reflector through the reflector.
Then, adjust reflector #2, in the same way to move the laser head to the closest point to lens #2 and make a
light spot, and then move the furthest point and to the furthest spot overlap on the first light spot. As shown
below:
Figure 3-28
Light route adjustment
Attention
The positions of the light spots above are recommended to emit at the center of lens,
but not the edge. In case of being at the edge, further adjustment is needed till being
at the center.
Finally check if the light spots are overlapped if the laser heads are located at different peaks. In case of fail
of overlap, please make further adjustment in the way above till achieved.
After adjusting four spots overlapped, let’s check if this point is emitted at center of light inlet of the laser
head. If no, please power off the laser, adjust position of the laser tube. In case of deviation leftward or rightward,
adjust to this direction if deviation towards it. For example, in case of leftwards deviation, adjust the laser tube to
the left side; in case of rightward deviation, and then move the laser head to the right side. In case of up or down
deviation, adjust to the opposite direction, meaning that in case of up deviation, adjust the laser tube downward,;
in case of down deviation, then to adjust upward. )The adjustment above is only for negative pole end of the laser
tube (light outlet end). In case that positive pole end of the laser tube needed to achieve the same effect, the
direction is the opposite.)
Reflector #2
Laser generator
①
②
①
②
③
③
⑥
①
Locknut
②
Adjusting bolt
③
Dimmer board
①
Nearest point
②
Coincide with the
furthest point
③
Thermal paper (or
double-sided
adhesive)
③


