

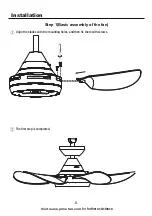

.7.
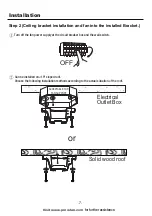
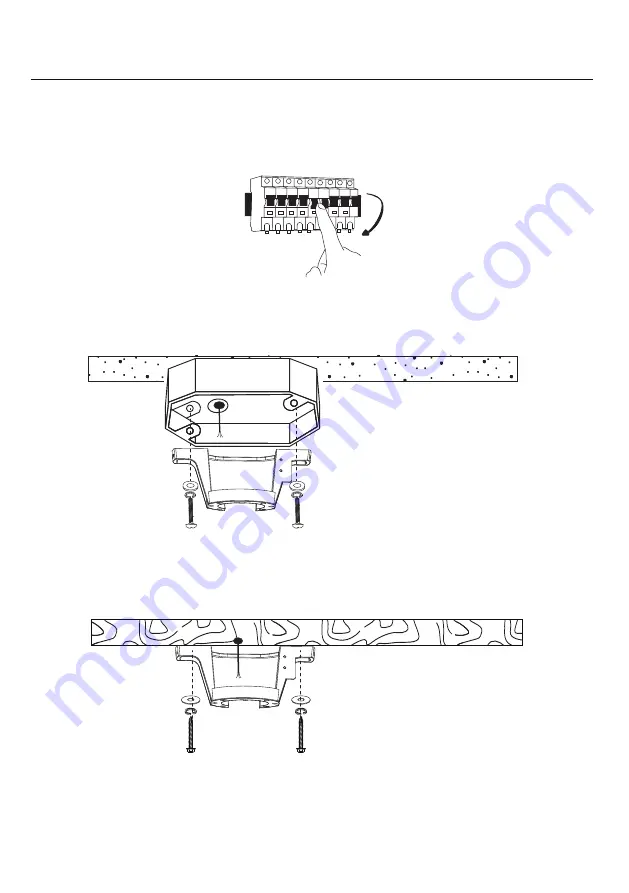
Step 2 (Ceiling bracket installation and fan into the installed Bracket.)
Can be installed on <15º sloped roof.
Choose the following installation methods according to the actual situation of the roof.
②
OFF
①
Turn off the fan power supply at the circuit breaker box and the wall switch.
Electrical
Outlet Box
Solid wood roof
ACCEPTABLE FOR
FAN SUPPORT
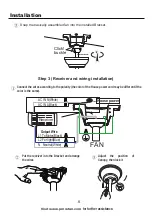
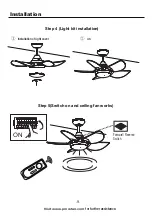
Installation
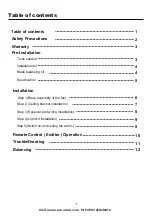
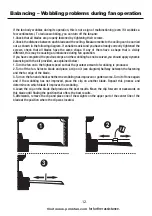
Visit www.pmwfan.com
for further assistance.
or


