background image

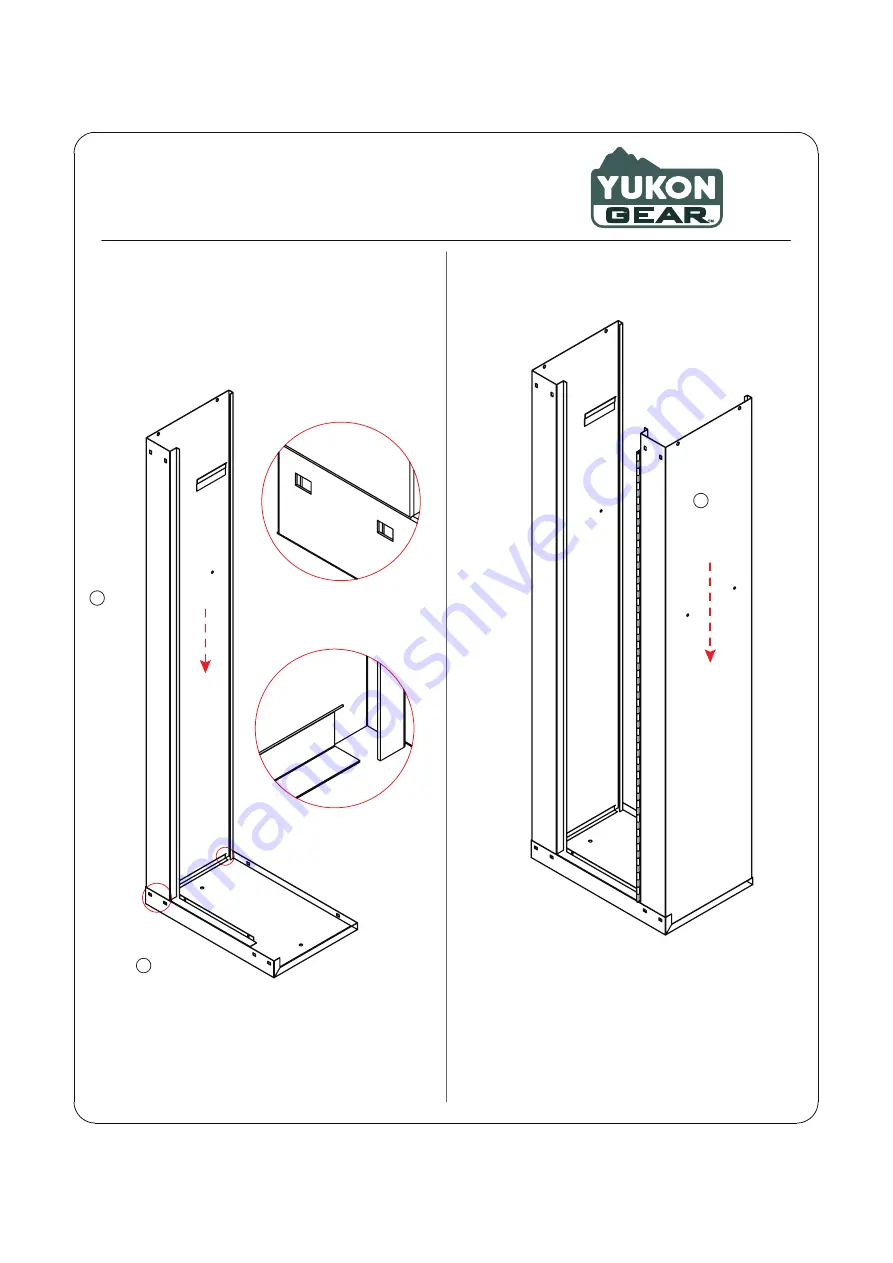
STEP

2

D

SIDE PANEL

 - RIGHT

Assemble Side Panel-Right with Bottom Panel,

Same as STEP 1,

Set the Side Panel-Right down into the Bottom Panel.

C

SIDE PANEL

 - LEFT

B

BOTTOM PANEL

Assemble Side Panel-Left with Bottom Panel.

Make sure the holes 

are aligned

Make sure that the side panel

is inserted into the gaps

STEP

1

Product No. 175-9872-4

190125
Summary of Contents for GEAR 175-9872-4

Page 1: ...pping Hazard A child or adult can tip the cabinet and be killed or seriously injured Failure to secure the cabinet as shown in these instructions can result in death or seriours injury to children and...

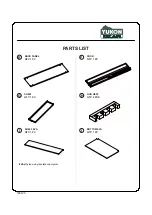
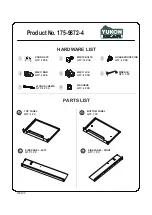
Page 2: ...QTY 2 PCS M6X11 RND QTY 4 PCS M6X11 LCK QTY 8 PCS WRENCH QTY 1 PC HARDWARE LIST WOOD SCREWS QTY 4 PCS WASHERS QTY 4 PCS PARTS LIST TOP PANEL QTY 1 PC A BOTTOM PANEL QTY 1 PC B SIDE PANEL LEFT QTY 1 PC...

Page 3: ...BACK PANEL QTY 1 PC E DOOR QTY 1 PC F SHELF QTY 1 PC G GUN REST QTY 2 PCS H SHELF EVA QTY 1 PC I BOTTOM EVA QTY 1 PC J EVA ethylene vinyl acetate copolymer PARTS LIST 190125...

Page 4: ...l Same as STEP 1 Set the Side Panel Right down into the Bottom Panel C SIDE PANEL LEFT B BOTTOM PANEL Assemble Side Panel Left with Bottom Panel Make sure the holes are aligned Make sure that the side...

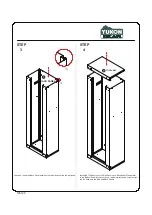
Page 5: ...anels and Back Panel Please refer to the Bottom Panel for the position A rubber mallet can be used to align the top flush with the Side and Back Panels STEP 3 E BACK PANEL As shown insert the Back Pan...

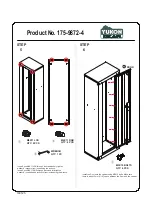
Page 6: ...binet M5X10 BOLTS QTY 6 PCS STEP 5 Insert 8 pcs M6X11 LCK through front and loosely tighten washer locknuts from insde using the wrench Insert 4 pcs M6X11 RND through back and fully tighten washer rou...

Page 7: ...0 bolts on both Side Panels H GUN REST M5X10 BOLTS QTY 4 PCS STEP 8 Place the shelf and the Shelf Eva and Bottom Eva as shown I SHELF EVA G SHELF J BOTTOM EVA SHELF SUPPORT STEP 7 Use the wood screws...

Reviews: