


ZPrinter
®
310 Plus Hardware Manual
Quick Start Guide
12
All Rights Reserved
2/11/09
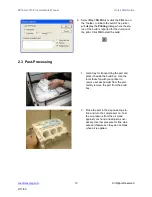
2.3 Post-Processing
6.
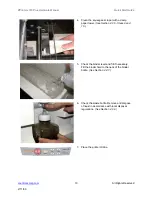
Select
File >
3D Print,
or click the
3D
icon on
the Toolbar, to initiate the build. The printer
will display the
Printing
dialog where the sta-
tus of the build is reported for the duration of
the print. Click
OK
to start the build.
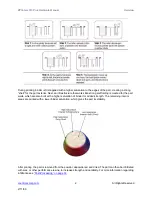
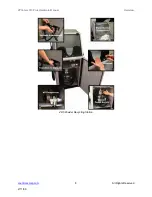
1.
Get a tray for transporting the part and
place it beside the build box. Use the
tools that ship with your printer to
remove excess powder from the part.
Gently
remove the part from the build
box.
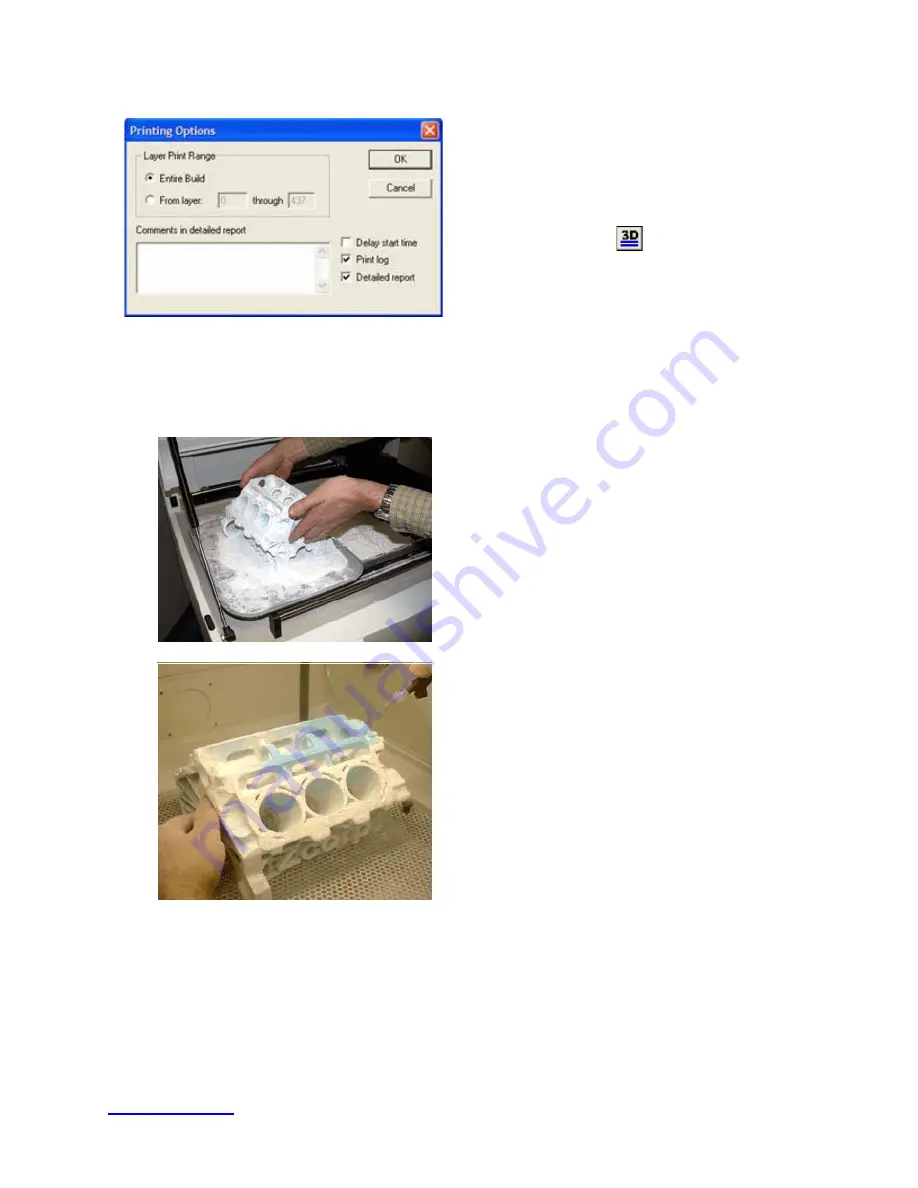
2.
Place the part in the depowdering sta-
tion and turn the compressor on. Test
the air pressure from the air wand
against your hand and adjust as nec-
essary. Use low pressure for fine, deli-
cate part features so they do not break
when air is applied.


