


ZPrinter
®
310 Plus Hardware Manual
ii
All Rights Reserved
2/11/09
costs and expenses resulting from any use of the Equipment other than for the production of early-stage
appearance models and prototypes.
Warranty
Your ZPrinter® is guaranteed to be free of defects in materials and workmanship, when used for produc-
tion of early-stage appearance models and prototypes and with Z Corporation consumables, for the period
described below under WARRANTY PERIOD. All consumables and materials are guaranteed to perform
as described in their specifications when stored and used as directed, up to the expiry date printed on the
label. THE COMPANY MAKES NO WARRANTIES, EXPRESS OR IMPLIED, AND DISCLAIMS ALL WAR-
RANTIES INCLUDING, BUT NOT LIMITED TO, IMPLIED WARRANTIES OF MERCHANTABILITY AND
FITNESS FOR A PARTICULAR PURPOSE AND ANY OTHER OBLIGATIONS OR LIABILITIES
WHETHER IN CONTRACT, WARRANTY, NEGLIGENCE OR OTHERWISE. THE COMPANY IS NOT LIA-
BLE FOR ANY DIRECT, INDIRECT, SPECIAL, PUNITIVE, CONSEQUENTIAL OR INCIDENTAL DAM-
AGES INCLUDING, WITHOUT LIMITATION, DAMAGES FOR LOSS OF BUSINESS PROFITS OR
BUSINESS INTERRUPTION ARISING OUT OF THE USE OR INABILITY TO USE PRODUCTS OR SER-
VICES SOLD HEREUNDER. IN NO EVENT WILL THE COMPANY'S LIABILITY EXCEED THE TOTAL
CHARGE OF THIS ZPRINTER® 310.
WARRANTY PERIOD: In the U.S., warranty is for 90 days and covers service, parts and training material.
In the EU, warranty is for 1 year and covers service, parts and training material.
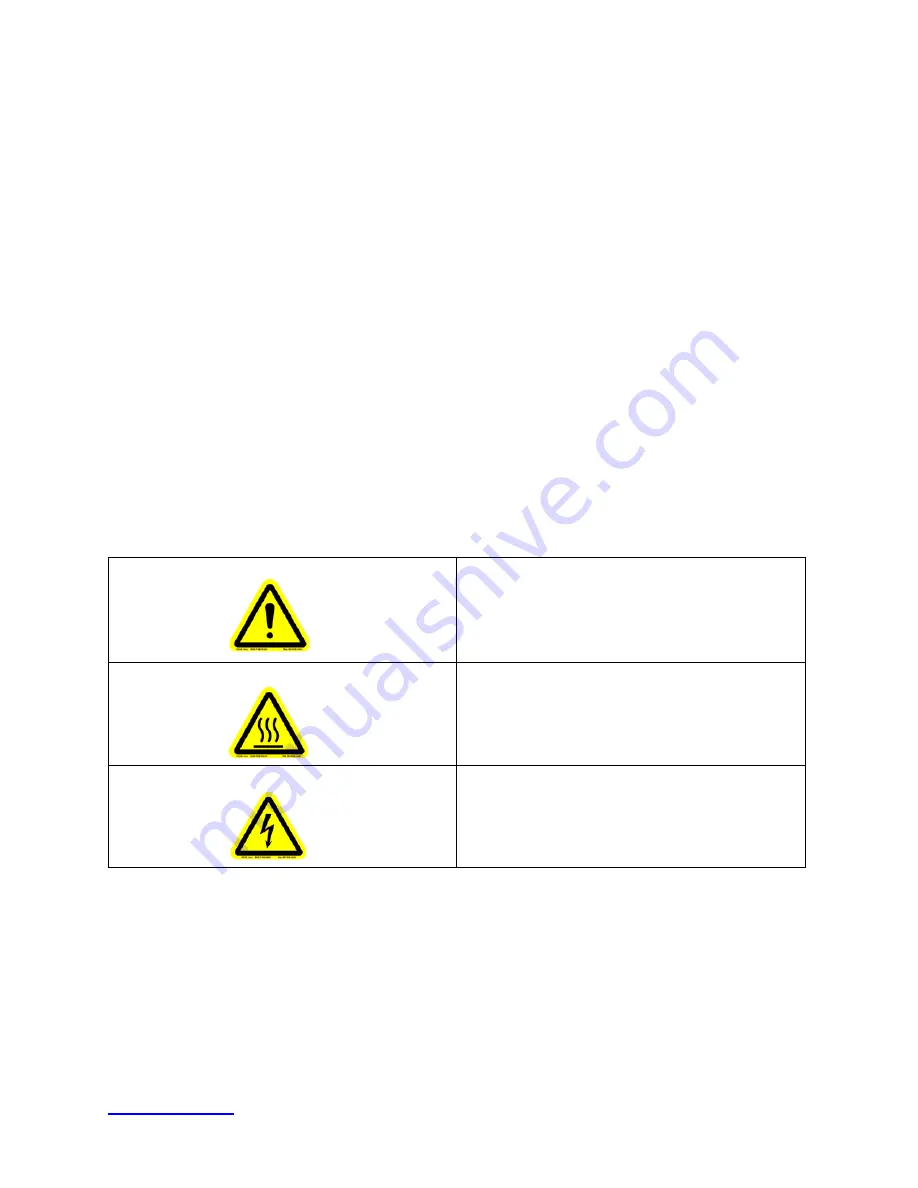
Symbols
The following symbols are used on the ZPrinter 310 and in this manual.
Change History
Rev. D 1/27/2009
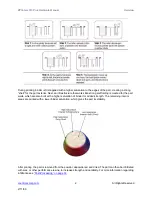
General Caution:
User should use care to avoid
possible damage to equipment.
Hot Surface:
User should use care when working
near or on the labelled item.
High Voltage:
User should use appropriate electri-
cal safety precautions.


