RESET TO FACTORY SETTINGS
ASSIGNING REMOTE CONTROL BUTTONS TO THE DEVICE
Reset to factory setting resets the device to its default configuration. All remote control commands
sent to the receiver, all preset times and a marker indicating that the receiver is paired with the
controller are removed.
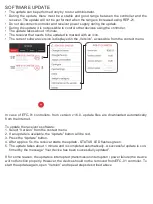
1. Press the PROG button for about 5 seconds – STATUS LED lights up orange.
2. When STATUS LED lights up blue, release the PROG button and press it again briefly (0.5s).
3. STATUS LED will flash orange and then green 5 times. This means that reset to factory settings
has been performed correctly.
• ROB-21 can be controlled using the application and any EXTA LIFE remote controls.
NOTE: The device is not compatible with other remote controls operating at 868 MHz.
• Radio remote controllers can be assigned using the application or by using the PROG button.
• The mode assigned to a selected remote control button may be different from the mode of a
channel visible in the EXTA LIFE application.
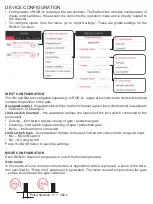
ASSIGNING REMOTE CONTROL BUTTONS USING APPLICATION
Preliminary activities:
1. Install EFC-01 controller.
2. Add ROB-21 device to the controller.
3. Add the remote control to the EFC-01 controller (using “transmitters” tab).
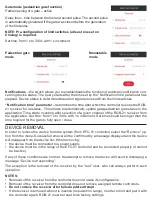
Assigning:
1. Select “assign receiver” option using the transmitter.
2. From the list of receivers, select ROB-21 channel to which you want to remotely assign your
transmitter.
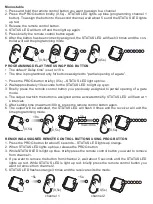
3. Select the mode, depending on the function performed by the programmed transmitter button:
•
Single pulse
– generate single pulses to control gate/pedestrian gate,
•
Partial opening of a gate
– generate two pulses at an interval specified by “Delay time”,
•
Monostable
– pulse duration depends on the time the button is pressed (maximum 120s).


