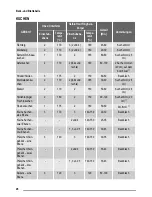
5
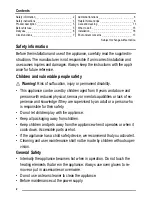
Release the locking
system to remove the in-
ternal glass panel.
90°
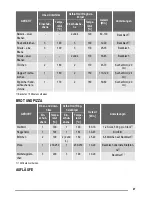
6
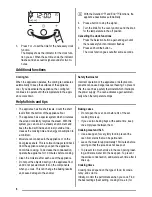
Turn the two fasten-
ers by 90° and remove
them from their seats.
1
2
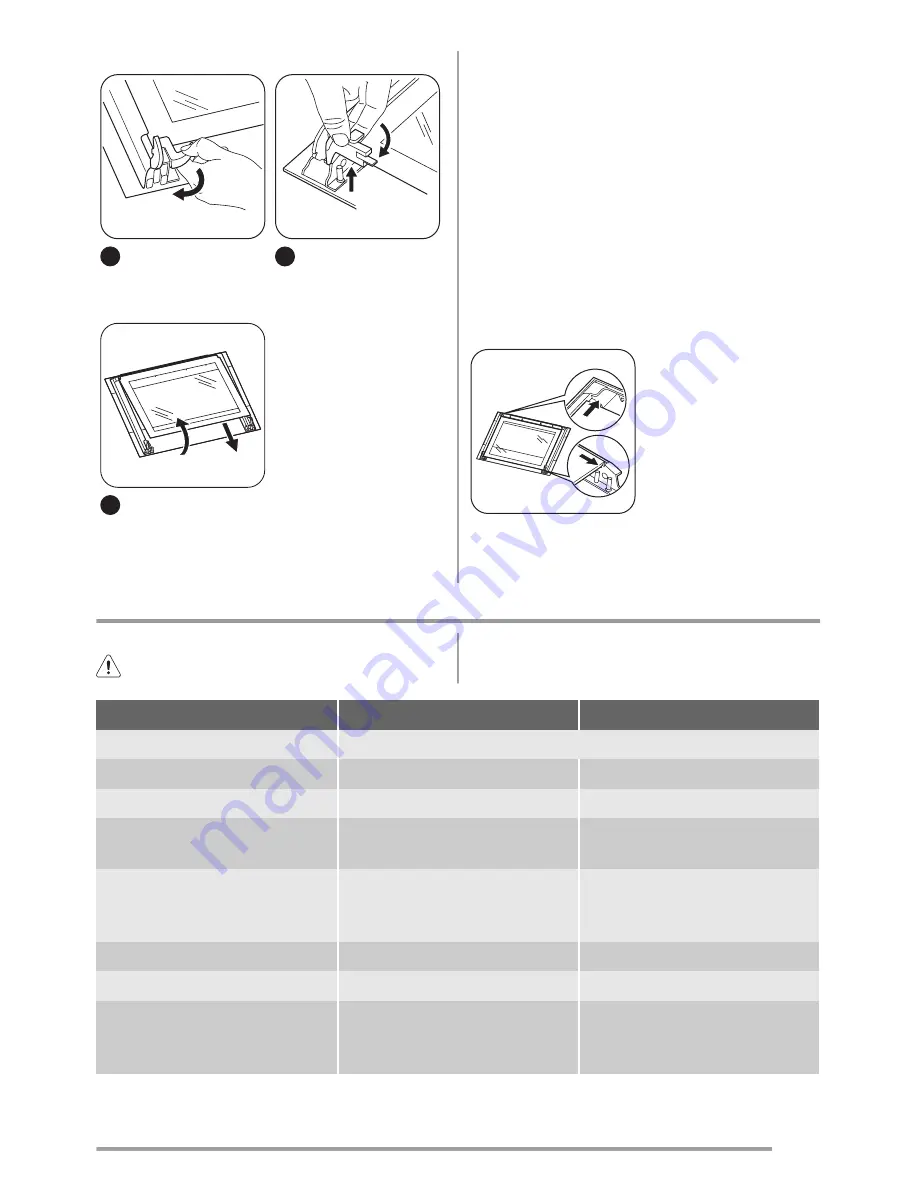
7
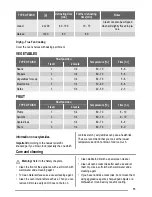
Carefully lift (step 1)
and remove (step 2) the
glass panel.
Clean the glass panel with water and soap. Dry the
glass panel carefully.
Installing the door and the glass panel
When the cleaning is completed, install the glass panel
and the oven door. Do the above steps in the opposite
sequence.
The screen-printing zone must face the inner side of
the door. Make sure that after the installation the sur-
face of the glass panel frame on the screen-printing
zones is not rough when you touch it.
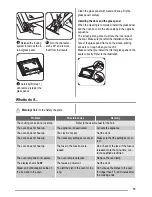
Make sure that you install the internal glass panel in the
seats correctly. Refer to the illustration.
What to do if…
Warning!
Refer to the Safety chapters.
Problem
Possible cause
Remedy
The cooking zones do not operate.
Refer to the user manual for the hob.
The oven does not heat up.
The appliance is deactivated.
Activate the appliance.
The oven does not heat up.
The clock is not set.
Set the clock.
The oven does not heat up.
The necessary settings are not set.
Make sure that the settings are cor-
rect.
The oven does not heat up.
The fuse in the fuse box is re-
leased.
Do a check of the fuse. If the fuse is
released more than one time, con-
tact a qualified electrician.
The oven lamp does not operate.
The oven lamp is defective.
Replace the oven lamp.
The display shows
12.00
.
There was a power cut.
Set the clock.
Steam and condensation settle on
the food and in the oven.
You left the dish in the oven for too
long
Do not keep the dishes in the oven
for longer than 15 - 20 minutes after
the cooking ends.
15


