background image

Cooking zones

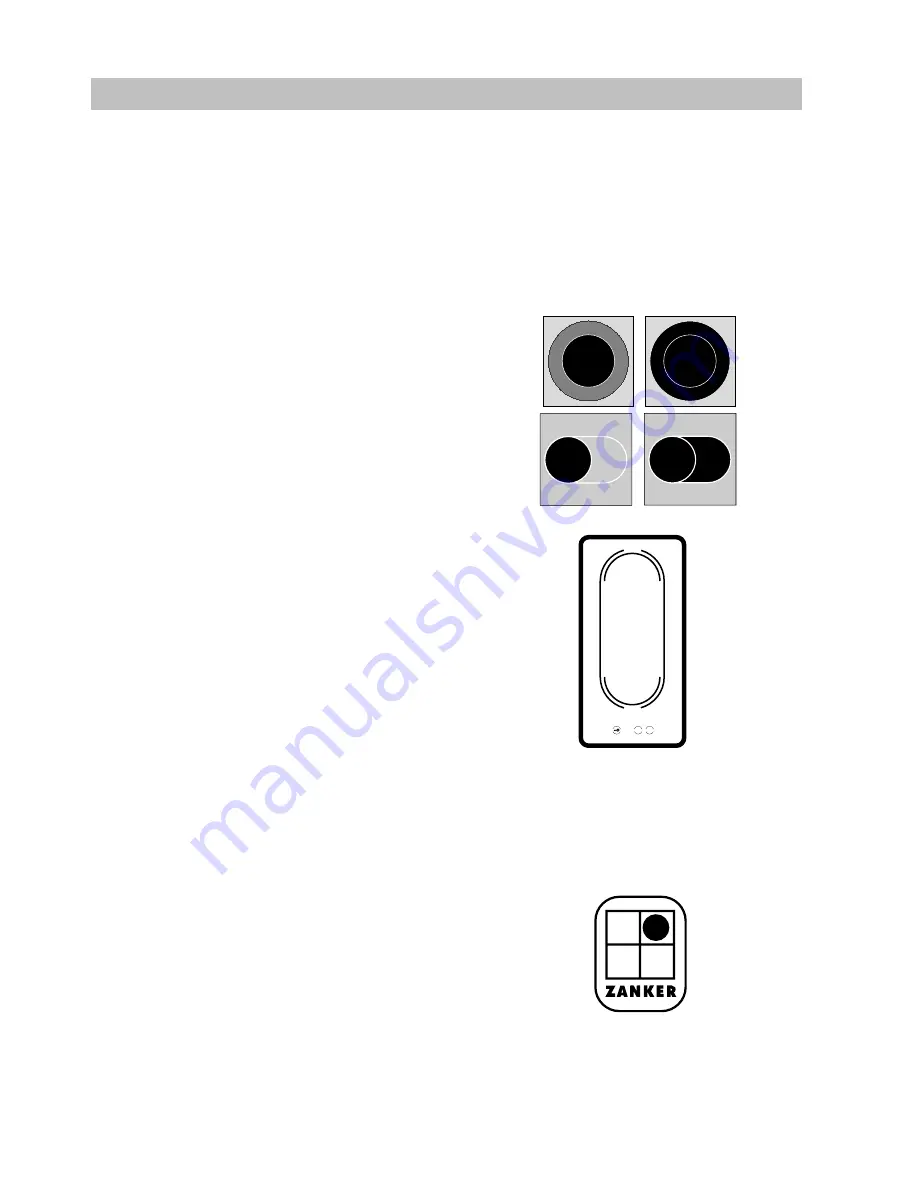
The cooking zones are indicated by markings on the
ceramic top.

The cooking zones are operated via the corresponding
switch box or built-in oven and this is in the respective
manuals.

The dimensions of the cooking zones are such that
they accommodate standard sized sauce pans.

Switching on the two-circuit zone

If the second circle of the two-circuit zone is needed
the control knob has to be turned over position 3 to the
limit stop from where it automatically springs back to
position 3. The temperature can be controlled by
turning back the knob to the wanted position on the
opposite direction. Setting it back to zero turns off the
cooking zone.

Operation of the warm-keeping zone

If your cooking area is provided with an additional
warm-keeping zone this will enable you to keep your
dishes warm in this area after cooking.

To switch on / off the warm-keeping zone there are 3
touch controls on the ceramic glass cooking area. 

- Warm-keeping zone switch-on = with one of your

fingers touch the key button for about 3-4 seconds,
(do not push) the red indicator lamp comes on.

- Within 3 seconds do afterwards touch the «I» with

your finger for about 3-4 seconds. 

- Warm-keeping zone switch-off = with your finger

touch «0» for about 3-4 seconds.

Residual Heat Indicator

This warning lamp lights up when the surface of the
cooking zone reaches a temperature which could
cause burning.

This lamp also remains lit after the heated-up area has
been switched off as long as the residual heat of the
surface still could cause burns. The lamp will only go
out when there is no more danger (temperature below
60°C).

The lamp with four lights indicates the corresponding
cooking zones. This way it is possible to see at once
which zone still hot.

l  


 O

14

Summary of Contents for ZKM 3118 KX

Page 1: ...ZKM 3118 KX OPERATING AND ASSEMBLY INSTRUCTIONS GB for Ceramic Built In Hobs...

Page 2: ...ive 72 23 EEC 89 336 EEC 93 68 EEC Contents Unpacking and control 11 Preparation for installation 11 Fasteningaccording 11 Electrical connection 12 Important for the disassembly of the hob 12 Before t...

Page 3: ...k seal for perfect fit and overall cover Lower the ceramic hob into place and align correct ly In terms of fire protection the appliance conforms to Type Y IEC 335 2 6 Only appliances of this type may...

Page 4: ...e protection against accidental contact The distance between the underside of the hob and the furniture beneath must be at least 20 mm Arrangements of hob built in oven switch box may be looked up in...

Page 5: ...Never use aggressive detergents or spon ges with abrasive surface When you use the ceramic hob for the first time it can temporarely emit an odeur caused by a vaporation of water in the isolation Desc...

Page 6: ...this will enable you to keep your dishes warm in this area after cooking To switch on off the warm keeping zone there are 3 touch controls on the ceramic glass cooking area Warm keeping zone switch o...

Page 7: ...ry energy is consumed Do not deposit items on the hob s surface The cooking zone and the bottoms of saucepans should be dry and clean Thus you save un necessary cleaning work Sugar solid or liquid as...

Page 8: ...pecial detergent Removal of sugar sugar containing food pla stic objects or kitchen foil The cooking zone involved must not be turned off The remains have to be scraped off the hot cooking zone immedi...

Page 9: ...ensions Width 780 mm Depth 500 mm Radius 24 mm Supply Voltage 230 V Frequency 50 Hz Total Connected Load 6 82 kW Rating Plates What to do in case of a defect If your hob needs servicing please give yo...

Page 10: ...ZKM 3118 KX ZMK 3118 KX ZKH 7218 B ZKH 7218 W ZKH 7218 S ZKH 7218 X ZKH 7218 F ZKH 7218 H ZKH 7218 V ZKH 7228 B ZKH 7228 W ZKH 7228 S ZKH 7228 X ZMK 3100 B ZMK 3100 W ZMK 3100 S ZMK 3100 X 49...

Page 11: ...09 97 374 3133 00...

Reviews: