53
CONTENTS
Warnings
51
Fastening to the wall
52
Use
54
Cleaning the interior
54
Control panel
54
Use of the refrigerator - Operation
54
Temperature regulation
54
Air circulation
54
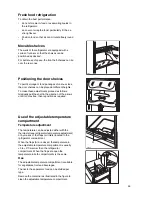
Fresh food refrigeration
55
Movable shelves
55
Positioning the door shelves
55
Use of the adjusting temperaure compartment
55
Use of the freezer - Starting
56
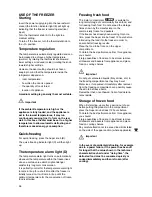
Temperature regulation
56
Quick-freezing
56
The temperature alarm light
56
Freezing fresh food
56
Storage of frozen food
56
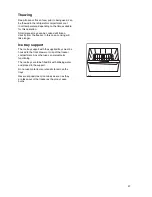
Thawing
57
Ice tray support
57
Hints
58
hints for refrigeration
58
Hints for freezing
58
Hints for storage of frozen food
58
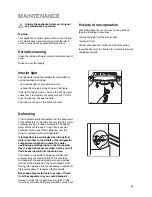
Maintenance
59
Periodic cleaning
59
Periods of no operation
59
Interior light
59
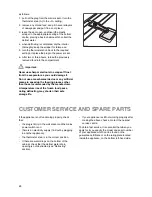
Defrosting
59
Customer service and spare parts
60
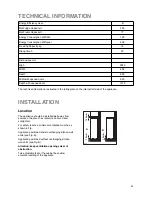
Technical information
61
Installation
61
Location
61
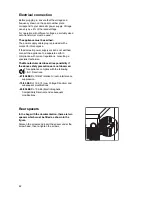
Electrical connection
62
Rear spacers
62
Reversing the doors
63
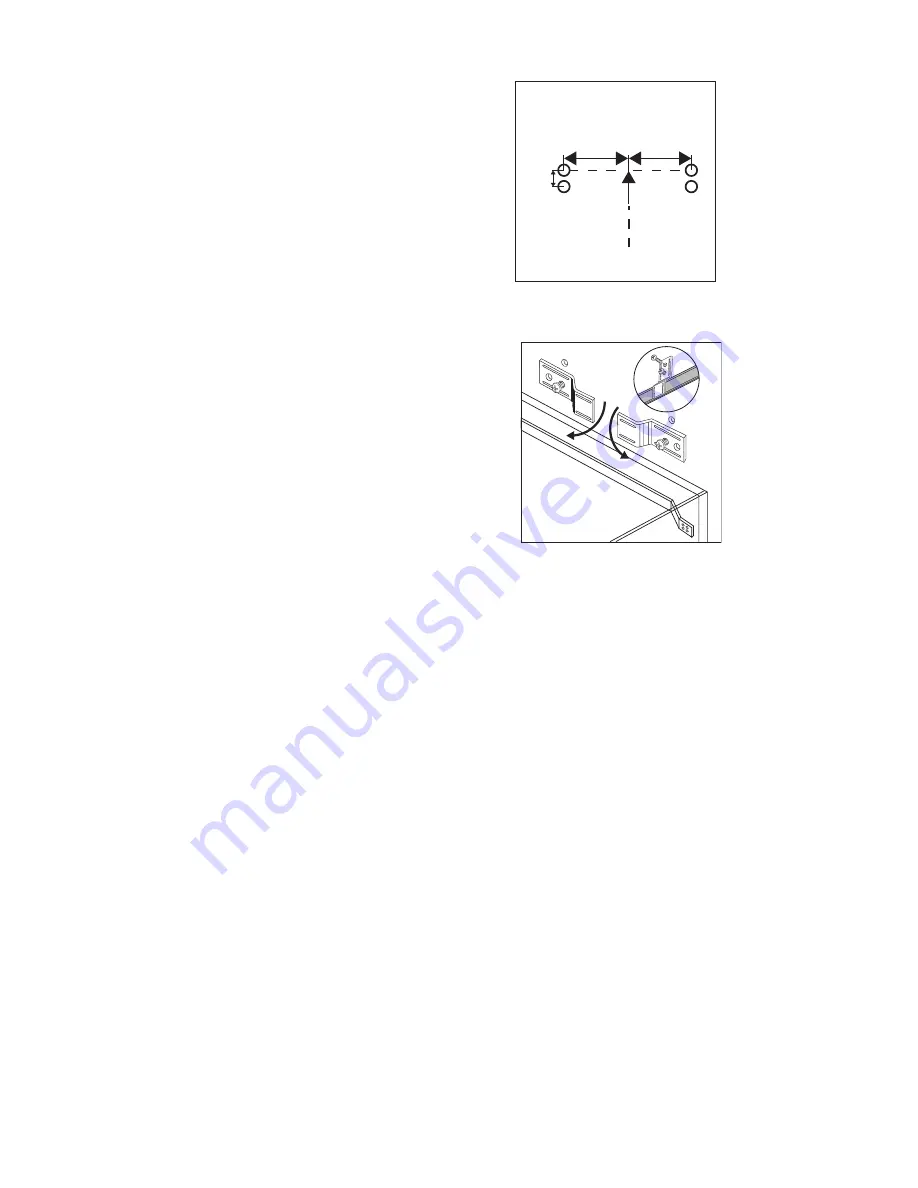
3. Repeat the operation with the drill (see figure).
For masonry walls:
4. Insert the 4 metal bushings and tighten the
screws.
5. Fasten the brackets horizontally in the lower set
of holes as illustrated in the figure after having
previously removed the screws.
6. Push the appliance towards the wall and turn the
brackets downwards 90¡. Make sure that the
lower part of the brackets is located between the
appliance and the plate.
7. Insert the second set of screws in the upper
holes and complete the fastening.
For buffer walls (for ex. in sheetrock):
4. Insert the bushings by screwing them into the
holes drilled previously.
5. Fasten the brackets horizontally in the lower set
of holes with the screws as illustrated in the
figure.
6. Push the appliance towards the wall and turn the
brackets downwards 90¡. Make sure that the
lower part of the brackets is located between the
appliance and the plate.
7. Tighten the screws previously loosened and
complete the fastening with the second set of
screws.
Once the appliance is fastened to wall, make sure
that it is stable.
D753
15 cm
15 cm
1,5 cm
200 cm
D743
90
°


