


11
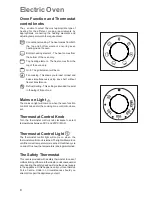
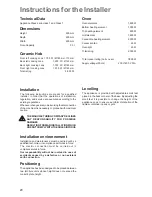
“End of cooking” function
With this function, you can set the oven to switch off automatically when a
programmed end of cooking time is over. Place food in the oven, select a cooking
function and adjust the cooking temperature. Press button
repeatedly to
select the “End of cooking” function. The relevant pilot lamp will start flashing.
Then, proceed as follows:
To set the End of cooking time:
1.
Press button
or
.
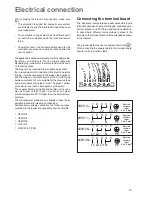
2.
After the setting is carried out, wait for 5 seconds: the “End of cooking” pilot
lamp will come on and the display will revert to the time of day.
3.
When cooking time is over, the oven will be switched off automatically and
an acoustic alarm will be heard, and the pilot lamp will start flashing. Turn
the oven function and the thermostat control knob to zero.
To switch off the acoustic alarm, press any button.
NOTE:
turning the acoustic
alarm off will reset the oven to manual, and if the oven function and the
thermostat knobs are not set to zero the oven will start to heat again.
To cancel the End of cooking time:
1.
Press button
repeatedly to select the “End of cooking” function. The
relevant pilot lamp will flash and the display will show the programmed
End of cooking time.
2.
Press button
until the display shows the current time of day. The
programmer will beep and the pilot lamp will go out.
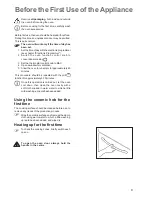
“Cooking duration”
and
“End of cooking
time” combined
The functions “Cooking duration” and “End of cooking time”
can be used
simultaneously to set the oven to switch on and off automatically at a later time.
1.
With the “Cooking duration” function (carry out the cooking duration setting
as described in the relevant chapter) set the duration time. Then, press
button : the display will show the programmed setting.
2.
With the “End of cooking time” function (carry out the End of cooking
setting as described in the relevant chapter) set the end of cooking time.
The relevant pilot lamps will come on and the display will show the time of
day. The oven will switch on and off according to the set programmes.
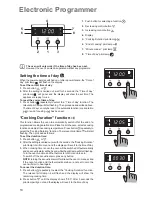
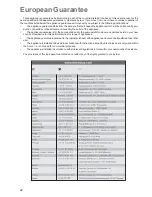
“Minute minder” function
The minute minder alarm will sound at the end of a timed period, but THE OVEN
WILL REMAIN ON, if it is in use.
To set the minute minder:
1.
Press button
repeatedly to select the “Minute minder” function. The
relevant pilot lamp will start flashing.
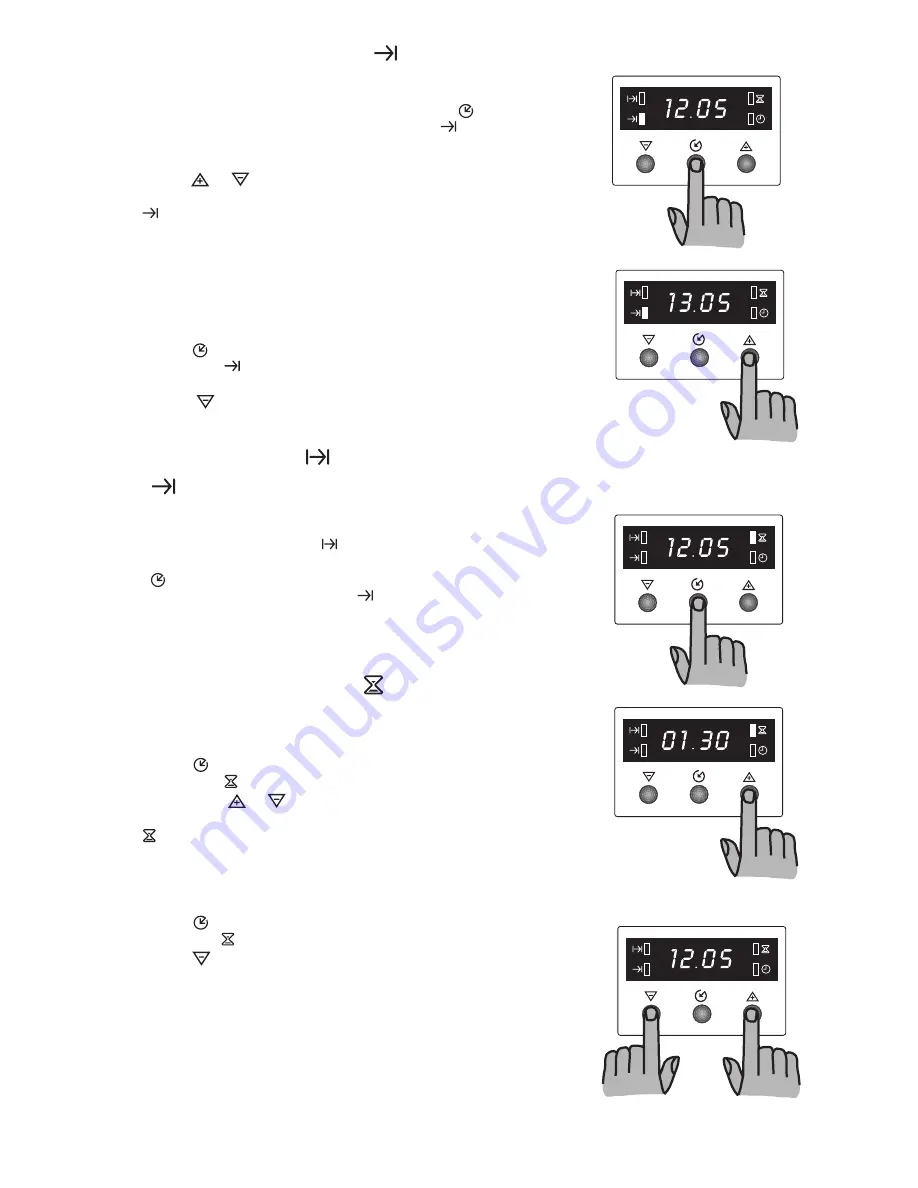
2.
Then, press button
or
(maximum: 2 hours, 30 minutes).
3.
After the setting is carried out, wait for 5 seconds: the “Minute minder” pilot
lamp will come on.
4.
At the end of the timed period, the pilot lamp will start flashing and an
acoustic alarm will be heard. To switch off the acoustic alarm, press any
button.
To cancel the minute minder:
1.
Press button
repeatedly to select the “Minute minder” function. The
relevant pilot lamp will flash and the display will show the remaining time.
2.
Press button
until the display shows “0:00”. After 5 seconds the pilot
lamp will go out and the display will revert to the time of day.
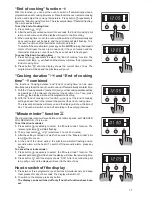
How to switch off the display
1.
Press two or three programmer push buttons simoultaneously and keep
them pressed for about 5 seconds. The display will switch off.
2.
To switch on the display, press any button.
The display can be switched off only if no other functions have been
set.


