7
The increase and decrease control buttons operate
slowly at first and then more rapidly. They should be
pressed separately.
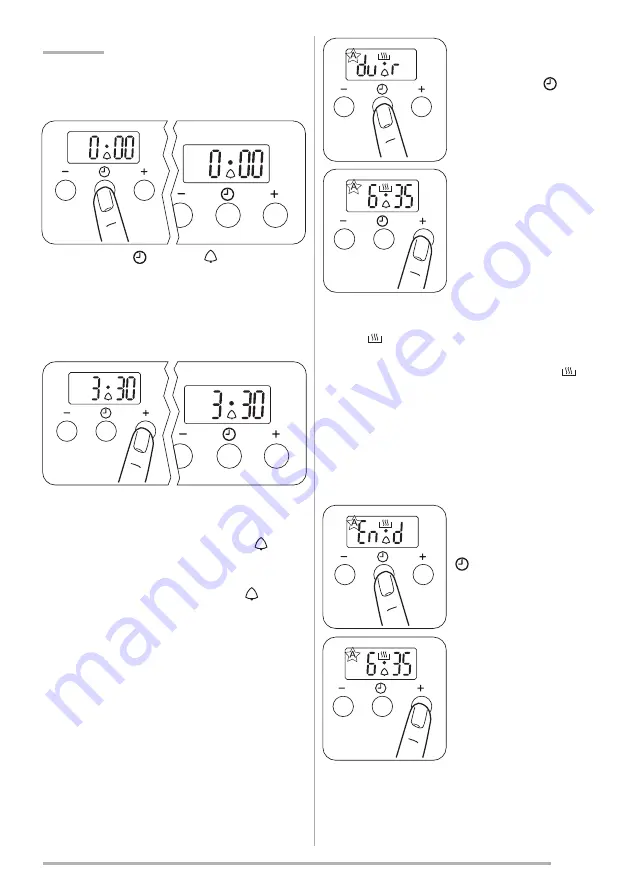
Press the “mode”( ) key until “ “ indicator lamp
starts to light.
To set the countdown
This function can be used as time set up and alarm
when wished.
The desired period interval is adjusted via “+” or “-”
keys.
The screen reverts to the time of day and “ “ sign
that flashed in the past remains fixed. It is possible to
make time set up between 0- 23.59 hours. At the end
of cooking period an alarm is heard and “ “ symbol
flashes. You can press any key to stop the alarm.
Setting the oven timer control
Only the main oven can be automatically timed.
When using the timer control for the very first
time, it is advisable to let it operate while you
are at home.
The display can be checked to show that it is
operating correctly and you will feel confident
to leave a meal to cook automatically in the future.
Setting the Desired Cooking Period
This function is used to set the desired cooking
period.
Once the time is adjusted, it is registered
automatically in 5 seconds following the adjustment.
“A” and “ “ symbols will be illuminated. The screen
returns to the current time. At the end of a timed
cooking period an alarm will sound and “A” and “ “
symbols starts to flash. Pressing any button stops the
alarm and the lamp flashing. It is possible to adjust
cooking period between 0-10 hours.
Setting the Finish Time
This function is used to adjust finish time of the
cooking period.
The time will revert to the time of day when the finish
time is reached an alarm is heard and you can press
any key to stop the alarm. The oven will turn off.
IMPORTANT!
Press the “mode“ ( )
key until “dur” indicator
lamp starts to flash.
Press the “mode” key
( ) until “End” indicator
lamp starts to flash.
Set the desired finish time
by using “+” or “-” keys.
Adjust the desired cooking
period by using “+” or “-”
keys.


