


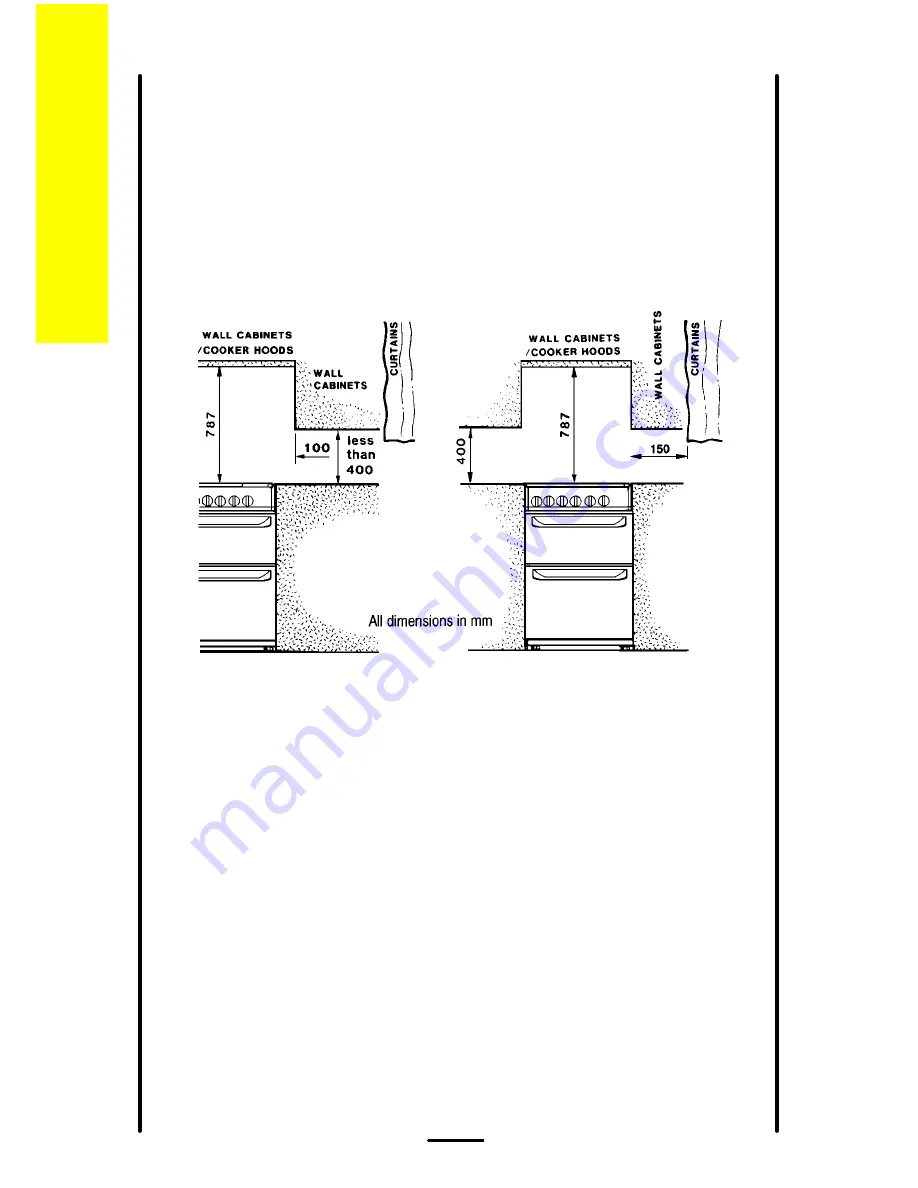
Positioning
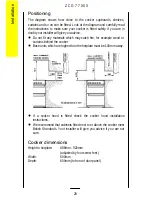
The diagram shows how close to the cooker cupboards, shelves,
curtains and so on can be fitted. Look at the diagram and carefully read
the instructions to make sure your cooker is fitted safely. If you are in
doubt your installer will give you advice.
l
Do not fit any materials which may catch fire, for example wood or
curtains behind the cooker.
l
Base units which are higher than the hotplate must be 100mm away.
l
If a cooker hood is fitted check the cooker hood installation
instructions.
l
We recommend that cabinets fitted next to or above the cooker meet
British Standards. Your installer will give you advice if you are not
sure.
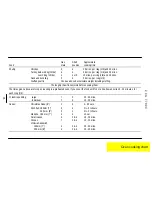
Cooker dimensions
Height to hotplate:
898mm - 920mm
(adjusted by four screw feet )
Width:
600mm
Depth:
600mm (to front of door panel)
Z C G 7 7 0 0 X
28
Installation
Summary of Contents for ZCG 7700X
Page 1: ...OPERATING INSTRUCTIONS ZCG 7700X ...
Page 44: ...PART NO 311487001 ...