
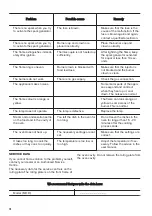


We recommend that you write the data here:
Product number (PNC)
.........................................
Serial number (S.N.)
.........................................
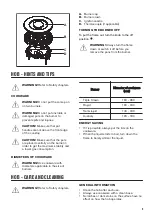
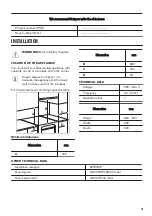
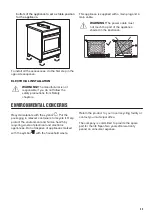
INSTALLATION
WARNING! Refer to Safety chapters.
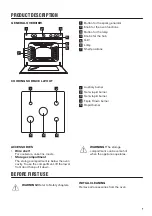
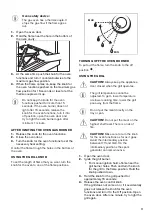
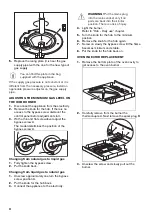
LOCATION OF THE APPLIANCE
You can install your freestanding appliance with
cabinets on one or two sides and in the corner.
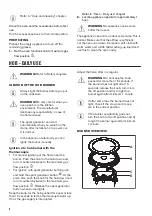
Keep a distance of about 1 cm
between the appliance and the back
wall to make sure that the lid opens.
For minimal distances for fitting check the table.
A
C
D
D
B
Minimum distances
Dimension
mm
A
400
Dimension
mm
B
650
C
150
D
20
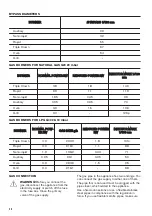
TECHNICAL DATA
Voltage
220 - 240 V
Frequency
50 - 60 Hz
Appliance class
1
Dimension
mm
Height
850 - 870
Width
900
Depth
600
OTHER TECHNICAL DATA
Appliance category:
II2H3B/P
Gas original:
G30 (3B/P) 28-30 mbar
Gas replacement:
G20 (2H) 20 mbar
19
Summary of Contents for ZCG91016XA
Page 1: ...GETTING STARTED EASY User Manual ZCG91016XA EN User Manual Cooker EG ...
Page 26: ......
Page 27: ......


