16
www.zanussi.com
Particular attention must be paid to the
instructions given below for ventilation and
aeration.
Installation
Unpacking your cooker
• Once the wrapping has been removed from
the outer surfaces and the various inner
parts, thoroughly check that the appliance is
in perfect condition. If you have any doubts
do not use the appliance and call in a
qualified person.
• Some parts mounted on the appliance are
protected by a plastic film. This protection
must be removed before using the appliance.
We recommend slitting the plastic film along
the edges with a sharp knife or pin.
• Do not move the appliance by the handle.
The packaging materials used
(cardboard, bags, polystyrene foam,
nails etc.) must not be left anywhere
within easy reach of children as they are
a potential hazard source.
Ventilation
The appliance should not be installed in a room
of volume less than 20 m³.
The quantity of air necessary is that required
for a regular combustion of the gas and for the
ventilation of the room. The natural flow of air
must be direct through permanent openings in
the walls of the room that open directly to the
outside with a minimum cross section of 100
cm
2
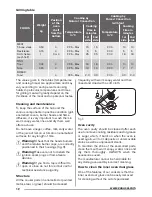
(fig. 1). These openings must be positioned
so they cannot be obstructed.
Indirect ventilation is also allowed by taking air
from adjacent rooms to the one to be ventilated,
strictly complying with the prescriptions of the
standards in force.
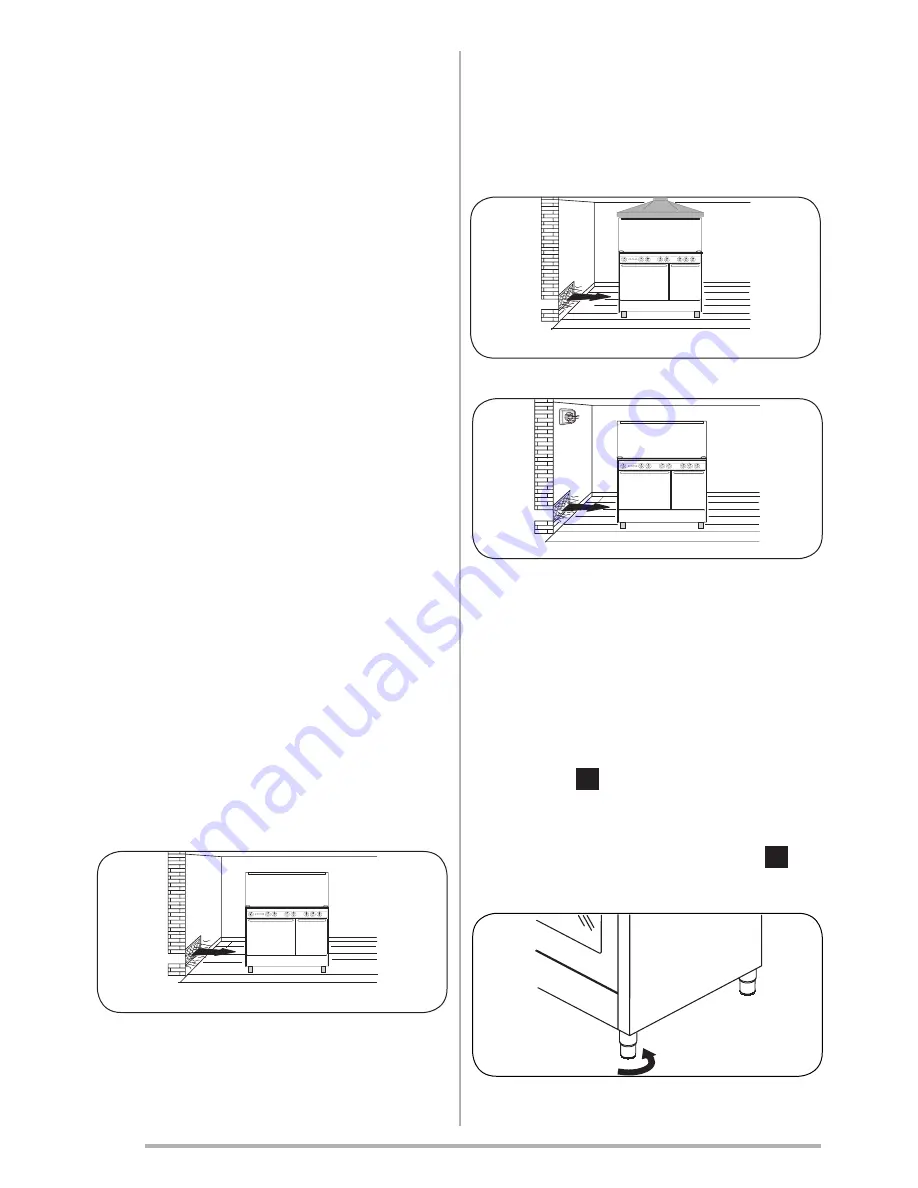
AIR INLET MIN. SECT. 100 cm
2
fig. 1
Location and aeration
Gas cookers must always discharge the
products of combustion and the moisture
through hoods connected to flues or directly
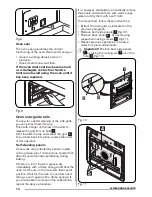
to the outside (fig. 2). If it is impossible to use
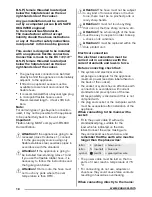
a hood, a fan installed on the window or wall,
facing the outside, is allowed and should be
switched on each time the appliance is used
(fig. 3) provided the rules and regulations in
force relating to ventilation.
AIR INLET MIN. SECT. 100 cm
2
fig. 2
fig. 3
Positioning the cooker
The appliances are fitted with the following
parts to enable them to be correctly
positioned:
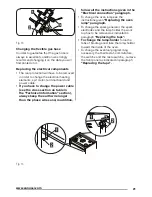
• Adjustable feet, to be fitted to the
appliance, which allow the height of the
cooker to be aligned with other kitchen
furniture (fig. 4).
• Backguard
1
. If the cookers are equipped
with this accessory, leave of the factory
with this particular inserted inside the
packaging. In order to install the backguard,
it is necessary to loosen the screws
2
positioned on the back of the hob and then
to fix the backgaurd as indicated in figure 5
fig. 4
AIR INLET MIN. SECT. 100 cm
2

