17
www.zanussi.com
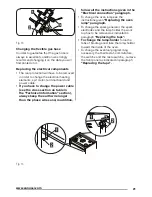
event of children standing on the oven door
or where users put extreme weight on the
door when in open position, two chains
MUST BE fixed to the back of the oven
which should at all times be secured to the
threaded pins . The threaded pins should be
secured to the wall at the back of the cooker.
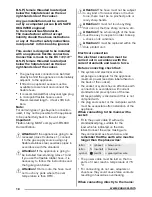
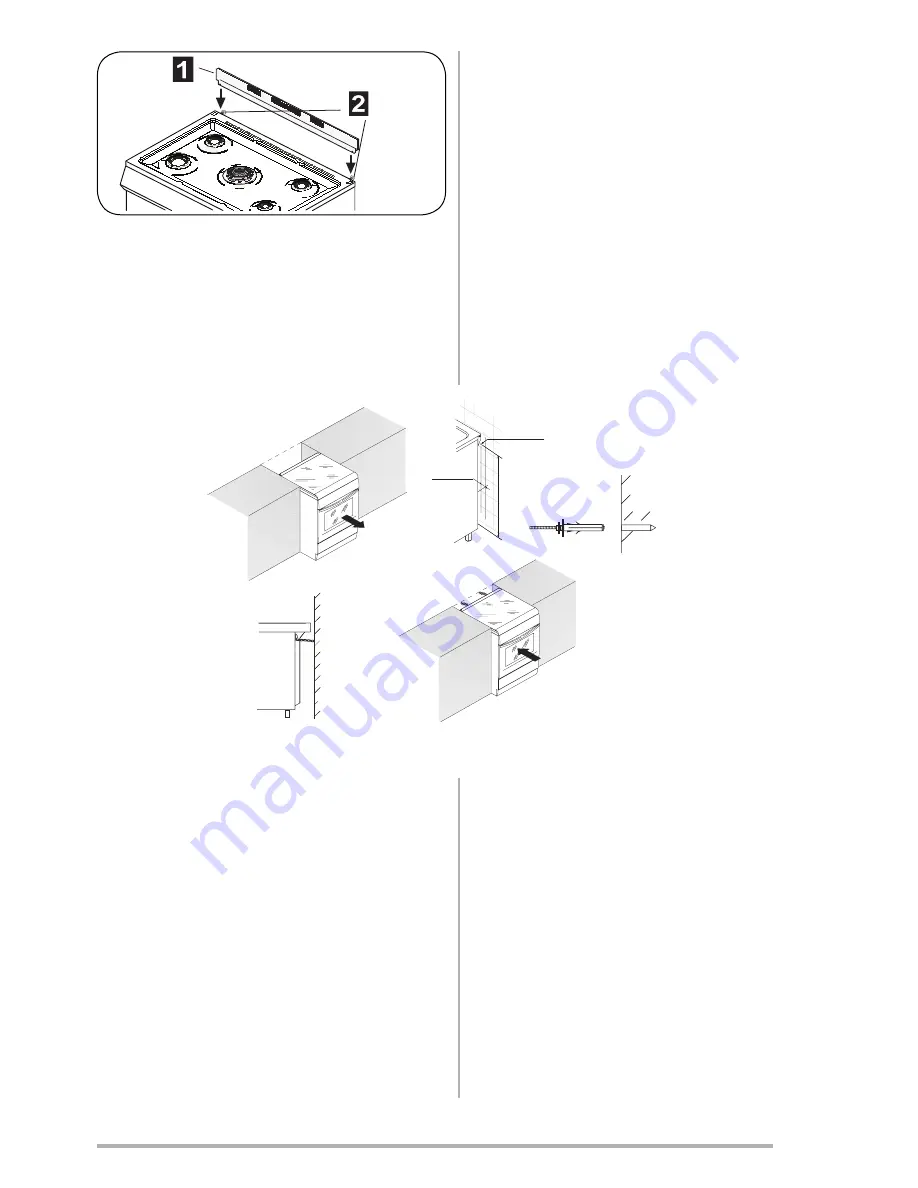
Assembly instructions (fig.6)
• Secure threaded pins into wall immediately
behind and to the left-hand side about 770
mm from the floor.
Finished fixing the chains must be stretched
Fig. 5
Fig. 6
770 mm +/- 5
20 mm +/- 3
Wall
Position of threaded pin
chain tilt
Threaded pin
Masonary wall
Gas connection
Before connecting the appliance check
that the data on the rating plate affixed
to the cooker, correspond to those of
the gas mains.
A label on the back of this handbook
and at the back of the cooker gives the
appliance adjustment conditions, that is,
the type of gas and operating pressure.
When the final connection has been
made, it is essential that a thorough
leak test is carried out on the cooker
and installation.
Ensure that the main connection pipe
does not exert any strain on the cooker
The appliance must be installed and
serviced by a competent person as
stated in the Gas Safety (Installation and
Use) Regulation Current Editions and the
IEE Wiring Regulations.
Any gas installation must be carried
out by a competent person (GAS SAFE
REGISTER engineer)
to the relevant Gas Standards.
The manufacturer will not accept
liability, should the above instructions
or any of the other safety instructions
incorporated in this book be ignored.
This cooker is designed to be installed
with an appliance flexible connection.
Connection is made to the RC 1/2 (1/2’’
Securing the cooker to wall
Note:- The installation of the chain provided
is for safety reasons, it must be installed as
indicated below.
To prevent the cooker tipping forwards in the

