


•
If the mains power supply cable is damaged, it must be
replaced by the manufacturer, its Authorised Service Centre or
similarly qualified persons to avoid an electrical hazard.
•
The means for disconnection must be incorporated in the fixed
wiring in accordance with the wiring rules.
•
WARNING: Use only hob guards designed by the
manufacturer of the cooking appliance or indicated by the
manufacturer of the appliance in the instructions for use as
suitable or hob guards incorporated in the appliance. The use
of inappropriate guards can cause accidents.
Safety instructions
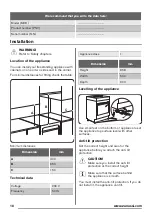
Installation
WARNING!
Only a qualified person must install
this appliance.
• Remove all the packaging.
• Do not install or use a damaged appliance.
• Follow the installation instruction supplied
with the appliance.
• Always take care when moving the appliance
as it is heavy. Always use safety gloves and
enclosed footwear.
• Do not pull the appliance by the handle.
• The kitchen cabinet and the recess must
have suitable dimensions.
• Keep the minimum distance from the other
appliances and units.
• Make sure that the appliance is installed
below and adjacent safe structures.
• Parts of the appliance carry current. Close
the appliance with furniture to prevent
touching the dangerous parts.
• The sides of the appliance must stay
adjacent to appliances or to units with the
same height.
• Do not install the appliance adjacent to a
door or under a window. This prevents hot
cookware to fall from the appliance when the
door or the window is opened.
• Make sure to install a stabilizing means in
order to prevent tipping of the appliance.
Refer to Installation chapter.
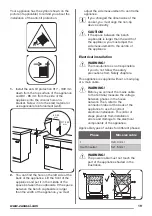
Electrical Connection
WARNING!
Risk of fire and electrical shock.
• All electrical connections should be made by
a qualified electrician.
• The appliance must be earthed.
• Make sure that the parameters on the rating
plate are compatible with the electrical
ratings of the mains power supply.
• Always use a correctly installed shockproof
socket.
• Do not use multi-plug adapters and
extension cables.
• Do not let mains cables touch or come near
the appliance door, especially when the door
is hot.
• The shock protection of live and insulated
parts must be fastened in such a way that it
cannot be removed without tools.
• Connect the mains plug to the mains socket
only at the end of the installation. Make sure
that there is access to the mains plug after
the installation.
• If the mains socket is loose, do not connect
the mains plug.
• Do not pull the mains cable to disconnect
the appliance. Always pull the mains plug.
• Use only correct isolation devices: line
protecting cut-outs, fuses (screw type fuses
removed from the holder), earth leakage trips
and contactors.
• The electrical installation must have an
isolation device which lets you disconnect
the appliance from the mains at all poles.
The isolation device must have a contact
opening width of minimum 3 mm.
4
www.zanussi.com


