


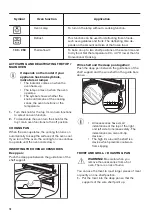
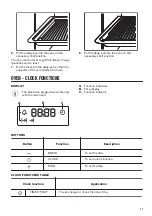


CHANGING THE TIME
You cannot change the time of day if
the Duration
or End
function
operates.
Press again and again until the indicator for the
Time of Day function flashes.
To set a new time, refer to "Setting the time".
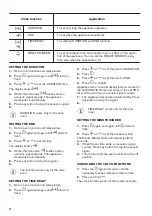
PREHEATING
Preheat the empty appliance before first use.
Preheat the two ovens. Heat up one
oven at a time.
1. Set the maximum temperature.
2. Let the appliance operate for 1 hour.
3. Set the function .
4. Let the appliance operate for 15 minutes.
Accessories can become hotter than usual. The
appliance can emit an odour and smoke. This is
normal. Make sure that the airflow is sufficient.
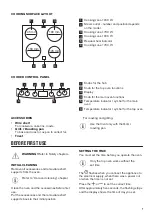
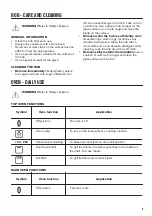
HOB - DAILY USE
WARNING! Refer to Safety chapters.
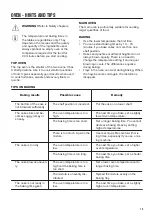
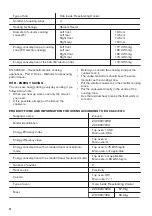
HEAT SETTING
Symbols
Function
Off position
1 - 6
Heat settings
Use the residual heat to decrease
energy consumption. Deactivate the
cooking zone approximately 5 - 10
minutes before the cooking process is
completed.
Turn the knob for the selected cooking zone to a
necessary heat setting.
To complete the cooking process, turn the knob to
the off position.
RESIDUAL HEAT INDICATOR
WARNING! There is a risk of burns
from residual heat.
The indicator comes on when a cooking zone is
hot, but it does not function if mains power is
disconnected.
HOB - HINTS AND TIPS
WARNING! Refer to Safety chapters.
COOKWARE
The bottom of the cookware must be
as thick and flat as possible.
Ensure pan bases are clean and dry
before placing on the hob surface.
Cookware made of enamelled steel
and with aluminium or copper bottoms
can cause a colour change on the
glass-ceramic surface.
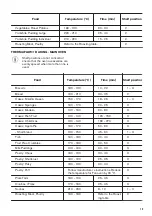
EXAMPLES OF COOKING APPLICATIONS
Heat set-
ting:
Application:
1
Keeping warm
2
Gentle simmering
3
Simmering
4
Frying / browning
5
Bringing to the boil
6
Bringing to the boil / quick frying /
deep-frying
8