While boiling and frying big quantities of food without a lid, cooking on multiple cooking
zones or burners.
It is recommended to leave the hood
operating for approximately 15 minutes
after cooking.
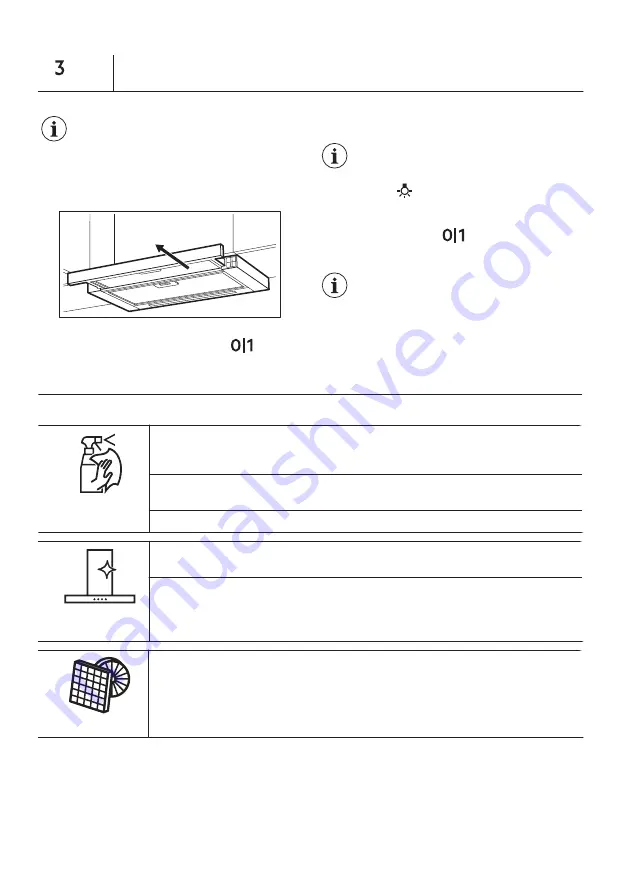
To operate the hood:
1.
Pull out the drawer of the hood more than 5
cm.
The control panel is exposed.
2.
To activate the function press the
button.
3.
If needed, change the speed by pressing the
desired button.
The hoods light works independently
to other hood functions. To illuminate
the cooking surface press the light
button . Closing the drawer has no
effect on the hood light.
To turn off the fan press
or close the hood
drawer.
The hood remembers last setting of
fan speed on closing the drawer. The
hood will operate on this fan speed
level when drawer is pulled out again.
CARE AND CLEANING
NOTES ON CLEANING
Cleaning
Agents
Do not use abrasive detergents and brushes.
Clean the surface of the appliance with a soft cloth with warm water and a mild
detergent.
After cooking some parts of appliance can get hot. To avoid stains appliance
must be cooled down and dried with clean cloth or paper towels.
Clean stains with a mild detergent.
Keep the hood
clean
Clean the appliance and grease filters each month. Clean the interior and grease
filters carefully from fat. Fat accumulation or other residue may cause fire.
Grease filters can be washed in a dishwasher.
The dishwasher must be set to a low temperature and a short cycle. The grease
filter may discolour, it has no influence on the performance of the appliance.
Charcoal filter
The time of saturation of the charcoal filter varies depending on the type of cook-
ing and the regularity of cleaning the grease filter. The activated charcoal filter is
not washable, cannot be regenerated and must be replaced approximately every
4/6 months of operation, or more frequently for particularly heavy usage.
CLEANING THE GREASE FILTER
Filters are mounted with the use of clips and pins
on the opposite side.
To clean the filter:
1.
Press the handle of the mounting clip on the
filter panel underneath the hood (1).
20
Summary of Contents for ZFP216W
Page 2: ...www zanussi com support 2 1 4 3 1 2 3 4 2...
Page 3: ...15 1 5 2 3 3...
Page 4: ...4 6 1 1 1 2 2 2 3 4 1 2 1 2 1 2 LED 4...
Page 5: ...l 5...
Page 16: ...www zanussi com support 2 1 4 3 1 2 3 4 16...
Page 17: ...15 1 5 cm 2 3 17...
Page 18: ...4 6 1 1 1 2 2 2 3 4 1 2 1 2 1 2 LED LED 18...
Page 43: ...prodotto al punto di riciclaggio pi vicino o contattare il comune di residenza 43...
Page 44: ...www zanussi com support 2 1 4 3 1 2 3 4 44...
Page 45: ...15 1 5 2 3 45...
Page 46: ...4 6 1 1 1 2 2 2 3 4 1 2 1 2 1 2 46...
Page 54: ...www zanussi com support 2 1 4 3 1 2 3 4 54...
Page 55: ...15 1 5 cm 2 3 55...
Page 56: ...4 6 1 1 1 2 2 2 3 4 1 2 1 2 1 2 56...
Page 57: ...57...
Page 74: ...www zanussi ru support 2 1 4 3 1 2 3 4 74...
Page 75: ...15 1 5 2 3 75...
Page 76: ...4 6 1 1 1 2 2 2 3 4 1 2 1 2 1 2 76...
Page 87: ...www zanussi com support 2 1 4 3 1 2 3 4 87...
Page 88: ...15 1 5 cm 2 3 88...
Page 89: ...4 6 1 1 1 2 2 2 3 4 1 2 1 2 1 2 LED LED 89...
Page 96: ...www zanussi com support 2 1 4 3 1 2 3 4 96...
Page 97: ...15 1 5 2 3 97...
Page 98: ...4 6 1 1 1 2 2 2 3 4 1 2 1 2 1 2 98...
Page 99: ...99...
Page 100: ...100 1 2 2 2 3 4 1 2 1 2 1 2 LED LED 4...
Page 101: ...101 15 1 5 2 3 4 6 1 1 3...
Page 102: ...102 www zanussi com support 2 1 4 3 1 2 3 4 2...
Page 103: ......


