14
○
○
○
○
○
○
○
○
○
○
○
○
○
○
○
○
○
○
○
○
○
○
○
○
○
○
○
○
○
○
○
○
○
○
○
○
○
○
○
○
○
○
○
○
○
○
○
○
○
○
○
○
○
○
○
○
○
○
○
○
○
○
○
○
○
○
○
○
○
○
○
○
○
○
○
○
○
○
○
○
○
○
○
○
○
○
GB
cases, if the ceiling is not strong enough in the area where the hood is to be fixed, the
installer must strengthen the area using suitable plates and counterplates anchored to
resistant structures.
Fixing to the Wooden Buttress
• Connect the base of the frame to the beam using the 4 screws size 5.2x70 with nuts and
washers, provided in bag (1)
Ducting or recirculation fitting
• Ducting fitting
• The hood can be connected to the ducting by means of
a rigid or flexible pipe Ø 120 or 150 mm, the choice of
which is left to the installer. When installing with the
pipe Ø 120 mm, it will be necessary to use the reduction
flange
A
on the hood outlet.
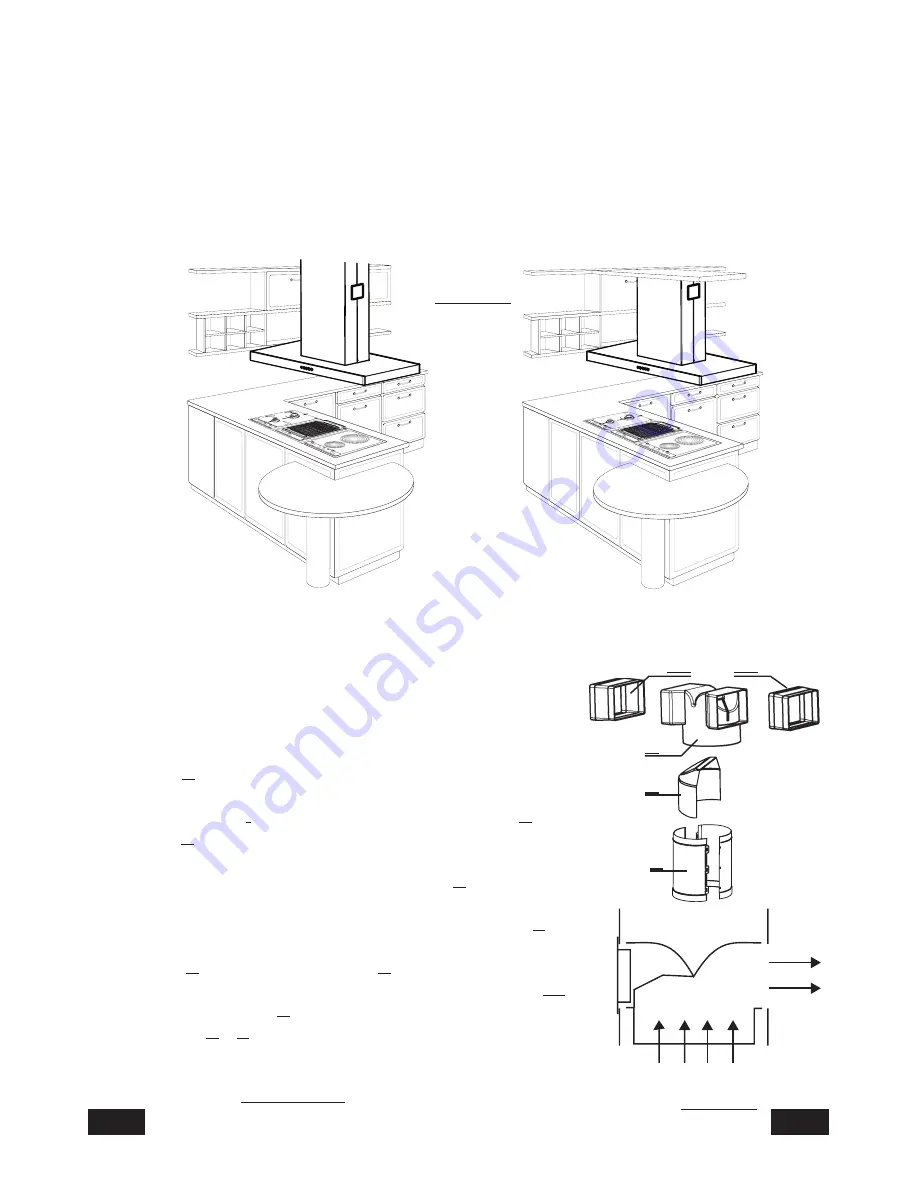
• To install the hood with the side air outlet from lower
chimney stack
I
, it is necessary to insert deflector
D
into
spigot
R
so as to close off the opening that is not being
used (
fig. 3
).
•
Cut
additional recirculation spigot
P
at a point
corresponding to outlets 1 and 2, indicated directly on
the piece. Connect additional recirculation spigot
P
to
the round diffuser outlet, pushing it downwards, and fit
spigot
R
to additional spigot
P
in a similar manner
(ensure that the two additional recirculation spigots
P1
are fitted to spigot
R
). Make sure that the height of the
assembly
R
+
P
corresponds to the height of the chimney
outlet.
• Remove
the activated charcoal filters, if fitted (see
paragraph on
Maintenance
).
D
R
P1
P1
P
Fig. 3
Fig. 2
A
B
8
7
65
43
2
1
8
7
6
5
43
2
1
8
7
6
5
4
32
1
8
7
65
43
2
1
8
7
6
54
3
2
1
8
7
6
5
43
2
1
8
7
6
5
43
2
1
8
7
6
54
32
1


