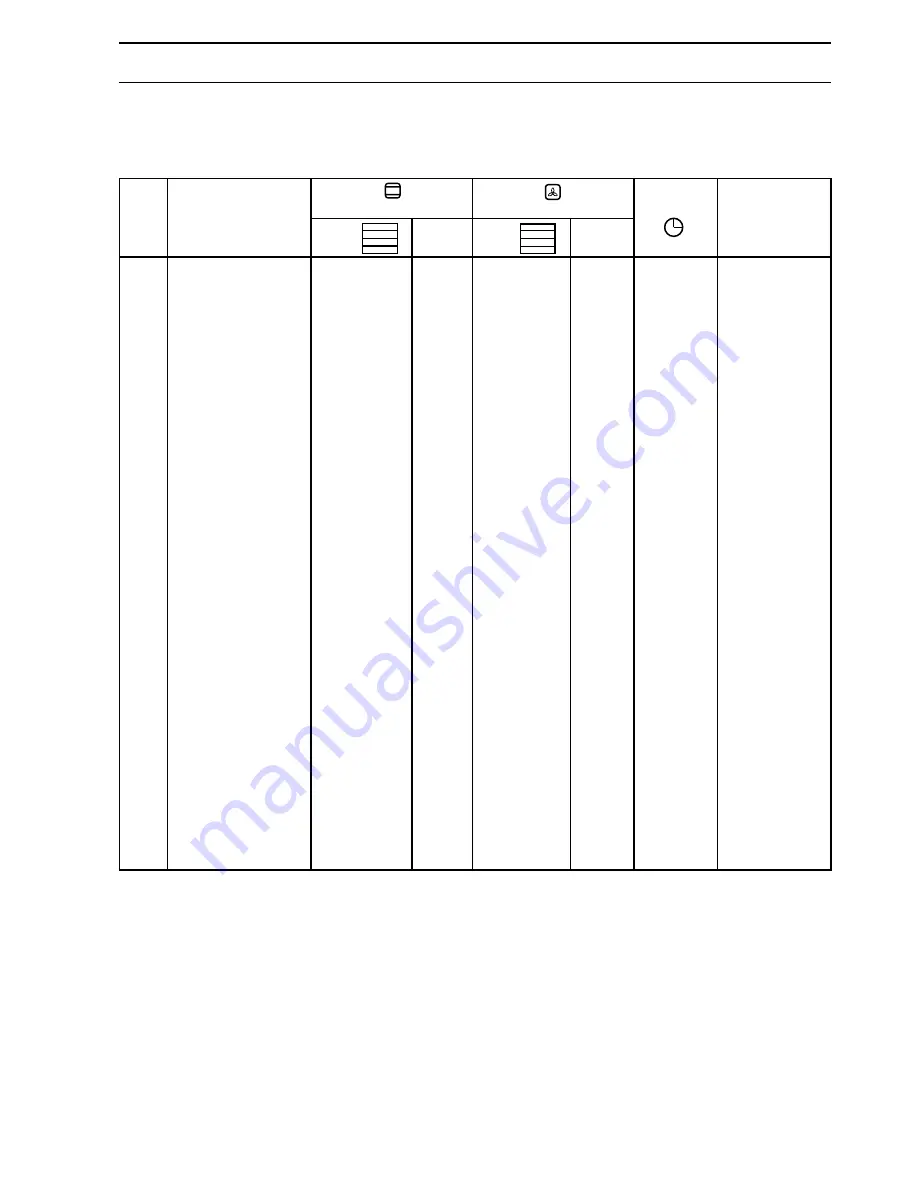
background image

60

temp.

Cakes
Whipped up kneading

2

180

2 (1 and 3)*

160

45 ~ 60

Leavened kneading

2

180

2 (1 and 3)*

160

20 ~ 35

Shortbread dough

2

180

2 (1 and 3)*

160

20 ~ 30

Butter-milk cheese cake

1

175

2

150

60 ~ 80

Apple cake

1

180

2 (1 and 3)*

160

40 ~ 60

Strudel

2

175

2 (1 and 3)*

150

60 ~ 80

Jam-tart

2

180

2 (1 and 3)*

160

45 ~ 60

Small cakes

2

180

2 (1 and 3)*

160

15 ~ 25

Biscuits

2

180

2 (1 and 3)*

160

10 ~ 20

Meringues

2

100

2 (1 and 3)*

100

90 ~ 120

Bread and Pizza

1000

White bread

1

200

2

175

45 ~ 60

1 piece

500

Rye bread

2

200

2

175

30 ~ 45

In bread pan

500

Bread rolls

2

200

2 (1 and 3)*

175

20 ~ 35

8 rolls

250

Pizza

1

220

2 (1 and 3)*

200

20 ~ 35

In baking pan

Flans
Pasta flan

2

200

2 (1 and 3)*

175

40 ~ 50

Vegetable flan

2

200

2 (1 and 3)*

175

45 ~ 60

Quiches

2

200

2 (1 and 3)*

175

35 ~ 45

Lasagne

2

200

2

175

45 ~ 60

Meat

1000

Beef

2

200

2

175

50 ~ 70

On grid

1200

Pork

2

200

2

175

100 ~ 130

On grid

1000

Veal

2

200

2

175

90 ~ 120

On grid

1500

English roast beef

2

220

2

200

50 ~ 70

On grid

1200

Lamb

2

200

2

175

110 ~ 130

Leg

1000

Chicken

2

200

2

175

60 ~ 80

Whole

4000

Turkey

2

200

2

175

210 ~ 240

Whole

1500

Duck

2

175

2

160

120 ~ 150

Whole

3000

Goose

2

175

2

160

150 ~ 200

Whole

1200

Hare

2

200

2

175

60 ~ 80

Cut in pieces

Fish

1000

Whole

2

200

2 (1 and 3)*

175

40 ~ 60

2 fishes

800

Fillets

2

200

2 (1 and 3)*

175

30 ~ 40

4 fillets

Fan Oven

Traditional Cooking

NOTES

WEIGHT

(GR.)

Cooking

time

minutes

°

C

temp.

Level

4
3
2
1

TRADITIONAL COOKING AND FAN DUCTED COOKING

TYPE OF DISH

NOTE:
Cooking times do not include pre-heating time. We
reccomend a short oven pre-heating (about 10
minutes) before baking or cooking pizza.

COOKING TABLES

Level

4
3
2
1

°

C

(*) If you need to cook more than one dish at the same
time, we recommend you to place them on the levels
quoted between brackets.

Summary of Contents for ZHM 761

Page 1: ...52 MODE D EMPLOI BEDIENUNGSANLEITUNG GEBRUIKSAANWIJZING OPERATING INSTRUCTIONS FOURS MULTIFONCTIONS MULTIFUNKTION EINBAU HERDE MEER SYSTEMEN INBOUW FORNUIZEN MULTIFUNCTION BUILT IN OVEN ZHM 761 ...

Page 2: ... We thank you and hope you will enjoy using this new appliance CONTENTS Warnings and important advice page 54 Using the oven Page 55 How to set the electronic timer Page 57 When the oven is first installed Page 58 Cooking with the multifunction oven Page 58 Cooking tables Page 60 Using the Grill Page 61 Cleaning and Maintenance Page 61 If something goes wrong Page 64 Assistance and spare parts Pag...

Page 3: ...nce is out of order disconnect it from the electric supply Do not leave untensils containing foodstuffs e g fat or oil in or on the appliance This could cause damage in case the appliance is inadvertently switched on Always place the dripping pan in position to collect fat when using the grill or when cooking meat Pour a little water into the dripping pan to avoid smoke and unpleasant smells Alway...

Page 4: ...out flavour transference Inner grill element only can be used for grilling small quantities Double Grill The full grill element will be on Thermal Grilling This function offers an alterna tive method of cooking food items normally associated with conventional grilling The grill element and the oven fan operate together circulating hot air around the food USING THE OVEN All cookings must be carried...

Page 5: ...a normal temperature is reached CATALYTIC SELF CLEANING SIDE PANELS accessory available on request Catalytic self cleaning panels can be installed onto the sides of the oven These panels at normal cooking temperature can turn the splashes of fat into a light residual powder This powder must be removed with a damp sponge after the oven has cooled down in order to keep the catalytic panels in good c...

Page 6: ... 59 min After required time has been selected the clock will revert to the time of day When time is up an audible Then select the required temperature and the oven function When cooking is completed an audible signal will be heard for approximately 2 minutes To cancel press button A and return control and thermostat knobs to the OFF position Press button B and while turning knob E enter the requir...

Page 7: ...is time an unpleasant odour may be emitted This is absolutely normal and is caused by residues of manufacturing Once this operation is carried out let the oven cool down thencleantheovencavitywithasoftclothsoaked in warm soapy water Beforecookingforthefirsttime carefullywashtheshelf and the dripping pan FO 2161 Fig 4 To open the oven door always catch the handle in its central part Fig 4 DEFROSTIN...

Page 8: ...he lower position with some water in it GREASE FILTER When cooking meat the grease filter must be fitted over the oven fan by clipping it over the vents in the back panel This will prevent a built up of fat on the fan impellor Do not use abrasive materials to clean the seal The grease filter is dishwasher proof When cooking is completed and the oven has cooled down remove the filter by pushing the...

Page 9: ...00 2 175 45 60 Meat 1000 Beef 2 200 2 175 50 70 On grid 1200 Pork 2 200 2 175 100 130 On grid 1000 Veal 2 200 2 175 90 120 On grid 1500 English roast beef 2 220 2 200 50 70 On grid 1200 Lamb 2 200 2 175 110 130 Leg 1000 Chicken 2 200 2 175 60 80 Whole 4000 Turkey 2 200 2 175 210 240 Whole 1500 Duck 2 175 2 160 120 150 Whole 3000 Goose 2 175 2 160 150 200 Whole 1200 Hare 2 200 2 175 60 80 Cut in pi...

Page 10: ...wiches 4 4 max 8 Toast 4 4 max 2 3 1 GRILLING Upper side C temp PIECES WEIGHT Quantity Cooking time minutes Lower side Grilling TYPE OF DISH Level 4 3 2 1 COOKING TABLES GRILLING THERMAL GRILLING Type of dish Quantiy gr Shelf level Temperature C Time in minutes from the bottom lower side upper side Pork 1500 2 or 3 170 45 30 Roastbeef 1500 3 200 30 20 Chicken 1200 2 or 3 190 40 30 Kebabs 800 3 200...

Page 11: ...eated natual acids can squeeze and settle on the oven enamel causing stains quite difficult to remove This could affect the enamel brightness but it will have no consequence on the oven performances To avoid these stains to be burnt out during the next cooking carefully clean the oven cavity after all fruits cookings The Oven Door and its gasket Before cleaning the oven door we recommend you to re...

Page 12: ...rom time to time to allow a thorough cleaning THE HINGED GRILL This model has been fitted with a hinged grill element to enable you to clean the roof of the oven easily Before proceeding ensure the oven is isolated from the electricity supply Then undo the screw which holds the grill in place see Fig 9 Gently pull the grill downward to allow access to the oven roof see Fig 10 Clean the oven roof w...

Page 13: ...ure light does not come on The oven light does not come on It takes too much time to finish the dishes or they are cooked too fast Steam and condensation settle on the food and the oven cavity If the appliance is not working correctly please carry out the following checks before contacting your local Zanussi Service Centre WHAT HAPPENS IF SOMETHING GOES WRONG If after the checks listed in the prev...

Page 14: ...during the period of guarantee a disfunction occurs due to a defect which cannot be repaired the appliance will be replaced free of charge Extension of the guarantee 7 Formotorcompressorsofrefrigerators freezers excluding the starting device and thermal interrupter a decreasing guarantee of 20 per year for a period of five years from the date of purchase of the appliance indicated on the relative ...

Page 15: ...50 Hz 230 V 2 Ceramic Hob Models ZGR 2404 ZGRN 2404 ZGRW 2404 ZGRX 2404 Front Left hotplate Ø 180 mm 1700 W Rear Left hotplate Ø 145 mm 1200 W Rear Right hotplate Ø 180 mm 1700 W Front Right hotplate Ø 145 mm 1200 W Maximum Power Rating 5 8 kW Voltage Rating 50 Hz 230 V 3 Ceramic Hob Models ZGR 2226 ZGRN 2226 ZGRW 2226 ZGRX 2226 Front Left hotplate Ø 120 210 mm 2100 W Rear Left hotplate Ø 145 mm 1...

Page 16: ...nally isolated parts All the units meant to ensure protection have to be fitted not to be taken away without using any tool We recommed not to install the appliance near refrigerators or freezer since the heat could affect the performance of these appliances The oven recess must comply the dimensions given in Fig 12 This appliance is registered as a Class Y product according to the overheating saf...

Page 17: ...o An opening of 30 mm diameter in the rear of the furniture unit must be made to allow the electrical connection SECURING THE OVEN TO THE CABINET Fit the appliance into the cabinet recess Open teh oven door and secure the oven to the kitchen cabinet with four wood screws which fit the holes provided in the oven frame Fig 15 When installing an electric plate hob over the oven the hob s electrical c...

Page 18: ...th wire must not be interrupted by the double switch pole The connection cable has to be placed in order that in each part it cannot reach a temperature 50 C higher than the room temperature After the connection is carried out test the heating elements for about 3 minutes ELECTRICAL CONNECTION ELECTRICAL CONNECTION WITH THE HOB This oven can be connected to hobs indicated on page 66 The socket for...

Reviews: