17
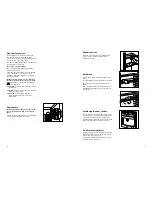
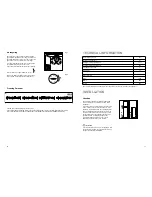
Positioning the door shelves
To permit storage of food packages of various sizes,
the door shelves can be placed at different heights.
To make these adjustments proceed as follows:
Gradually pull the shelf in the direction of the arrows
until it comes free, then reposition as required.
D338
Movable shelves
The walls of the refrigerator are equipped with a
series of runners so that the shelves can be
positioned as desired.
Bottle rack
Place bottles in the rack with the bottleneck to the
front.
Important: Only store unopened bottles horizontally.
The bottle rack can be tilted for storing opened
bottles.
To do this pull the bottle rack forward until it can be
tilted upwards, then slide the front support into the
next level up.
Cold Store compartment
The models equippied with this feature in the fridge
part, it is indicated for a best conservation of fresh
foods as fish, meat, seafood, etc.
It is placed in the lower part, directly above of the
vegatable conservation drawer.
24
Electrical connection
Before plugging in, ensure that the voltage and
frequency shown on the serial number plate
correspond to your domestic power supply. Voltage
can vary by ±6% of the rated voltage.
For operation with different voltages, a suitably sized
auto-transformer must be used.
The appliance must be earthed.
The power supply cable plug is provided with a
contact for this purpose.
If the domestic power supply socket is not earthed,
connect the appliance to a separate earth in
compliance with current regulations, consulting a
specialist technician.
The Manufacturer declines all responsibility if
the above safety precautions are not observed.
This appliance complies with the following
E.E.C. Directives:
- 87/308 EEC
of 2/6/87 relative to radio interference
suppression.
- 73/23 EEC
of 19.2.73 (Low Voltage Directive) and
subsequent modifications;
- 89/336 EEC
of 3.5.89 (Electromagnetic
Compatibility Directive) and subsequent
modifications.
Rear spacers
In the bag with the documentation, there are two
spacers which must be fitted as shown in the
figure .
Slacken the screws and insert the spacer under the
screw head, then re-tighten the screws.
PR153


