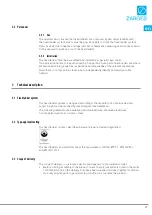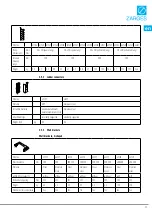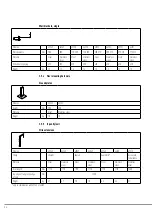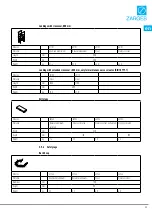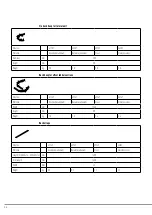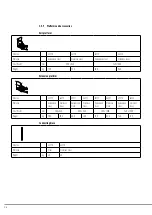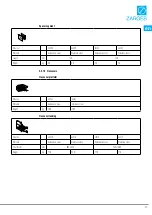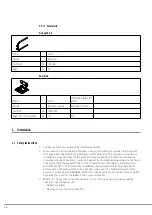
• Screws and nuts:
– Use screws and nuts from ZARGES or screws and nuts of equivalent quality.
– Secure screwed connections with self-locking nuts.
– To ensure easy and safe assembly, use a suitable high-performance anti-wear
agent designed for heavy-duty use on stainless steel screws in the assembly area.
ZARGES recommends the product Chaast manufactured by the company Hebro.
– Tighten screws to the following torques:
Dimensions
Tightening torque (Nm)
M6
7.5
M8
17.5
M10
25.0
M12
60.0
4.2 Recommendations for installation
4.2.1 Preparation
• For a better overview, spread the fixed ladder components out on the ground and
pre-assemble them segment by segment.
4.2.2 Order of installation
As the setup will vary according to specific on-site conditions, there is no prescribed
order of assembly.
Recommendation:
• Carry out installation starting at the top and working towards the bottom.
Observe the prescribed dimensions and spacings.
• The top rung must be flush with the edge of the building or machine.
• The topmost wall bracket should ideally be located in the region of the top two rungs
and should be no lower than between the second and third rung.
• Each ladder section must be attached with two wall brackets or four single wall
brackets. The wall brackets must not be more than 2.0 metres apart.
• The topmost back hoop is attached to the stile extension or the guardrail of
the bridging.
• Wall brackets can be pre-assembled on the supporting structure, following the
planned route of the ladder system. It is essential to ensure flush alignment.
• The platform mounting plates can be pre-assembled for each platform. They must be
assembled flush (both horizontally and vertically).
• Following pre-assembly on the floor, ladder systems (even if they comprise several
ladder segments) can be lifted using lifting tackle of suitable load-bearing capacity.
To prevent damage to the ladder connectors and the overall structure during lifting,
stabilise the ladder system, for example using tensioning straps spanning at least
2 to 3 rungs in the area of the ladder connections. If necessary, reinforce the ladder
system, for example with wood.
• Where necessary, shorten the lower section of the ladder and the ladder safety cage to
suit on-site conditions. Restore anti-corrosion protection.
39
en
Summary of Contents for 41286
Page 61: ...4 3 B2 1 2 13 17 5 Nm 2 2 1 M8 M8 M8x65 2 1 3 17 5 Nm 4 3 B3 1 2 1 3 61...
Page 63: ...4 3 B5 1 2 M8 M8 17 5 Nm M8 M8 13 2x 17 5 Nm 1 1 2 2 4 3 B6 1 2 M8 M8 17 5 Nm 1 2 13 2x A19 63...
Page 64: ...4 3 B7 1 M8 M8 17 5 Nm 2 13 2x...
Page 68: ...4 3 B12 1 2 3 1 2 13 17 5 Nm 0...
Page 72: ...4 3 C8 13 2x 1 2 10x 1 2 3 4 4 3 C7 13 2x 1 2 1 1 2 4 3 17 5 Nm 5 5 6 17 5 Nm...
Page 73: ...4 3 C9 10 73...

