Oasis Getting Started
5
7.
Windows will then ask to have access to the network for MovieSlate integration. To do so click
ALLOW ACCESS
TO PRIVATE NETWORKS
.
8.
If the Oasis software is not communicating with Nomad, or if communication between the software and Nomad
is sluggish proceed to
MAIN
menu in the Oasis software then select
SETUP
menu.
From the setup menu select the
COM
key. The COM number should change from
AUTO
to something like
COM3
. If this does not change check the
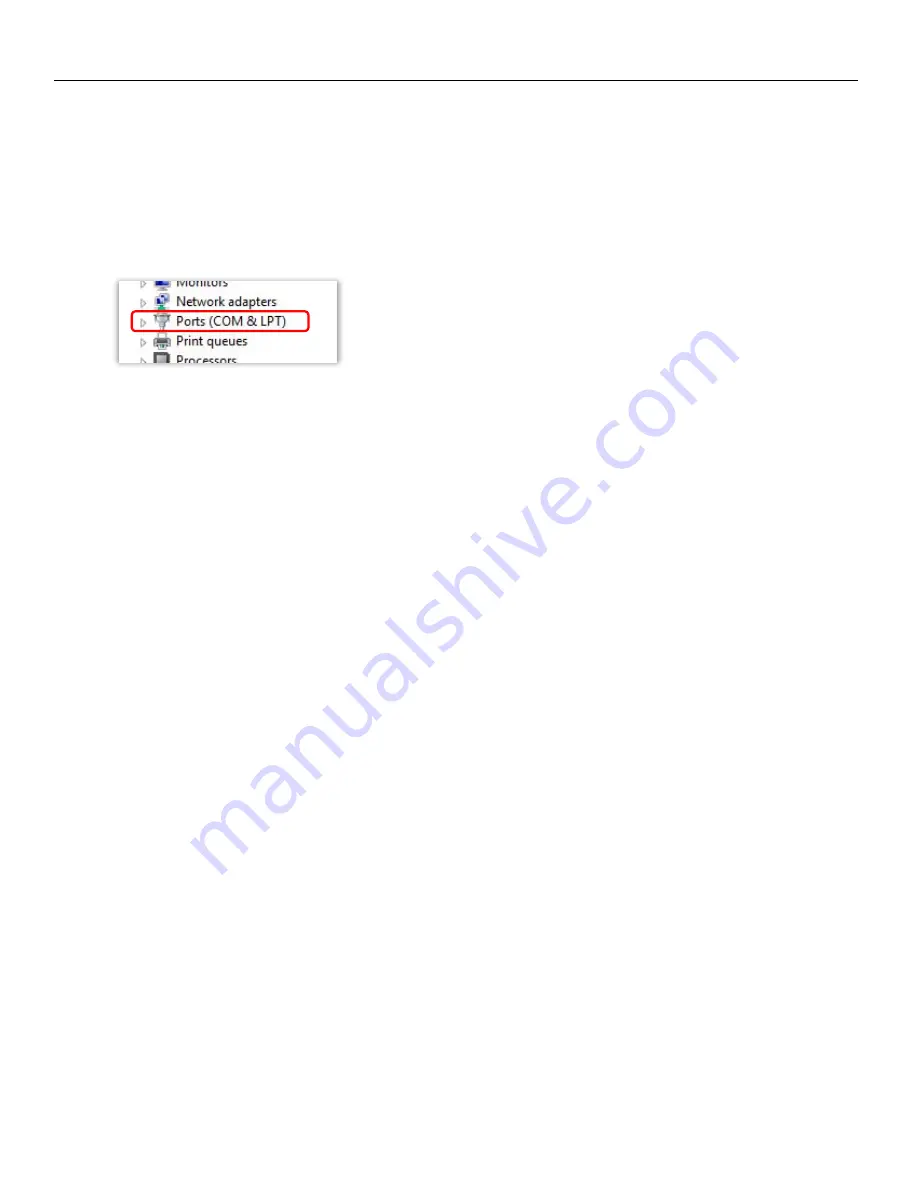
DEVICE MANAGER
(swipe the PCs screen from right to left to get the
charms bar to show up, and then click the search icon and search for device manager).
From the control panel select
PORTS
to see if any COM ports are active.
Oasis should show up anywhere between COM3 through COM8. If Oasis shows up as COM9 or higher right click
on the Oasis port, select
PROPERTIES>PORT SETTINGS>ADVANCED
and change the assignment to a lower COM
port number.
Connecting Oasis with the PC and Nomad
Oasis is supplied with two standard USB type A to A cables and a TA5 to mini audio cable.
Attach a USB cable between Nomads serial port and the Oasis port labeled “Nomad Serial”
Attach a USB cable between the PC and the Oasis port labeled ”PC / MAC USB”
Attach the audio cable between Nomad external slate input and the TA5 connector on the Oasis console – this
cable also supplies a grounding connection between the Nomad and the Oasis console and is required for proper
serial communications.
Supply DC power to the Oasis control surface – Oasis will operate on any DC source between 9 and 18 Volts.


