ZPrinter
®
450 Hardware Manual
Setup And Print The Build
22
All Rights Reserved
10/2/07
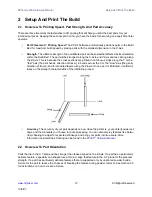
•
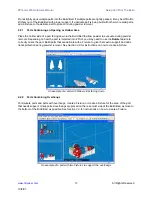
To Resize:
Point on the box, press the left mouse button and drag the mouse to resize the
box.
•
To Rotate:
Point on the box, press
Ctrl
and the left mouse button. Drag the mouse to rotate
the box.
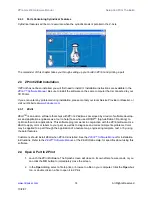
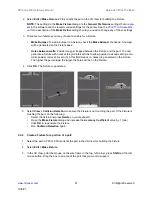
4. When you have positioned the box, click
OK
in the
Make Fixture
dialog. The Fixture is generated
for the specified area.
2.10 Check the Build Layers for Errors or a Collision
It is strongly recommended that the
Slice View
(
2D
icon) and
Collision Detection
be utilized before
beginning a build.
•
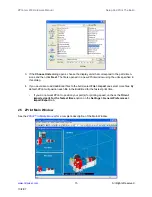
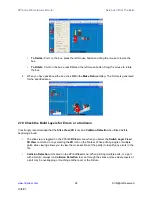
The slice view is toggled on the ZPrint
3D View
menu when you select the
Switch Layer View /
3D View
command, or by selecting the
2D
icon on the Toolbar. When printing single or multiple
parts, slice viewing allows you to view the cross sections of the part(s) to identify any errors in the
file.
•
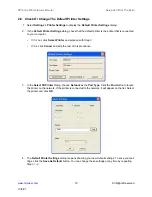
Collision Detection
is located on the ZPrint
View
menu. When printing multiple parts, or a part
with a Fixture, always run
Collision Detection
to scan through the slices and see where layers of
a part may be overlapping or touching another part, or the Fixture.

