ZPrinter
®
450 Hardware Manual
Additional Operations
38
All Rights Reserved
10/2/07
5.1 Change Print Head(s)
ZPrint checks the status of the print heads before every build. If a print head needs to be changed,
ZPrint displays
CHANGE PRINT HEAD
in the
Printer Status
dialog. You will not be able to start the
build unless you have changed the appropriate printhead.
•
Do not change the print heads unless prompted to in the
Printer Status
dialog.
•
When the HP11 (black) print head is changed, the printer runs an automatic purge cycle to
clear the print head of its ink and prepare it for binder.
•
When either print head is replaced, or removed from its slot for cleaning, the printer will run the
Auto-Alignment pattern to properly align the print heads before the next build is started.
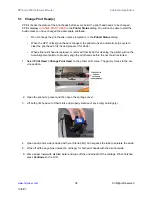
1. Select
Print Head
>
Change Print Head
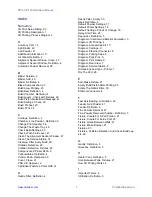
on the printer LCD menu. The gantry moves to the ser-
vice position.
2. Open the printer top cover and then open the carriage cover.
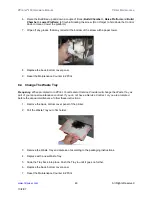
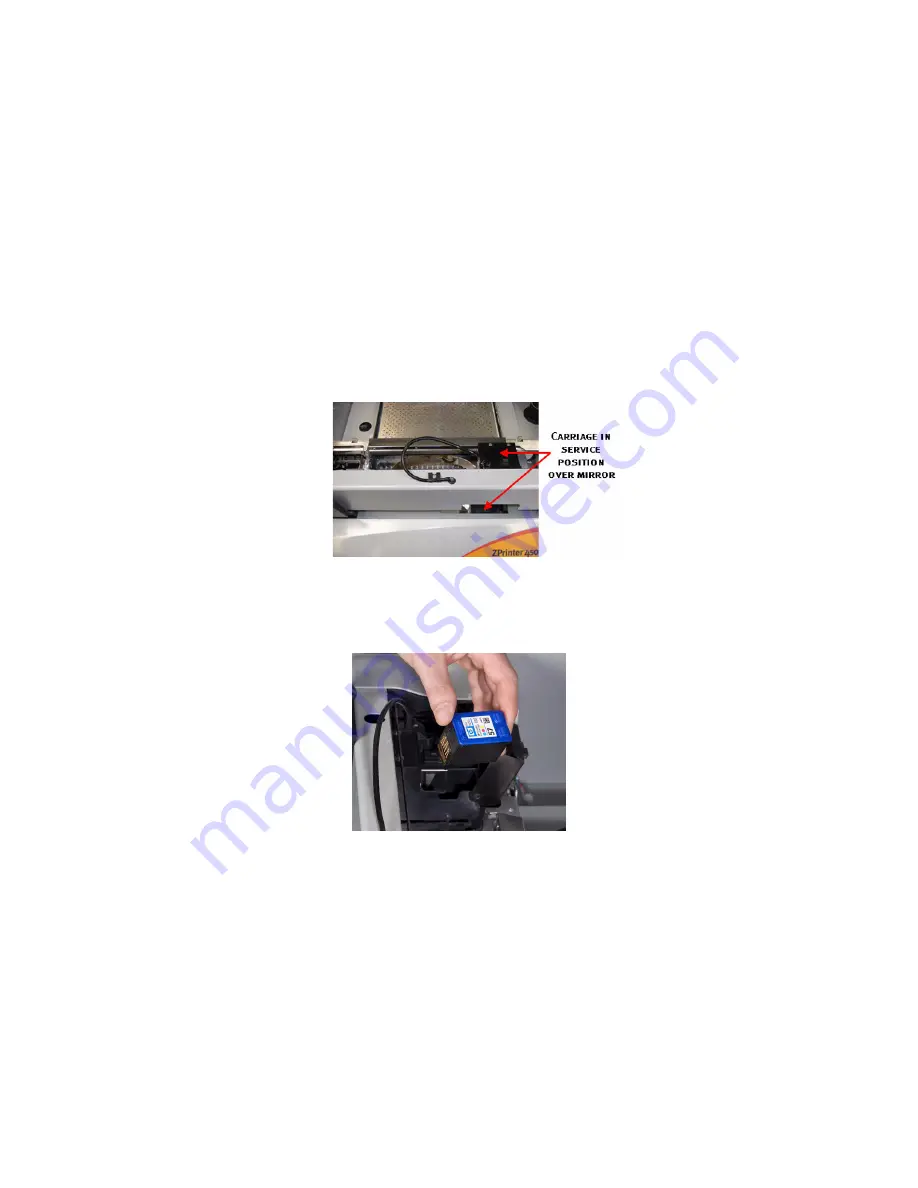
3. Lift both print head out of their slots and properly dispose of any empty cartridge(s).
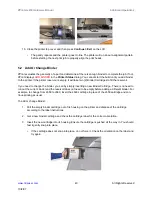
4. Open an alcohol swab (included with your Startup Kit), and squeeze the tube to saturate the swab.
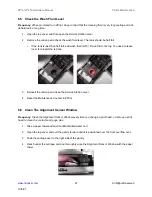
5. Wipe off all the pogo pins (inside the carriage) for both print heads with the alcohol swab.
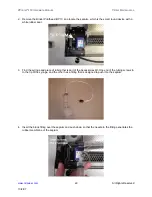
6. Wet a paper towel with distilled water and wipe off the underneath of the carriage. When finished,
press
Continue
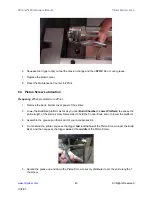
on the LCD.


