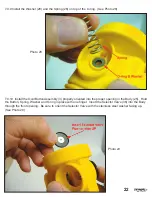
7.2.3 If when the pressurized QD Hose is connected to the Octo-Z air is leaking from the Lever Assembly
area, then the Seat (14) needs to be rotated Clockwise, to close the gap between the orifice in the Seat and
the Seal (13) at the end of the Poppet (12).
7.2.4 If when the Octo-Z is pressurized no air flows from the Lever Assembly area, but the lever has too
much loose movement (more than 1/8”, 3.2 mm), then the Seat (14) needs to be rotated counter clockwise,
to lessen the extra force between the orifice in the Seat and the Seal (13) at the end of the Poppet (12).
7.2.5 Each time an adjustment is needed, shut the tank air-valve off and purge the air from the Octo-Z.
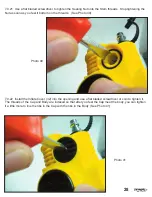
Then disconnect the Inflator Hose QD fitting from the Octo-Z so the 3/16” Allen Wrench can be inserted into
the Seat so the Seat can be turned as required. Repeat these steps until the Lever (20) has the necessary
free play at the tip of the Lever when the Octo-Z is pressurized. Once this proper free play is achieved, the
Octo-Z is properly adjusted and it can be assembled the rest of the way.
7.2.6 If there is air leaking from anywhere on the Octo-Z, correct the problem before going further. The best
test to check for the slightest leaks is to immerse the Octo-Z (with no cover or diaphragm installed) under
pressure in water and look for bubbles at the Lever Support indicating a leak. Correct the problem if leaks
are found. See the Troubleshooting section 9.0 D for suggestions.
7.2.7 Work the lever up and down a few times while the regulator is pressurized. Each time the lever is
released, no air hissing should be heard.
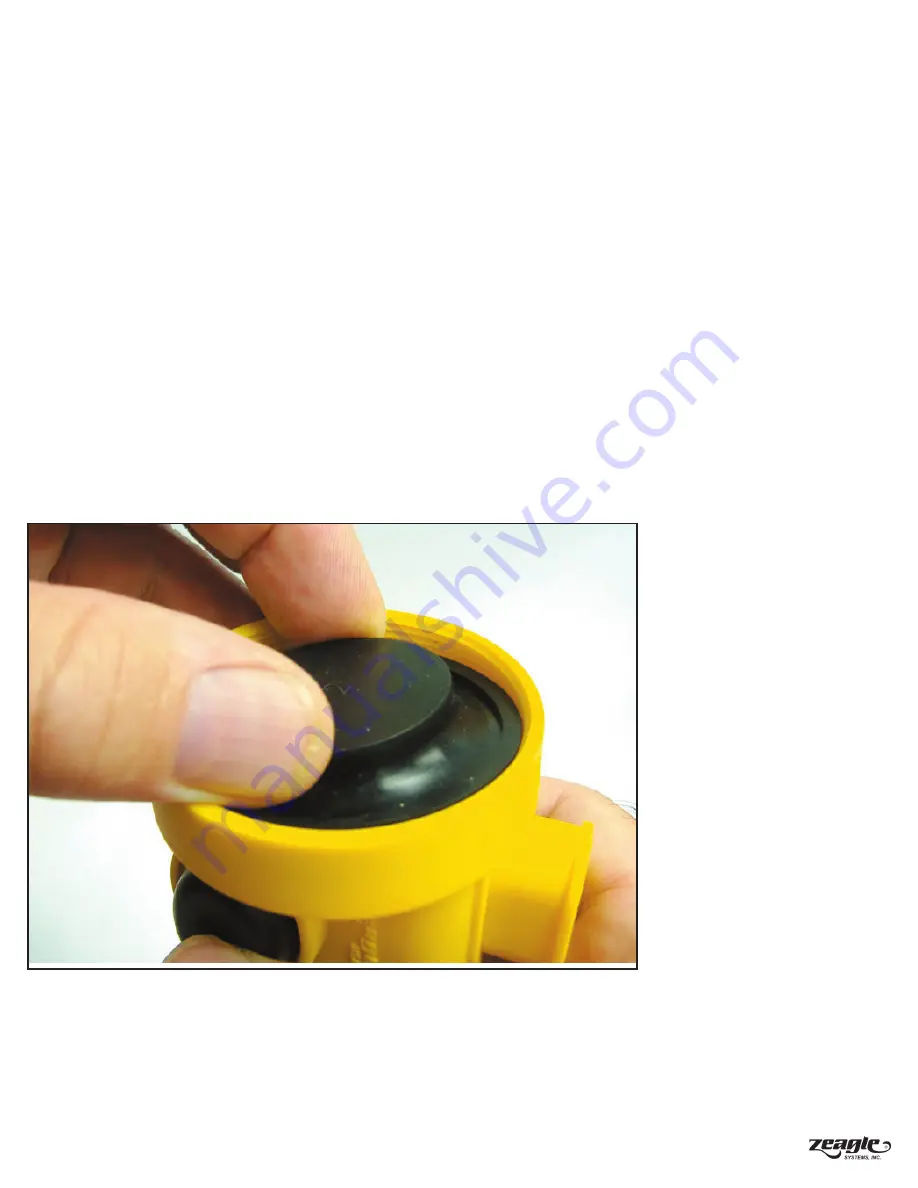
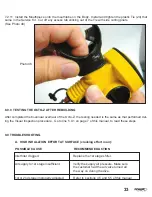
7.2.8 Place the Diaphragm (35) carefully into the end of the Body. Make sure the outside skirt of the Dia-
phragm is properly seated into the groove in the Body. (See Photo 46)
31
Photo 46


