background image


21

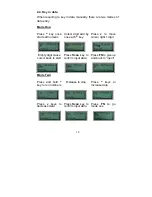
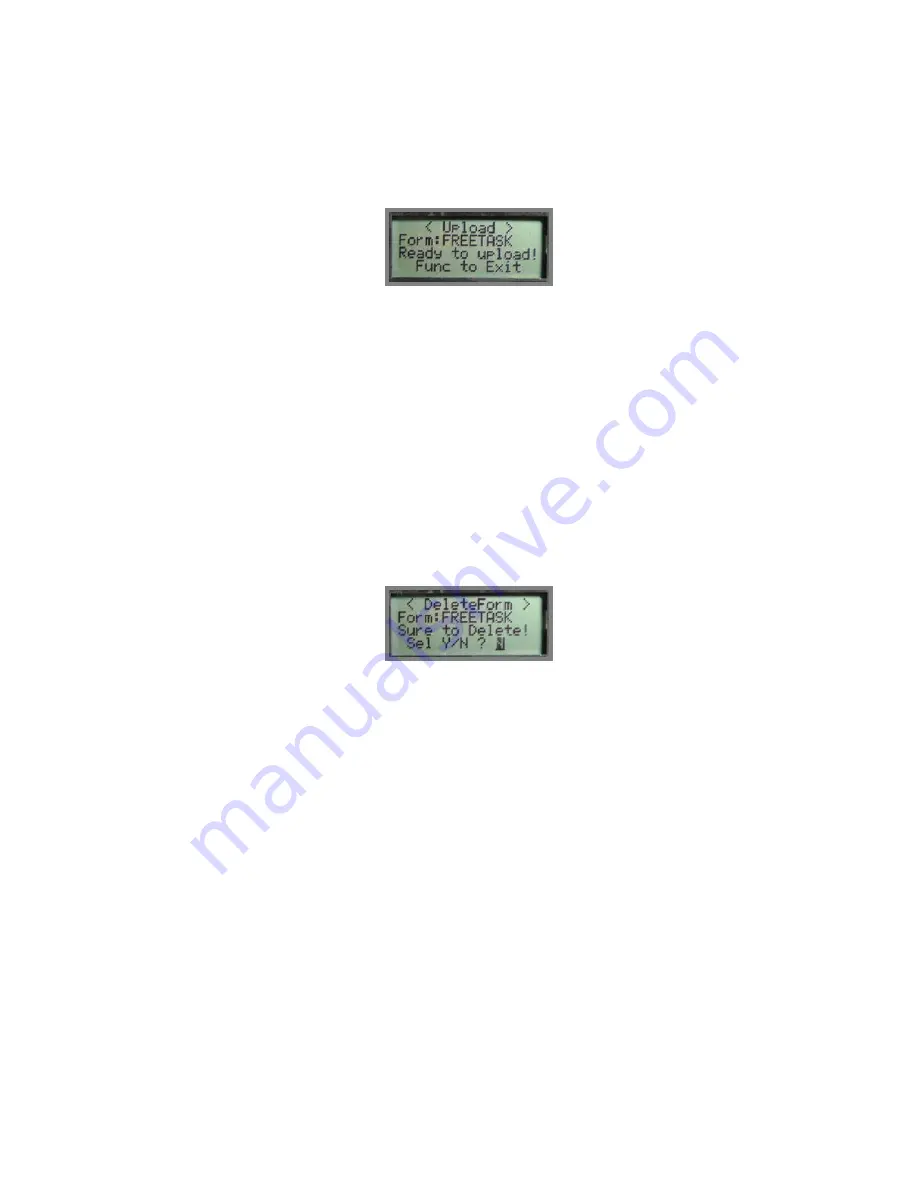
2.5. Upload Data 

There are three kinds of interface to upload data, Bluetooth®, 

RS-232 and HID. Once a communication device is set up (please 

refer to Device Setup, Communication), PDC will automatically 

detect its readiness before starting uploading data. 


Figure 8: Upload Data 


2.6. Upload data with Windows Software 

You can also upload data by specified PC software, please refer 

to section Use WinTaskGen. 


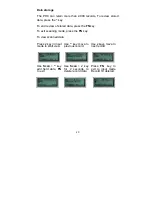
2.7. Delete Data 

Use 

v

 and 

^

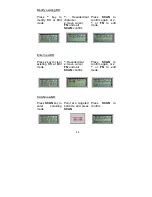
 keys to commend “Y” (yes) or “N” (no) to delete data. 

Follow by 

SCAN

 key to confirm. 


Figure 9

: Delete Data 

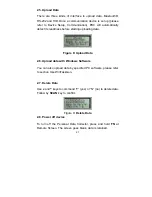
2.8. Power off device 

To turn off the Personal Data Collector, press and hold 

FN

 at 

Remote Screen. The screen goes blank; data is retained. 

Summary of Contents for Z-1170

Page 1: ......

Page 2: ...bnormal working conditions failure to follow the instructions and warnings or misuse or alteration or repair of the products without written approval No part of this document may be reproduced transmi...

Page 3: ...etting Start 14 Installing and charging battery 14 Power on device to collect data 16 Scan barcode 18 Key in data 19 Upload Data 21 Upload data with Windows Software 21 Delete Data 21 Power off device...

Page 4: ...n 2000 records construct by an UPC code with timestamp The Personal Data Collector comes with a built in basic data collection firmware called FREETASK that can scan and store barcodes and do simple e...

Page 5: ...F serial communication cable For data upload and download 3 ea AAA NiMH rechargeable batteries 1 ea Power Adapter If any package contents are damaged or missing please contact your dealer immediately...

Page 6: ...3 1 3 Device Outline Figure 1 Pocket Sized Personal Data Collector Scan LCD Up Key Function LED Down UART port...

Page 7: ...use new NiMH batteries you may find that they discharge fairly quickly during use This is normal until the batteries mature It is highly recommended that NiMH batteries always be operated until fully...

Page 8: ...5 batteries already loaded please press and hold both v and keys for 30 sec to turn on the PDC 3 3 pcs AAA 700mAH NiMH rechargeable batteries Use ZEBEX supplied rechargeable batteries only...

Page 9: ...ore establish a Bluetooth connection between two devices it is necessary to define which device to be the Master during the communication The Master device holds the initiative to connect or disconnec...

Page 10: ...PDC is ready for pairing process as a SPP Slave device A PIN code has to be set in PDC At pairing process the host device shall enter the right PIN code to make a successful pairing 1 5 6 Connect dis...

Page 11: ...0H to 07FH ETX End of packed data 03H 1 5 8 Packed Example If record data is ABCD with STX ETX SEQ and CKS enable assume SEQ is 0 030H the send out data is format as 02H 030H ABCD 03AH 03H Checksum is...

Page 12: ...the set waiting time for a response it would be the case of TIMEOUT On the screen it will show Connection lost For full instruction of Bluetooth setting operation please refer to Device Setup Communic...

Page 13: ...d ball to display the local Bluetooth device s name and address 1 6 3 Pairing with SPP Master PDC Set dongle address with PIN code to PDC then start pairing Refer to the description PDC as Master of C...

Page 14: ...ter pairing the PDC try to connect to PC The connect massage appear at right corner to indicate COM port number to connect Set the COMM port number to the software you used The PDC can start communica...

Page 15: ...aster dongle operation Single click red ball in main window of BlueSoleil PC start inquiry devices within radio range All found devices icon will appear in main window Right click the PDC icon to enab...

Page 16: ...Connect window pop out after success connect Use PC software to connect with PDC set the COMM port show in Quick Connect window Right click device icon and select status can find connected COM port n...

Page 17: ...Adapter with any other type of batteries in the PDC voids the warranty ruins batteries can burn up the Personal Data Collector and could possibly cause harm to persons or property You may use regular...

Page 18: ...s up red The LED turns off when the batteries are fully charged Charging takes 3 to 5 hours Figure 3 Connecting the Power Adapter It is normal that the Power Adapter and the NiMH battery cells become...

Page 19: ...simple edits and upload data to a PC through the Communication Cable 2 2 1 Power on device Press and hold the v and keys together to turn on the Personal Data Collector then the screen will direct ju...

Page 20: ...essing SCAN key Menu tree list 1 Run Task 2 Delete Data 3 Setup 1 LCD Contrast 2 Beep Volume 3 System Clock 4 Barcode Set 5 Communication 6 Auto Power Off 4 Upload Data Select the Run Task under Main...

Page 21: ...nt at the targeted barcode Sweep the red light vertically across the barcode If decode success a short beep emit LED flashes green Hold SCAN key will keep scanned data display on LCD Release to revert...

Page 22: ...add by one each key Press v to move cursor right 1 digit Empty digit cause cursor back to start Press Scan key to confirm input data Press FN to give up and back to input Mode Two Press and hold key t...

Page 23: ...press the FN key To exit scanning mode press the FN key To view scanned data Press v key in input mode to start view Use key move to previous record Use v keys move to next record Use Scan key edit fi...

Page 24: ...tarting uploading data Figure 8 Upload Data 2 6 Upload data with Windows Software You can also upload data by specified PC software please refer to section Use WinTaskGen 2 7 Delete Data Use v and key...

Page 25: ...trast Use v and keys to adjust LCD contrast from 1 to 22 Follow by SCAN to confirm Figure 10 LCD Contrast 3 2 Beep Volume Use v and keys to select Volume from Low Medium Loud and Quiet Follow by SCAN...

Page 26: ...code Setup 3 5 Communication 3 5 1 Select communication device There are three kinds of interface for communication Bluetooth RS 232 and HID The Bluetooth include master and slave mode SPP profile is...

Page 27: ...SCAN to confirm again or v or FN to edit mode Enter new BD Press v key to clear existing BD at Edit mode Hexadecimal v move cursor FN undo all SCAN confirm Press SCAN to confirm again or v or FN to e...

Page 28: ...Follow by SCAN to confirm Pairing to slave device BD and PIN are shown Press SCAN to confirm Press SCAN to start pairing or FN to exit Starting pairing to slave device Pairing fail Pairing Success Try...

Page 29: ...meter is same as RS 232 setting 3 5 4 RS 232 Cable Select RS 232 Cable Disable Enable Sequential Num Press SCAN to select Disable Enable Checksum Digit Press SCAN to select Disable Enable STX ETX Pack...

Page 30: ...c Press SCAN to select Disable Enable Offline Operate Press SCAN to select 3 5 5 USB HID Cable Select USB HID Cable Set HID Language Press SCAN to select Set Delay Setup numbers and letters v move cur...

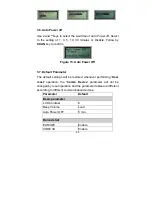
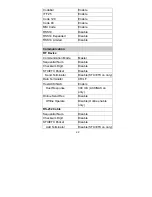
Page 31: ...r Off 3 7 Default Parameter The default settings will be restored whenever performing User reset operation the Comm Device parameter will not be changed by reset operation and the parameter tables are...

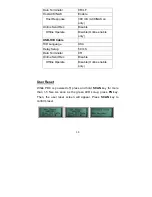
Page 32: ...aster Sequential Num Disable Checksum Digit Disable STX ETX Packet Disable Send Terminator Disable STX ETX on only Data Terminator CR LF Host ACK NAK Enable Host Response 300 mS ACK NAK on only Online...

Page 33: ...le only USB HID Cable HID Language USA Delay Setup 50 mS Data Terminator CR Online Send Rec Disable Offline Operate Disable Online enable only User Reset While PDC is powered off press and hold SCAN k...

Page 34: ...es cause harmful interference to radio or television reception which can be determined by turning the equipment off and on the user is encouraged to try to correct the interference by one or more of t...

Reviews: