19
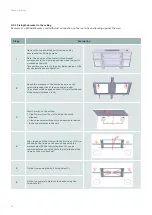
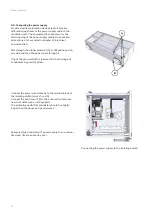
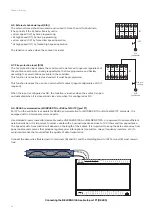
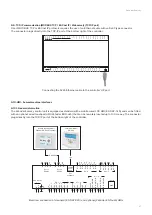
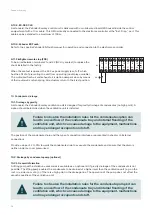
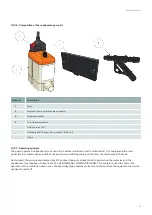
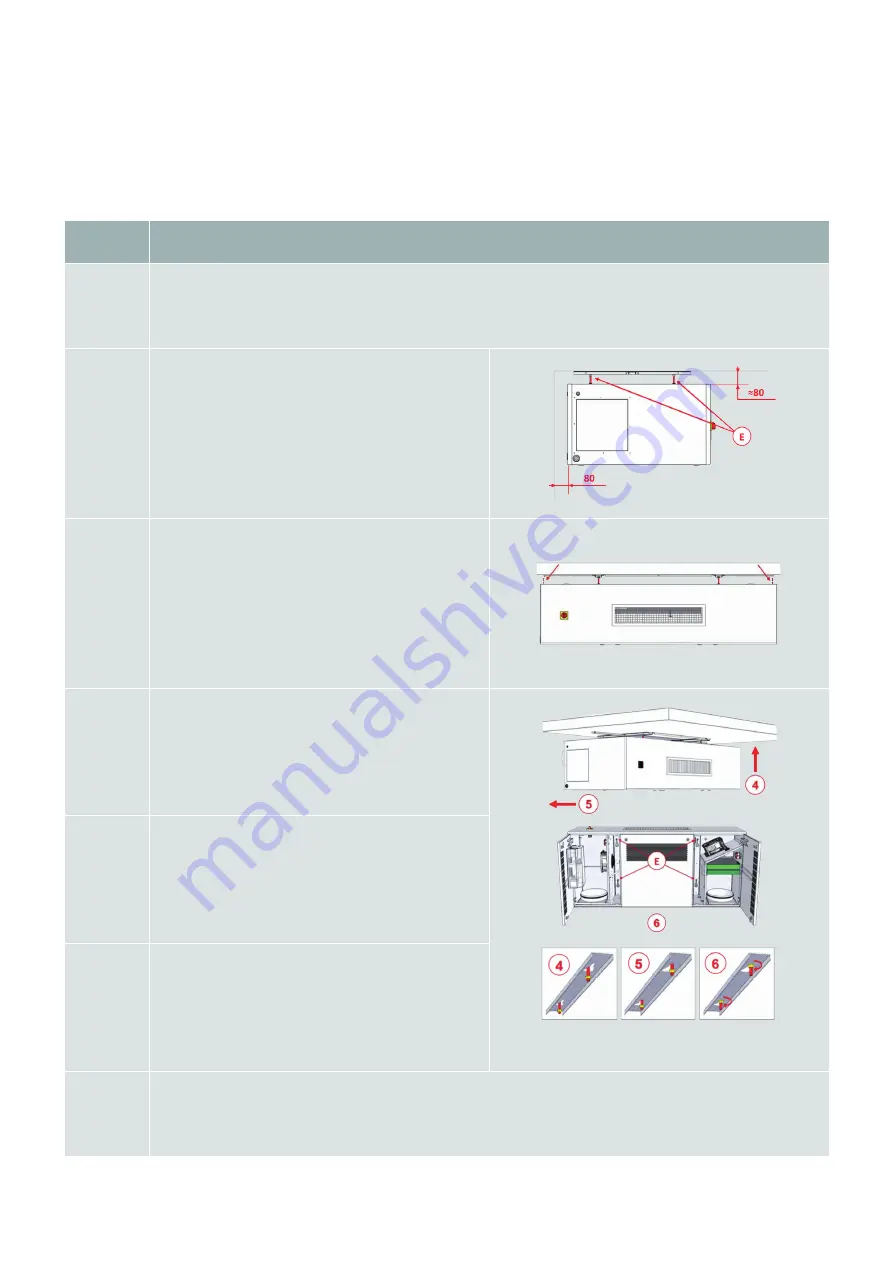
8.5.2. Fitting the unit to the bracket
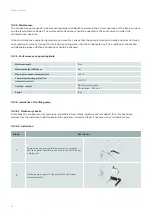
Stage
Description
1
Place the unit in horizontal position (doors underneath and supply air grille in front) and remove its transport
brackets.
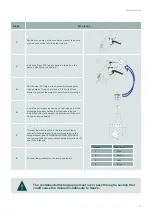
2
Raise the control unit and bring it to its final position
approximately 80 mm from the ceiling and 80 mm from
the wall.
(At this stage, the screws (E) are still recessed from
above the unit)
3
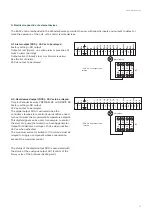
Adjust the position of the unit laterally using the two
template plates as a guide/visual marker.
4
Raise the unit until it is flush with the ceiling.
5
Move the unit backwards until it is resting against the
wall.
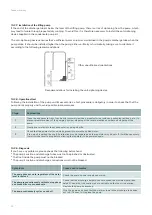
6
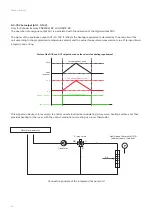
Open the side doors to tighten the nuts on the screws/
threaded rods inside the unit so that it is properly
seated on the ceiling and its balance is adjusted.
7
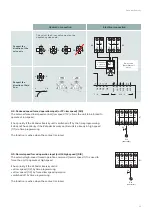
Place the removable connection / solid panels from inside the unit according to the installation configuration (see
I.5 Air duct connection).
Engaging the screws/threaded rods inside
the control unit
Zehnder Eversky


