18
19
M U L T I G A S D E T E C T I O N
5.
CALIBRATION
5.2 CALIBRATION PROCEDURE (WHEN ALL CALIBRATION GASES
ARE IN A SINGLE CANISTER)
1)
Use MODE button to scroll through mode functions to “USER SETUP”.
2)
Depress ON/OFF button to enter “USER SETUP”.
The display will indicate "CALIBRATE?"
3)
Depress ON/OFF button to enter the calibration mode.
4)
Instrument will count down to 0.
5)
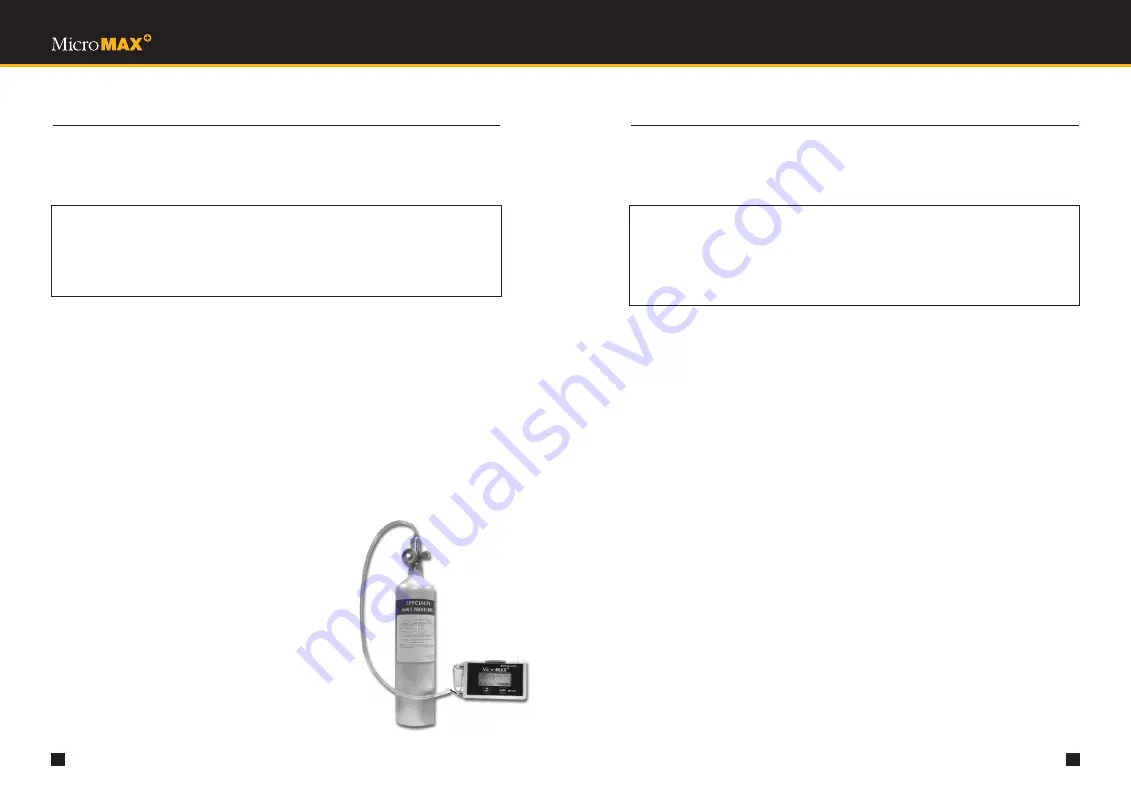
Apply calibration gas when “APPLY GAS” is displayed. (See Figure 6).
6)
Instrument will display “CALIBRATING” and count down to 0.
7)
When “CAL COMPLETE” is displayed,
observe that all sensors calibrated
are displayed below “CAL COMPLETE”. Any sensor not displayed is
not calibrated. Remove gas and turn off gas flow.
8)
Instrument will go into a “PURGING” countdown to 0.
9)
After purging, instrument automatically clears memory.
10) This calibration process is now complete.
5.
CALIBRATION
5.3 CALIBRATION PROCEDURE (WHEN NOT ALL CALIBRATION
GASES ARE IN A SINGLE CANISTER)
1)
Use MODE button to scroll through mode functions to “USER SETUP”.
2)
Depress ON/OFF button to enter “USER SETUP”.
The display will indicate "CALIBRATE?"
3)
Depress ON/OFF button to enter the calibration mode.
4)
Instrument will count down to 0.
5)
Apply the first calibration gas, or gases, when “APPLY GAS” is displayed. (See Figure 6)
6)
Instrument will display “CALIBRATING” and count down to 0.
7)
When “CAL COMPLETE” is displayed,
observe which sensors are calibrated
and displayed below “CAL COMPLETE”.
Remove gas and turn off gas flow.
8)
Depress the ON/OFF switch and instrument will display “APPLY GAS”.
9)
Apply the second calibration gas.
10) Instrument will display “CALIBRATING” and count down to 0.
11) When instrument displays “CAL COMPLETE”,
observe which sensors are
calibrated and displayed below “CAL COMPLETE”.
Remove gas and turn off gas flow.
12) If all sensors were displayed below “CAL COMPLETE”, instrument is fully calibrated
and will display “PURGING”, count down to 0 and clear memory. The calibration
process is complete.
13) If a third calibration gas needs to be applied, after instrument displays “CAL
COMPLETE”, depress the ON/OFF button and follow the instructions on the display.
14) When “CAL COMPLETE” is displayed, remove gas and turn off gas flow.
15) Instrument will purge itself while counting down to 0, and clear memory.
16) The calibration process is now complete.
CAUTION
Calibration should be carried out only in a clean air environment,
known to be free of contaminants.
Be sure the calibration gas is within the expiration date indicated.
CAUTION
Calibration should be carried out only in a clean air environment,
known to be free of contaminants.
Be sure the calibration gas is within the expiration date indicated.
Please refer to Appendices K and L for important additional information.
Figure 6
Calibrating the Mi


