5-18
Upgrades and Options
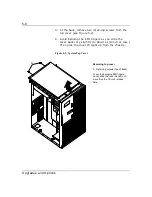
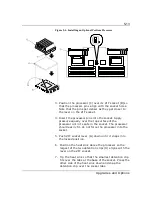
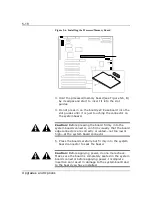
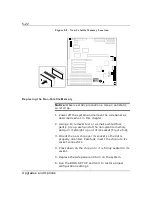
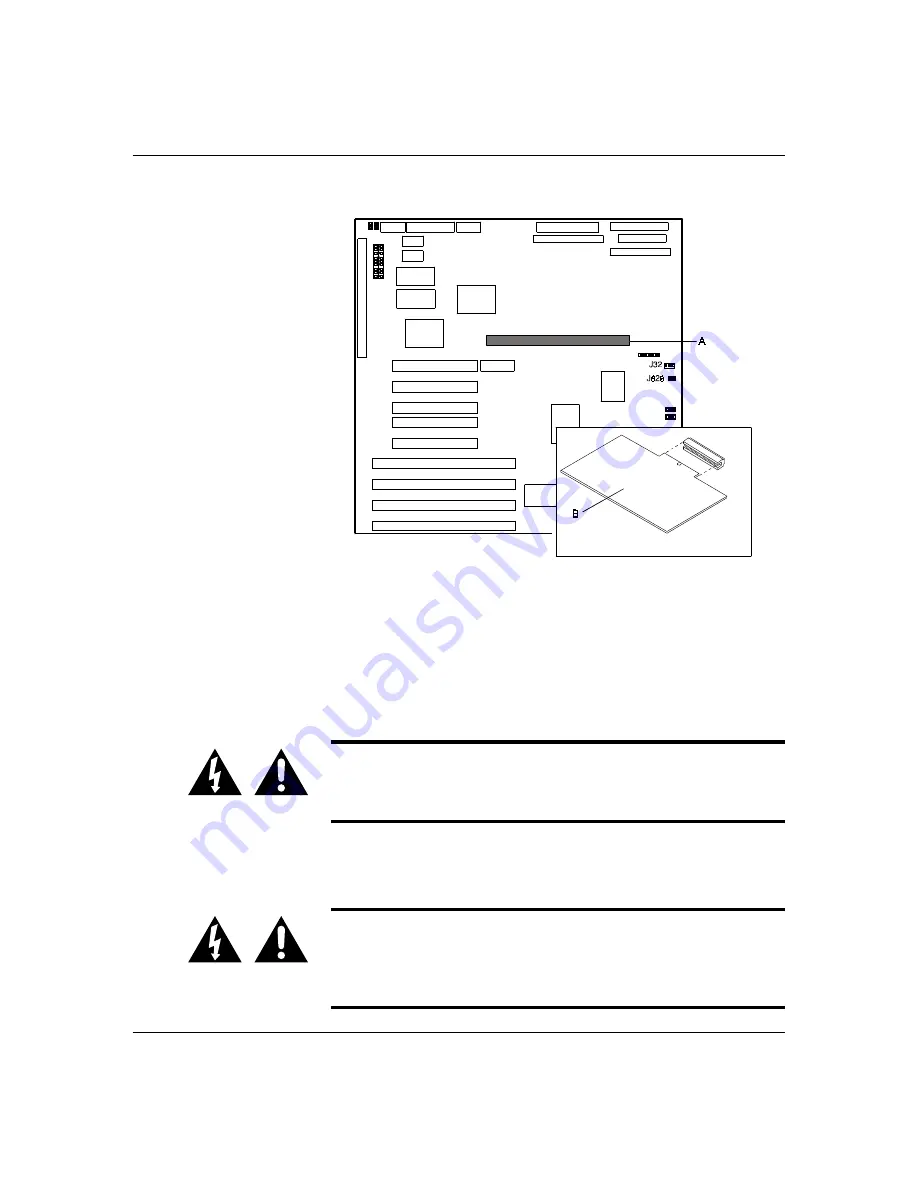
Figure 5-6. Installing the Processor/Memory Board
3.
Hold the processor/memory board (see Figure 5-6, B)
by its edges and start to insert it into the slot
guides.
4.
Do not press in on the board yet! Ease board into the
slot guides until it is just touching the connector on
the system board.
Caution: Before pressing the board firmly into the
system board connector, confirm visually that the board
edge connectors are correctly oriented—not too low or
high—at the system board connector.
5.
Press the board carefully but firmly into the system
board connector to seat the board.
Caution: Before applying power, do one more check.
Make sure the board is completely seated in the system
board connector before applying power. Incomplete
insertion can result in damage to the system board and
to the board you have installed.
Summary of Contents for MT2000
Page 1: ...Server MT2000 U s e r s G u i d e...
Page 6: ...raham...
Page 8: ...Bill Graham...
Page 9: ...Chapter 1 Introduction Contents Organization 1 Notational Conventions 3...
Page 10: ...Bill Graham...
Page 53: ...1231231 Billy Graham...
Page 81: ...4 28 Configuring Your System Figure 4 2 System Board Jumpers...
Page 141: ...5 53 Upgrades and Options Figure 5 25 Removing the Rear Fan modules...
Page 143: ...dfgdfg...
Page 171: ...Bill GrahamBill Graham...
Page 182: ...Appendix B Memory Configurations Contents Memory DIMM Configurations 1...
Page 183: ...Bill Grahamaerrterterter...
Page 186: ...Appendix C Option Boards Contents Introduction C 1...
Page 188: ...Appendix D Devices Contents Introduction 1...
Page 190: ...Appendix E Network Operating Systems Contents Introduction 1...
Page 193: ...rtyrtyrtyrtyry...
Page 203: ...8 Glossary...
Page 204: ......
Page 205: ...101843 1...

