


206-3366-o
O P E R AT I O N M E N U S
P A G E 1 1
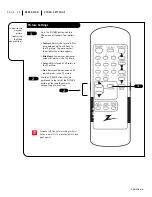
Customize
your channel
selection.
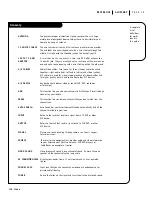
Mini glossary
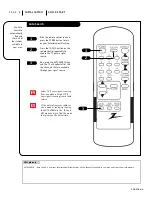
ADD
This function lets you save or add new channels to the list that you'll scroll through when using your remote.
ERASE
This function lets you remove channels that you don't watch from the channel scan.
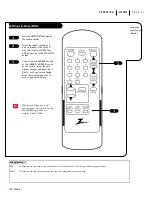
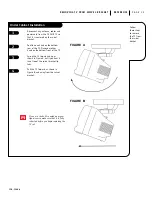
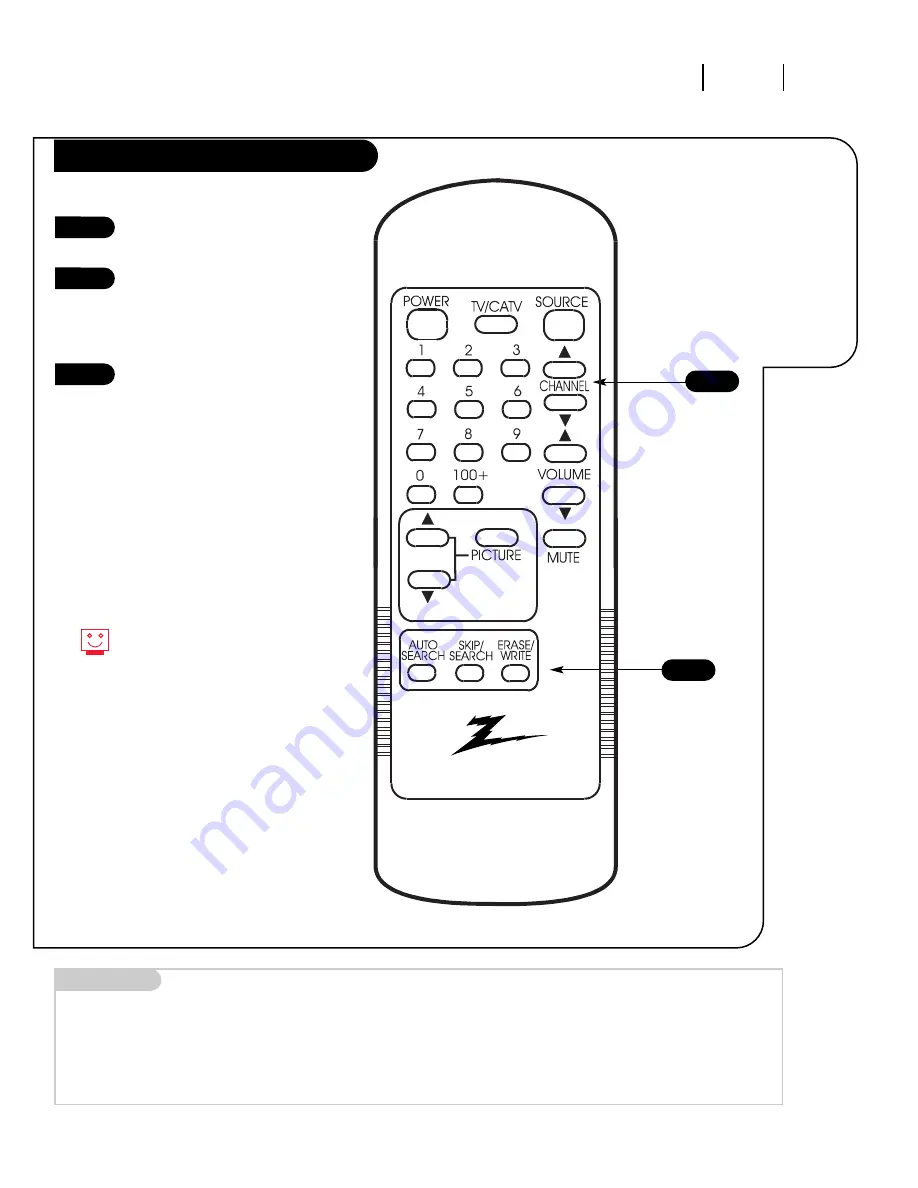
Setting Ch. Erase/Write
Press the ERASE/WRITE button on
the remote control.
Select the lowest channel you
wish to include in the channel
scan and select either ERASE or
ADD by pressing the ERASE/WRITE
button.
Using either the NUMBER key pad
or the CHANNEL UP/DOWN arrows
on the remote, select the next
highest channel and repeat No. 2.
Do this until you have collected
all of the channels you wish to
save in your channel scan.
1
2
3
3
1
If you erase a channel, it isn’t
gone for good. Just select it using
the NUMBER key pad on the
remote, or add it later.
Summary of Contents for A09A02X
Page 23: ...206 3366 o...