- 10 -
ADJUSTMENT INSTRUCTIONS
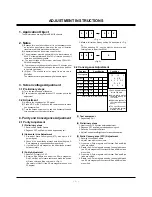
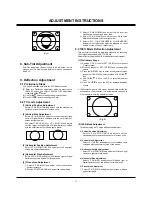
(4) Dynamic Convergence (DYC) Adjustment
1. Vertical Line Adjustment : Adjust by moving DY right and
left.
2. Horizontal Line Adjustment : Adjust by moving DY up
and down.
5. White Balance Adjustment
Do screen adjustment first.
For manual adjustment, refer to the following procedure.
5.1 Test Equipment
(1) Automatic White Balance meter(Can generate Low/High
light pattern)
(2) White Balance meter(CRT color Analyzer, CA-100)
(3) SVC Remote control for adjustment
5.2 Preliminary steps
(1) Tune the TV set to receive an 100% white pattern.
(2) Do screen adjustment first.
5.3 Adjustment
(1) White Balance should be adjusted with the SVC remote
control.
(2) Enter into adjustment mode by “INSTART” button and
select RGB W/B ADJ mode with CH
D
,
E
, VOL
F
,
G
.
(3) Adjust the item with CH
D
,
E
.
(4) Adjust the data with VOL
F
,
G
.
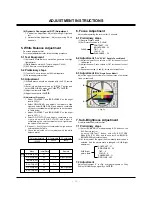
(5) Adjustment Procedure
1. Adjust “CONTRAST” and “BRIGHTNESS” so the bright
level is 35Ft_L.
2. Select GD(G-DRIVE) and adjust Y coordinate in High
Light and select BD(B-DRIVE) and adjust X coordinate
so the color coordinates in High light as to be the values
in Table below.
3. Adjust “CONTRAST” and “BRIGHTNESS” so the bright
level is 4.5Ft_L.
4. Select GC(G-CUTOFF) and adjust Y coordinate in Low
Light and select BC(B-CUTOFF) and adjust X
coordinate so the color coordinates in Low light are as
the values in Table below.
5. Repeat 1 ~ 4 until the color coordinates in High and Low
color satisfies the Table.
6. Check the adjusted color coordinates with the white
balance meter.
6. Focus Adjustment
Adjust after operating the receiver for 15 minuets.
6.1 Preliminary steps
(1) Receive Digital Pattern.
(2) Set Picture condition to “CLEAR”.
CONTRAST : 100
BRIGHTNESS : 50
CLEAR
TINT : 0
COLOR : 50
SHARPNESS : 50
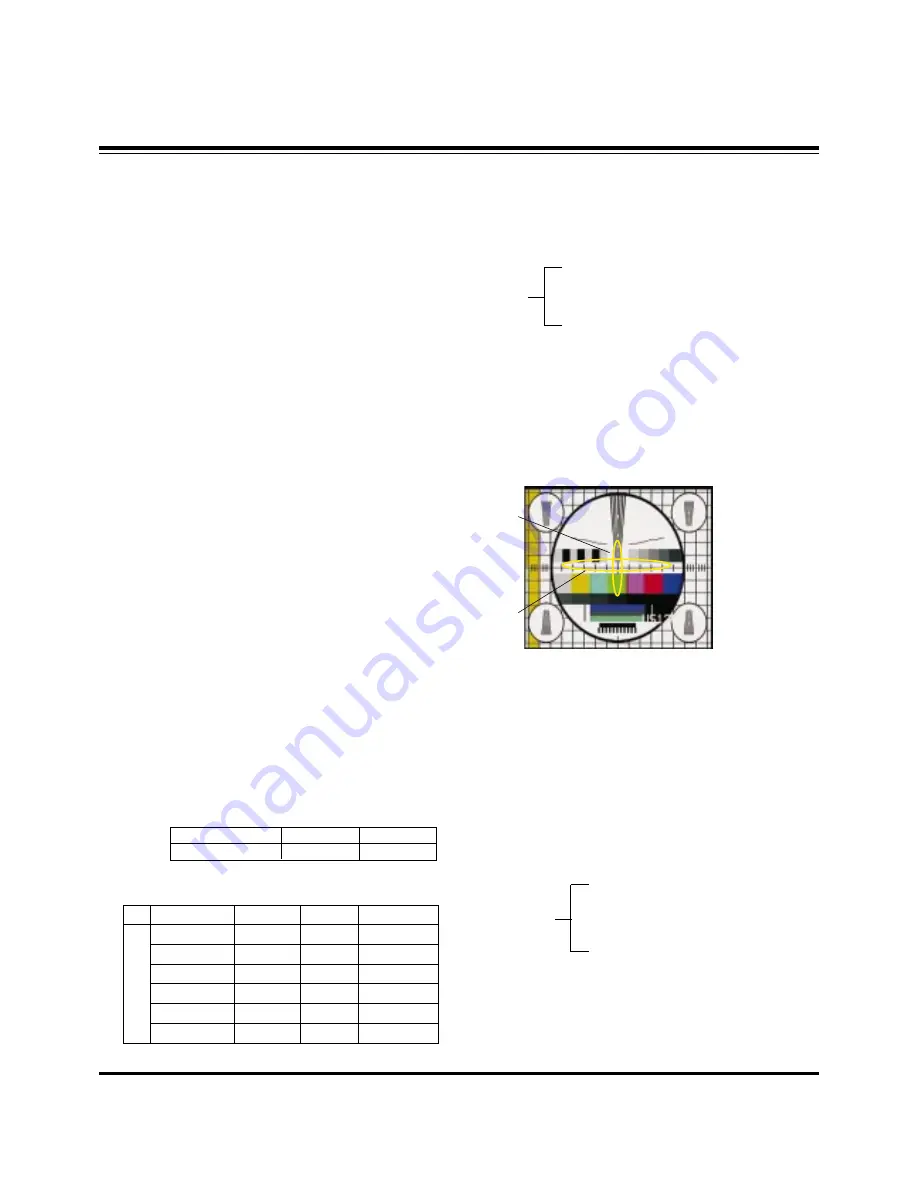
6.2 Adjustment 1
(34”/32”/29” Double Focus Model)
(1) Adjust the lower Focus volume of FBT for the best focus of
vertical line B.
(2) Adjust the upper Focus volume of FBT for the best focus of
area A.
(3) Repeat above step (1) and (2) for the best overall focus.
6.3 Adjustment 2
(29” Single Focus Model)
Adjust the upper Focus volume for the best focus of horizontal
line A,vertical line B.
7. Sub-Brightness Adjustment
Do white balance adjustment first.
7.1 Preliminary steps
(1) Select “SUB BRIGHT” mode pressing “ADJ” button on the
SVC Remote control.
(In using “INSTANT” button, select SUB PICTURE
Mode(2150 EX1 ADJ) and then select Sub-BR(SUB-
BRIGHTNESS) adjustment item.)
(2) At this moment the signal is automatically received and
selected. And the picture state is changed to SUB Bright
adjustment.
CONTRAST : 27
BRIGHTNESS : 52
SUB Bright
TINT : 0
picture state
COLOR : 0
SHARPNESS : 71
DRP/FI-NE : OFF
7.2 Adjustment
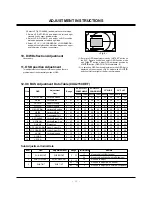
Adjust until number “2” in <Fig. 4> almost dispears on Gray
Scale of MONO Scope signal by VOL
F
,
G
.
Color temperature
X Coordinate
Y Coordinate
288
!
8
282
!
8
10000 K
RGB
W/B
R-DRIV(0-63)
G-DRIV(0-63)
B-DRIV(0-63)
R-CUT0(0-63)
G-CUT0(0-63)
B-CUT0(0-63)
31
25
31
31
25
31
Fix.
Fix.
High Light adj.
Low Light adj.
Menu
Initial Data
Remark
<Fig. 3>
A
B
Summary of Contents for C30W46
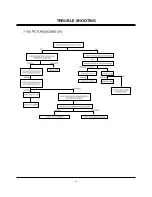
Page 17: ...17 TROUBLE SHOOTING...
Page 18: ...18 TROUBLE SHOOTING...
Page 19: ...19 TROUBLE SHOOTING...
Page 20: ...20 TROUBLE SHOOTING...
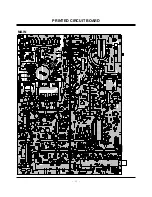
Page 21: ...21 PRINTED CIRCUIT BOARD MAIN...
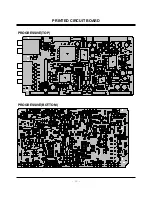
Page 22: ...22 PRINTED CIRCUIT BOARD PROGRESSIVE TOP PROGRESSIVE BOTTOM...
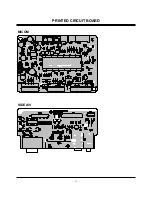
Page 23: ...23 MICOM PRINTED CIRCUIT BOARD SIDE A V...
Page 24: ...24 CPT PRINTED CIRCUIT BOARD...
Page 25: ...25 CONTROL PRINTED CIRCUIT BOARD...
Page 27: ...27 Option BLOCK DIAGRAM...
Page 38: ......
Page 39: ......
Page 40: ......


