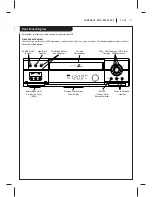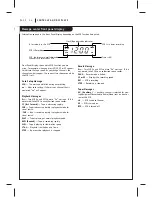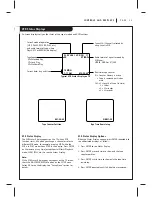
O P E R AT I O N
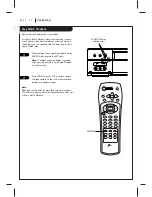
P A G E 2 7
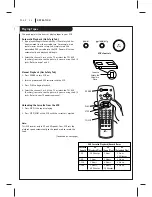
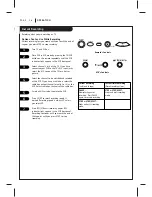
Instant Recording
Recording using preset time periods.
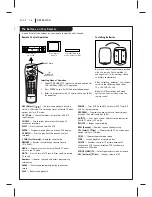
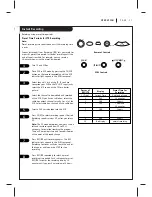
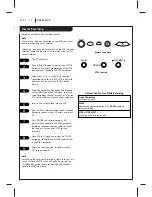
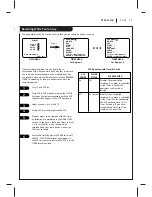
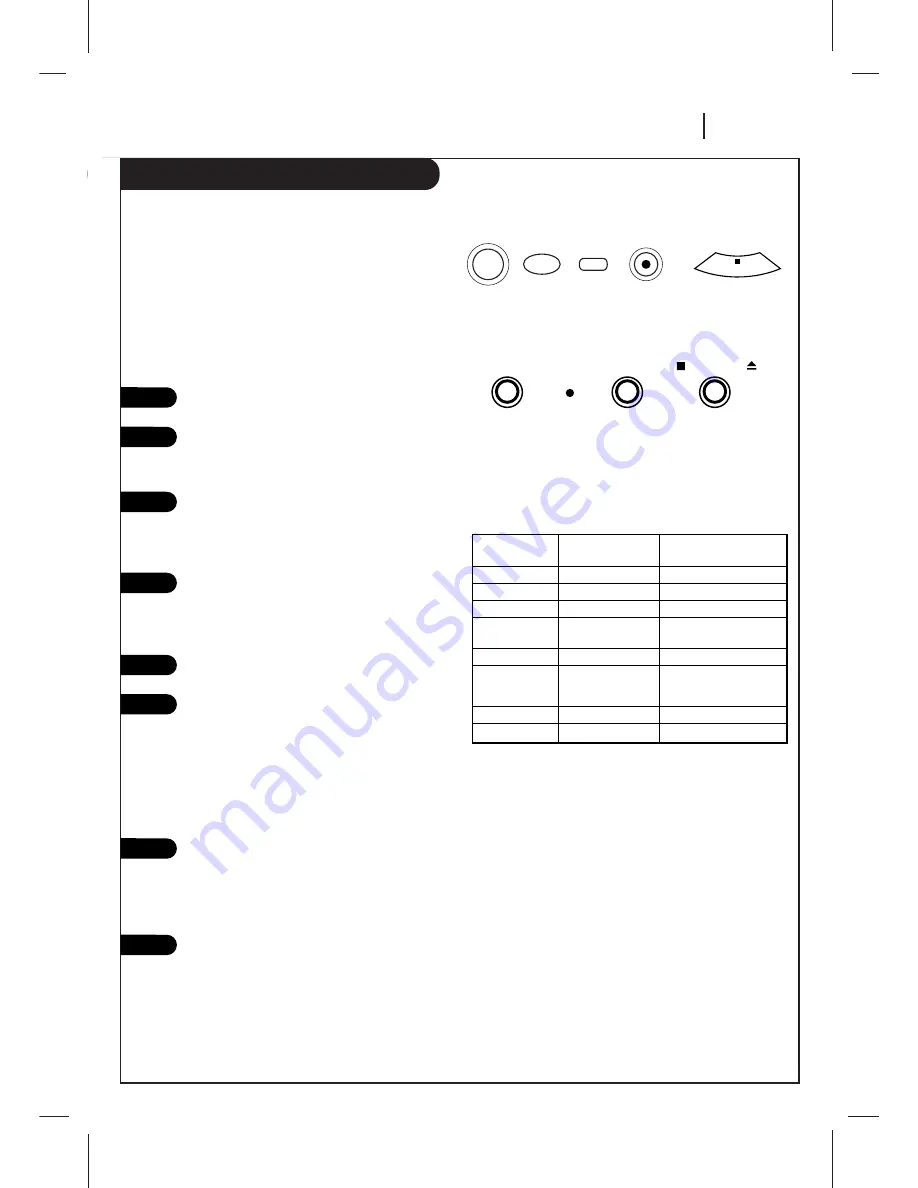
Remote's Controls
sp/ep
tv/vcr
rec/itr
power
stop
VCR's Controls
rec/itr
stop/eject
power
Presses of
Display
Preset Time For
REC/ITR
Recording
1 (Press)
Current Time
Until end of tape
2
0:30
30 minutes
3
1:00
1 hours
4
1:30
1 hour and
30 minutes
5
2:00
2 hours
.
.
.
.
.
.
.
.
.
9
4:00
4 hours
10
No display
normal recording
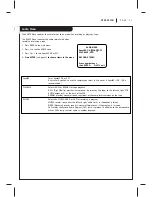
Preset Time Periods for ITR Recording.
Note:
Preset recording time counts down until the recording time
is over.
Instant (attended) Timer Recording (ITR) lets you record for
a specific preset time period, instead of recording until the
end of tape is reached. For example, you can record a
30-minute show using the preset time period.
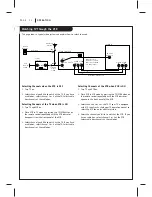
Turn TV and VCR on.
Place VCR in VCR mode by pressing the TV/VCR
button on the remote repeatedly until the VCR
indicator light appears in the VCR front panel.
Select channel 3 or 4 at the TV. If you have
connected your VCR to the TV’s A/V input jacks,
select the A/V source at the TV for a better
picture.
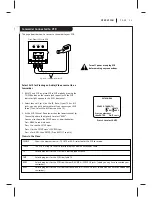
Select the channel to be watched and recorded
at the VCR. If you have a cable box, select the
cable box output channel (usually 3 or 4) at the
VCR. Select cable box channels at the cable box.
Insert a VHS cassette tape into the VCR.
Press SP/EP to select recording speed, if desired.
Recording speed is always SP, unless you select
EP.
Note:
The SP mode determines how much tape is
left and switches speed from SP to EP, if
necessary, to complete recording the program.
There will be some picture and sound distortion
at the point of the speed change.
Press REC/ITR until recording begins. The REC
indicator light appears in the VCR front panel.
Recording continues until you reach the end of
the tape, or until you press STOP to stop
recording.
Press REC/ITR repeatedly to select a preset
recording time period. Each subsequent press of
REC/ITR increases the recording time by 30
minutes until you reach a maximum of 4 hours.
2
3
4
1
5
6
7
8

