4.
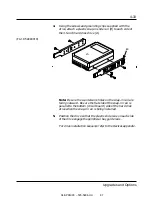
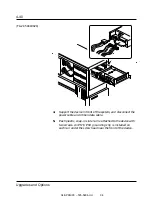
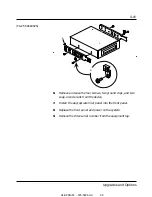
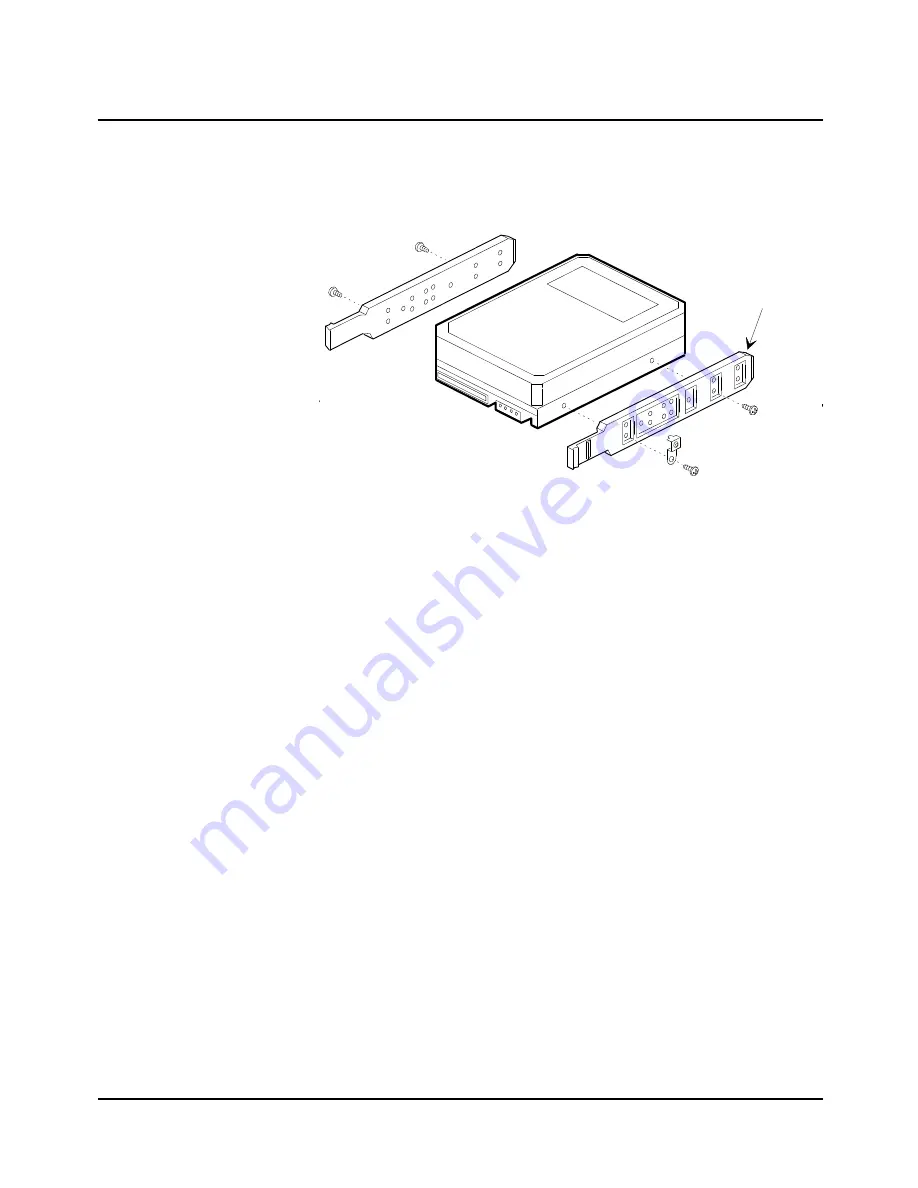
Using the screws and grounding clips supplied with the
drive, attach a plastic snap-in slide rail (B) to each side of
the 3.5-inch hard disk drive (A).
(F4-19 54840019)
Note: Be sure the countersunk holes on the snap-in rail are
facing outward. Be sure the flat side of the snap-in rail is
parallel to the bottom (circuit board) side of the hard disk
drive when the snap-in rail is being installed.
5.
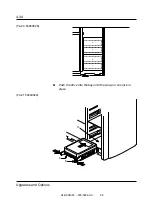
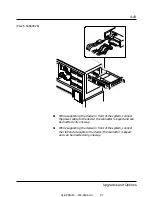
Position the drive so that the plastic slide rails on each side
of the drive engage the peripheral bay guide rails.
For drive installation sequence refer to the Devices appendix.
A
B
04/APRIL/93 – 595-5484-UU
87
4-33
Upgrades and Options


