background image


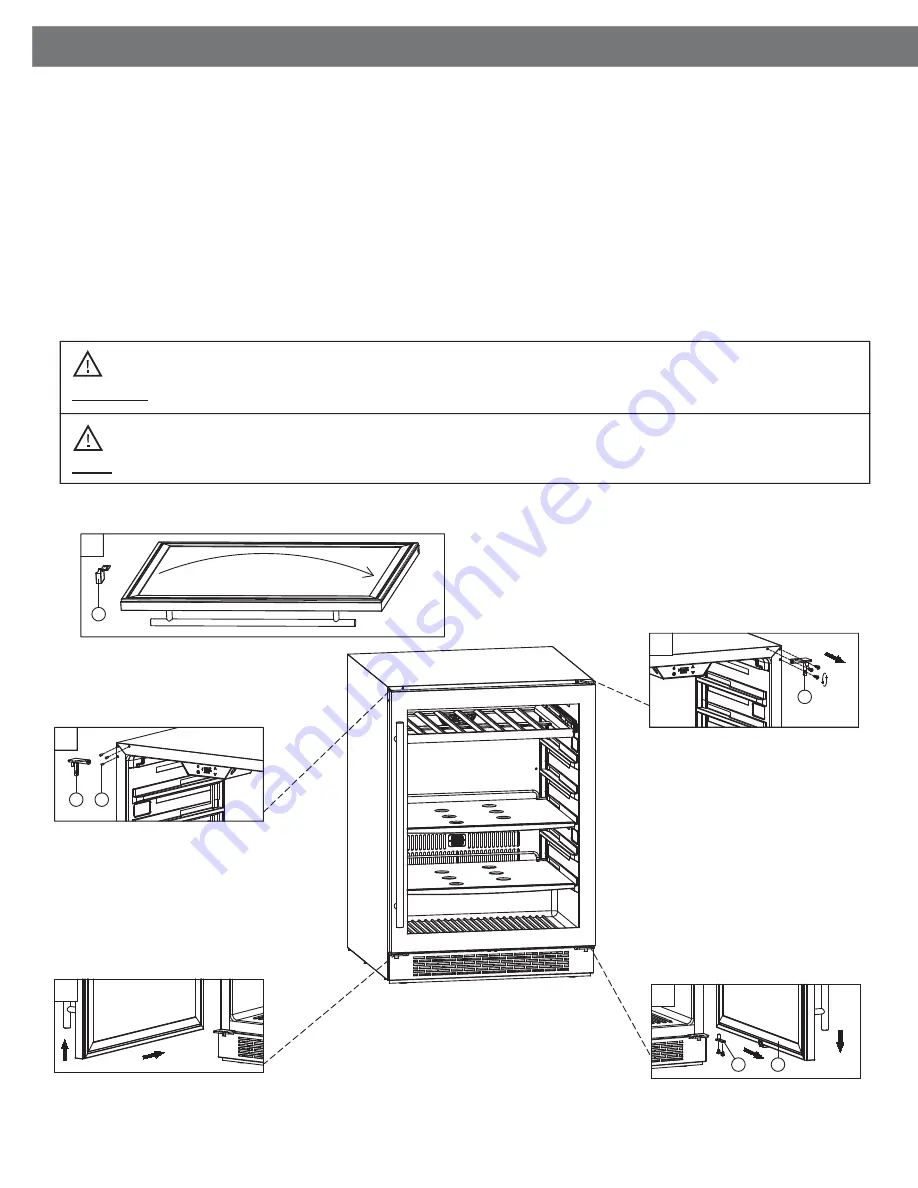
Reversing Door Handle Placement


REVERSING THE DOOR:


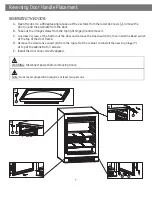
A. Open the door to a 90 degree angle, take out the 2 screws from the lower door axis (2), remove the

door (3) and the axis plate from the door. 


B. Take out the 3 hinge screws from the top right hinge (4) and remove it.


C.

hŶƐĐƌĞǁϮƐĐƌĞǁƐĂƚƚŚĞďŽƩŽŵŽĨƚŚĞĚŽŽƌĂŶĚƌĞŵŽǀĞƚŚĞZĞĞĚƐǁŝƚĐŚ;ϲͿ͕ƚŚĞŶŝŶƐƚĂůůƚŚĞZĞĞĚƐǁŝƚĐŚ

at the top of the door frame.


D.

ZĞŵŽǀĞƚŚĞĚĞĐŽƌĂƟǀĞĐŽǀĞƌƐ;ϴͿĨƌŽŵƚŚĞƚŽƉůĞŌŽĨƚŚĞĐĂďŝŶĞƚĂŶĚŝŶƐƚĂůůƚŚĞŶĞǁƚŽƉŚŝŶŐĞ;ϳͿ

at top of the cabinet with 3 screws.


A

2

3

B

4

E

D

8

7

C

6


E. Install the door once correctly aligned.


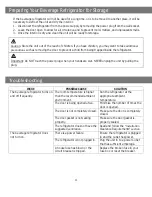
WARNING:


Disconnect power before removing doors.


Note: 

ŽŽƌƌĞǀĞƌƐĂůŽƉĞƌĂƟŽŶƌĞƋƵŝƌĞƐĂƚůĞĂƐƚƚǁŽƉĞƌƐŽŶƐ͘


Summary of Contents for Presrv PRB24C01AG

Page 1: ...Use Care and Installation Guide www zephyronline com PRB24C01AG Presrv Beverage Cooler JAN18 0101 Zephyr Corporation...

Page 2: ...r pull chain Always turn the unit and unplug it from the outlet when cleaning Unplug the unit if it is not going to be used for an extended period of me Do not operate the unit with a power plug missi...

Page 3: ...allow children to crawl inside the beverage refrigerator If you are disposing of the unit remove the door Do not use this appliance near mmable gas or com es such as gasoline benzene thinner etc Do n...

Page 4: ...Iden n Dimensions 2 3 Installing Your Beverage Refrigerator 3 5 Installing Your Door Handle and Shelves 5 6 Oper on 8 9 Internal Light 9 Defr ng 10 Normal Sounds 10 Cleaning and Maintenance 10 Prepar...

Page 5: ...ginal box and packaging materials in case you need to move or ship the appliance in the future Allow the unit to stand for at least 24 hours before you use it this allows the cooling components to fro...

Page 6: ...label on the back of your unit and are needed to obtain warranty service You may also want to staple your receipt to this manual as it is the proof of your purchase and is also needed for service und...

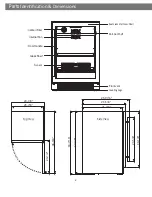
Page 7: ...2 Parts Glass Shelf Carbon Filter Internal Fan Front vent Sensor Door Handle Z K 25 9 16 23 5 8 21 7 8 34 7 16 33 7 8 23 5 8 30 1 8 24 1 8 23 7 8 46 3 8 24 1 2 Top View Side View...

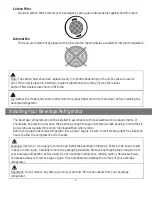
Page 8: ...to se e Note The carbon er should be replaced every 3 6 months depending on the unit s exposure level to odor If the unit is placed in a kitchen regular replacement every three 3 months is ideal Tip G...

Page 9: ...in front of the 2 Adjust the feet and place the unit on the or on a pl depending on your requiremen 3 If the electrical outlet for the beverage refrigerator is behind the cabinet plug in the beverage...

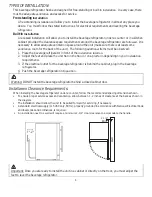
Page 10: ...e installed by a qualified electrician Before you move your beverage refrigerator into its final location it is important to make sure you have the proper electrical connection A standard electrical s...

Page 11: ...oor fully before pulling the shelves out of their track Note The refrigerator may experience decreased cooling e ciency if air is restricted due to a fully loaded cabinet REMOVING THE WOODEN SLIDE SHE...

Page 12: ...door axis 2 remove the door 3 and the axis plate from the door B Take out the 3 hinge screws from the top right hinge 4 and remove it C h Z Z at the top of the door frame D Z at top of the cabinet wit...

Page 13: ...le 5 Is r re r e a e per r e 0 0 F all year 6 Is e a cleara ce ea USING YOUR CONTROL PANEL d s a e era per r 50 F Power Bu W r e p t T ture W s rea re 50 F e Tempe ure W s ecre e re 34 F e e e terior...

Page 14: ...o Mode The internal lights will illuminate eac the door is opened and fade e door is closed This feature is triggered by a sensor located on the front vent This sensor allows the refrigerator to recog...

Page 15: ...e ma make a pulsa or hi h e s The er will to e a i ter al temperature ro Water r from the evaporator to the water ma make a As ea h le ma hear a sou to the refri er our You ma hear air for over the th...

Page 16: ...ed Minimize the number of mes the door is opened The door is not completely closed Make sure the door is completely closed The door gasket is not sealing properly Make sure the door gasket is properly...

Page 17: ...t it is not in contact with another appliance or furniture The body of the beverage refrigerator is electr ed The unit is not properly grounded Contact your local electrician to test your electrical g...

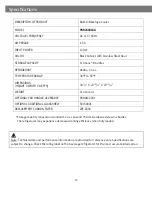
Page 18: ...le Steel r STORAGE CAPACITY 110 REFRIGERANT Z 1 4 TEMPERATURE RANGE 34 F 50 F DIMENSIONS HEIGHT X WIDTH X DEPTH 34 1 2 X 23 15 16 X 23 11 16 WEIGHT 114 W E Tech i e r e ect e Check the el the refri er...

Page 19: ...ith its intended purpose d natural wear of the finish of the Products or wear caused by improper maintenance use of corrosive and abrasive cleaning products pads and oven cleaner products e chips dent...

Reviews: