12
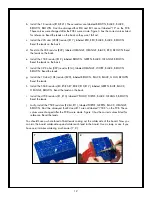
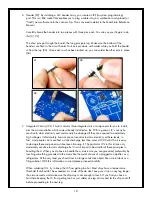
b. Install the 1K resistors (R18,R21). These resistors are labeled BROWN, BLACK, BLACK,
BROWN, BROWN. Don’t be dismayed that R18 and R21 are not labeled “1K” on the PCB.
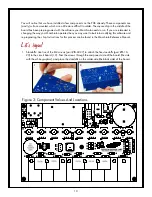
These values were changed after the PCB’s were made. Figure 3 has the correct values listed
for reference. Bend the leads on the back so they won’t fall out.
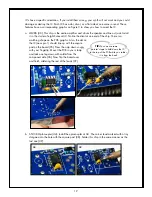
c. Install the 220 ohm (220R) resistor (R17), labeled RED, RED, BLACK, BLACK, BROWN.
Bend the leads on the back.
d. Next do the 33K resistor (R22), labeled ORANGE, ORANGE, BLACK, RED, BROWN. Bend
the leads on the back.
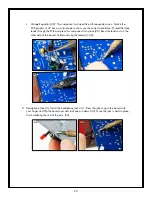
e. Install the 150K resistor (R19), labeled BROWN, GREEN, BLACK, ORANGE, BROWN.
Bend the leads on the back.
f. Install the 3.9K ohm (3K9) resistor (R14), labeled ORANGE, WHITE, BLACK, BROWN,
BROWN. Bend the leads.
g. Install the 10 ohm (10R) resistor (R20), labeled BROWN, BLACK, BLACK, GOLD, BROWN.
Bend the leads.
h. Install the 560K resistors (R3,R5,R6,R7,R8,R9,R10,R12), labeled GREEN, BLUE, BLACK,
ORANGE, BROWN. Bend the leads on the back.
i. Install the 470K resistors (R1,R13), labeled YELLOW, PURPLE, BLACK, ORANGE, BROWN.
Bend the leads.
j. Lastly, install the 750K resistors (R2,R4,R11), labeled PURPLE, GREEN, BLACK, ORANGE,
BROWN. Don’t be dismayed that R4 and R11 are not labeled “750K” on the PCB. These
values were changed after the PCB’s were made. Figure 3 has the correct values listed for
reference. Bend the leads.
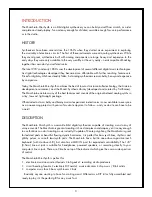
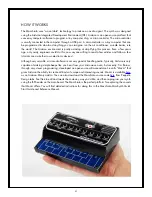
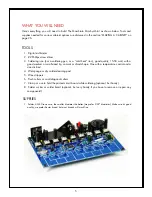
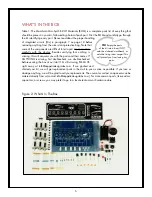
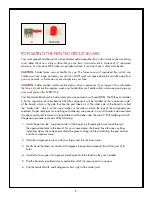
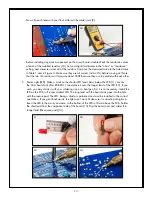
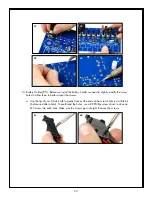
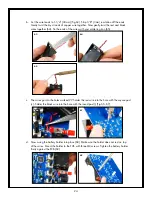
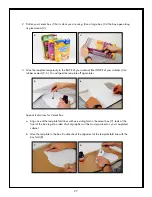
You should have a whole forest of bent leads coming out the solder side of the board. Now you
can turn the board solder-side-up and solder each lead to the board. Use a clamp or vise if you
have one; it makes soldering much easier (7, 8).
7
8


