18
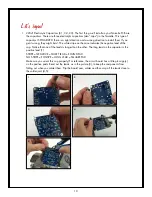
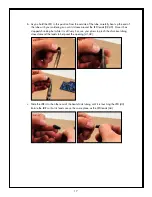
d. As you hold the LDR from the outside of the heat-shrink, carefully heat this side of the tube
until it closes around the LDR leads (45,46). While it is still very hot, use your pliers to pinch
the end closed around the LDR leads (47).
45
46
47
48
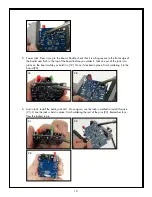
Now that we’ve made the optocoupler, we can install it. The leads need to be bent 90
degrees, but it matters which way you bend them in order for them to fit on the board in the
proper orientation (remember, LEDs are polarized). If you put the opto in backwards the
volume sensor will not have any effect. Note the PCB graphics indicate where the LDR and
LED are intended to go. On your optocoupler, the LED has one long lead and one short
lead. The long lead of the LED goes into the hole with the square pad. Note which side of
the optocoupler needs to be up as you bend the leads down in order for it to fit into the
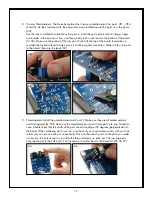
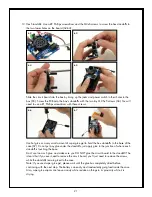
holes properly. Grip the leads with your needle nose pliers as shown (48) and bend them
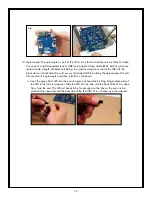
down 90 degrees with your fingers (49). Bend the LDR’s leads in the same way, holding
with pliers and bending with your fingers (50).
49
50


