27
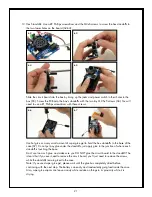
5. VOLUME SENSOR: Determines the voltage applied to the internal VCA (voltage controlled
amplifier). The volume gets louder as more light is detected. The output volume range is limited
by the VOLUME KNOB setting, and also how this sensor is calibrated (see “Calibration” on page
22).
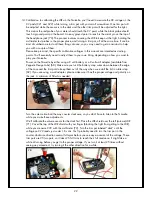
6. PITCH SENSOR: Determines the voltage applied to the internal VCO (voltage controlled
oscillator). The pitch frequency ranges from under 20Hz (in complete darkness) to above 3kHz in
very bright light, but this all depends on how this sensor is calibrated (see “Calibration” on page
22).
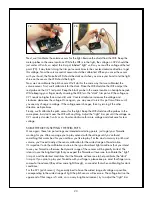
7. VOLUME KNOB: Sets the maximum audio volume the Noisette will produce. To be used in
conjunction with the volume sensor. See VOLUME SENSOR for more information.
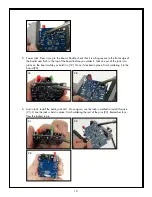
8. CASE LID: The Noisette case lid can be removed by inserting a flat head screwdriver in the inset
at the end of the case and gently twisting until the end of the cover snaps up. Then place the
screwdriver on the edge of the case (between the lid and the base) and gently twist until one side
of the top lifts. You’ll need to remove the lid to access the BATTERY SNAP and the HEADPHONE/
SPEAKER HEADER.
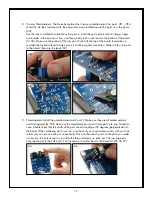
To reattach the cover, line up the knobs and sensors to their holes in the lid. Place the tabs on one
side of the lid in their slots. Then very gently press down the other side of the lid until it snaps into
place. Be very care to not force the lid on, otherwise the tabs may break off of the lid.
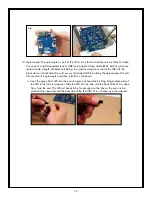
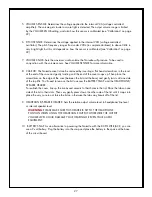
9. HEADPHONE/SPEAKER HEADER: Sets the relative output volume level to headphone/line level
or internal speaker level.
WARNING
: PLEASE MAKE SURE THIS HEADER IS SET TO THE HEADPHONE
POSITION WHEN USING THE HEADPHONE OUTPUT. OTHERWISE THE OUTPUT
VOLUME LEVEL COULD DAMAGE YOUR HEARING OR EVEN YOUR AUDIO
EQUIPMENT.
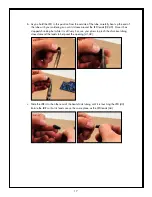
10. BATTERY SNAP: As an alternative to powering the Noisette with the DC POWER JACK, you can
use a 9-volt battery. Plug the battery into the snap and place the battery in the space at the base
of the circuit board.

