44
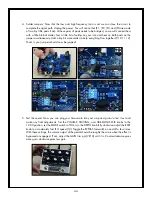
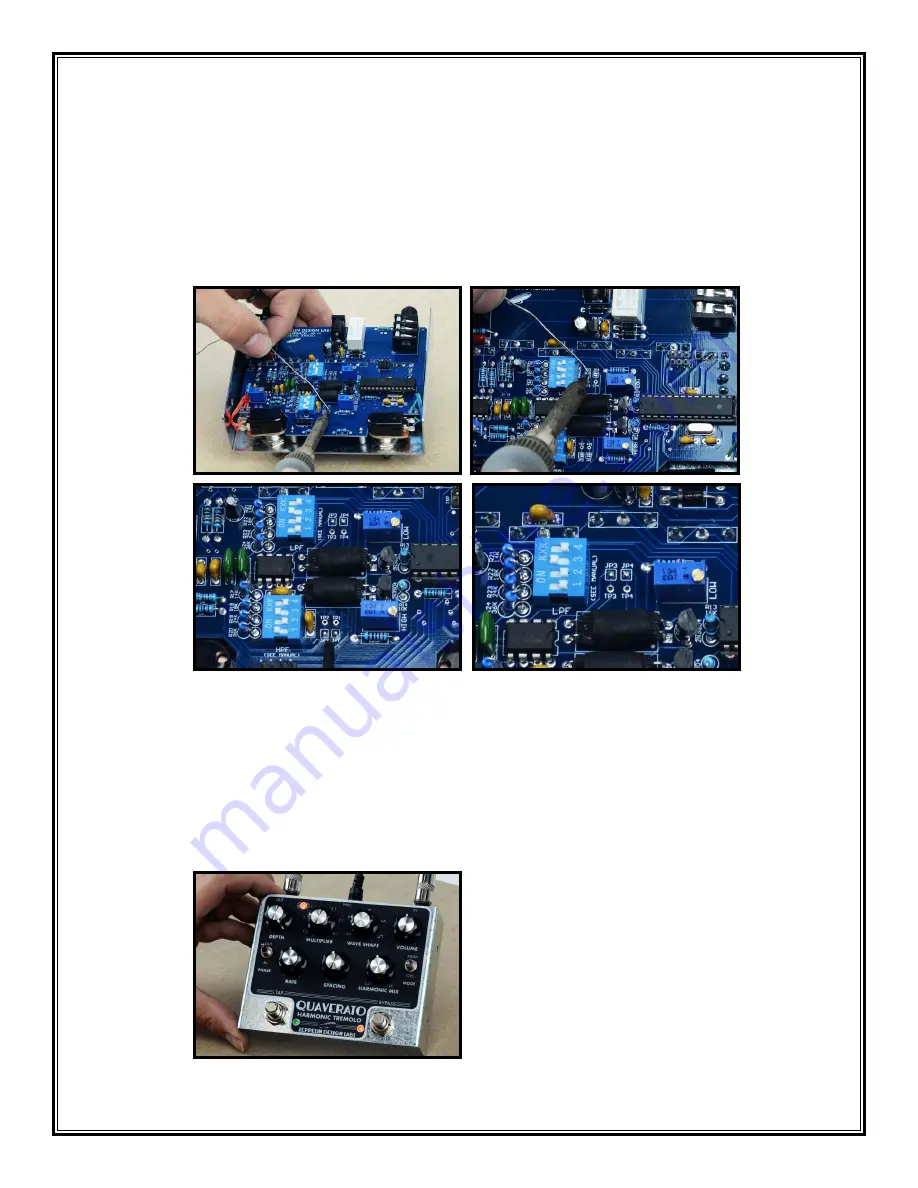
4. Solder Jumpers: Now that the low and high frequency ratio is set we can close the circuit to
complete the signal path. Unplug the power. You will notice that JP1, JP2, JP3, and JP4 are made
of two tiny little pads. Each of these pairs of pads needs to be bridged, so we will connect them
with a little blob of solder. Get a little bit of solder on your iron and heat up both pads on the
jumper simultaneously. Add a tiny bit more solder to help everything flow together (9,10,11,12).
That’s it, your jumpers should now be jumped!
9
10
11
12
5. Test the sound: Now you can plug your Quaverato into your amp and guitar to test it out and
make any final adjustments. Set the VOLUME, SPACING, and HARMONIC MIX knobs to the
12:00 position; set the MODE switch to TOG, turn the DEPTH knob fully clockwise; adjust the RATE
knob to a moderately fast LFO speed (13). Toggle the BYPASS footswitch on and off a few times.
With these settings, the volume output of the pedal should be roughly the same when the effect is
bypassed or engaged. If not, adjust the GAIN trim pot (VR10) until it is. Counterclockwise gives
more gain, clockwise gives less gain.
13


