49
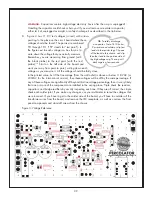
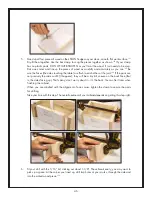
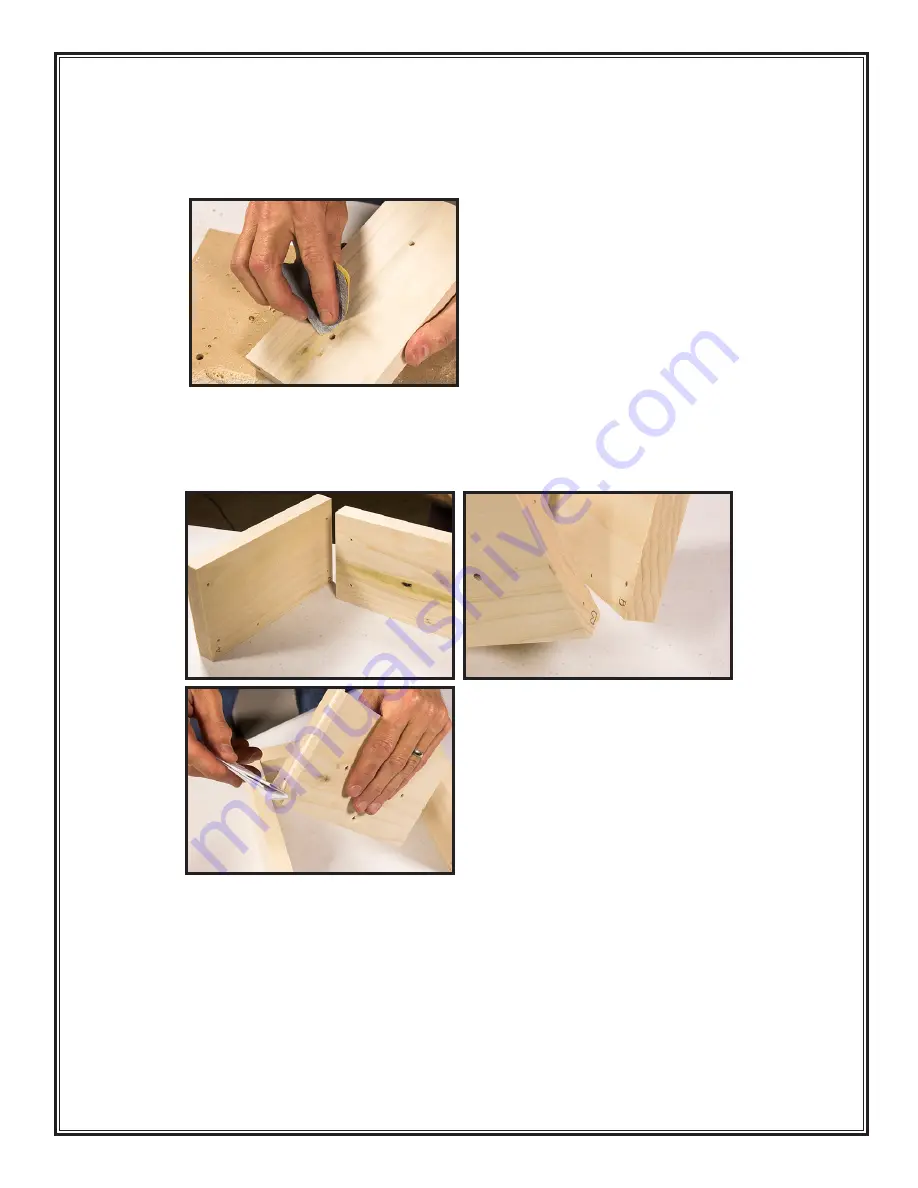
11. Inspect the inside faces of the wood pieces for splinters or “blowout”: bits of wood standing above
the surrounding surface. Clean these off with a bit of 120-grit sandpaper.
142
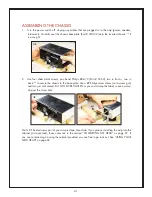
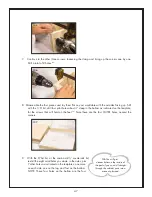
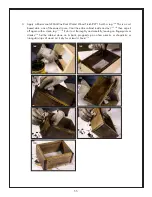
12. Re-assemble and dry fit the parts,
143
with the front edges facing DOWN.
144
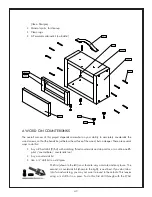
Apply some wood glue to
one end of the TOP. Smooth the glue with a stick until it uniformly coats the end.
145
You don’t need
much!
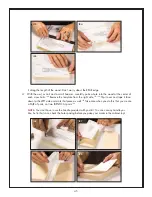
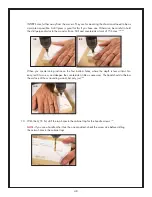
13. Fit two wood screws into the appropriate two holes of the mating SIDE piece.
146
Guide the tips
into the little pilot holes in the top piece.
147
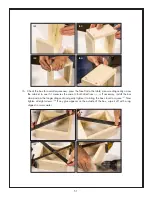
Line up the joint accurately as you did earlier,
148,132
and place the bar clamp tightly across the parts to hold them secure. Use a #2 Philips screwdriver
or cordless screw gun to drive the screws barely snug.
149
Do not over-tighten! If your drill has an
adjustable clutch, set it very low, like 2 or 3. Leave the joint a little loose for now.
142
143
144
145

